Growing a pomegranate tree from seeds is a rewarding experience for any gardener. Whether you love the sweet-tart taste of pomegranate arils or want to enjoy its ornamental beauty, you can grow this fruit tree right at home with minimal space. While many people struggle with poor germination, there’s a simple secret to ensure 100% success — using a natural “secret powder” that boosts root and shoot growth. In this guide, we’ll explore step-by-step how to grow a healthy pomegranate tree from seeds using this method, along with tips for care, pruning, and fruiting.
Understanding the Pomegranate Tree
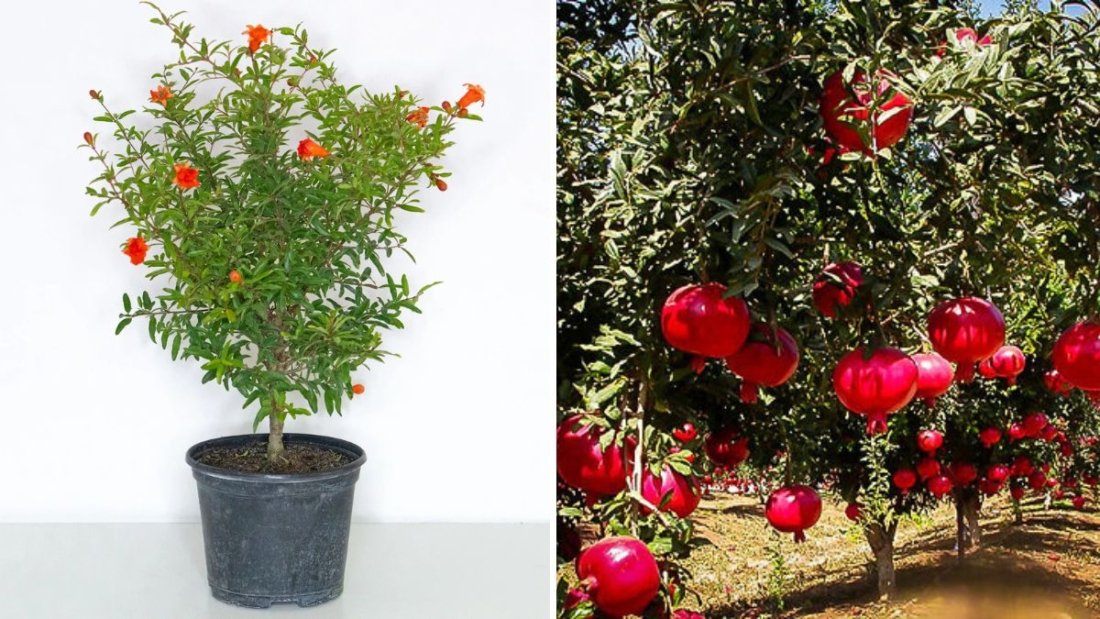
Pomegranate (Punica granatum) is a hardy fruit tree native to warm, arid regions. It thrives in tropical and subtropical climates but can adapt well to containers if cared for properly. The tree produces glossy green leaves, beautiful red flowers, and eventually, the jewel-like fruits that are rich in antioxidants, vitamins, and minerals.
Growing pomegranates from seeds is possible, though patience is key. With the right techniques, you can speed up germination and establish strong seedlings that bear fruit in a few years.
Step 1: Choosing the Right Pomegranate Variety
Before starting, choose the right variety for your climate and space:
- ‘Wonderful’ – The most common and widely grown variety with large, sweet-tart fruits.
- ‘Nana’ (Dwarf Pomegranate) – Ideal for containers and small gardens.
- ‘Bhagwa’ – Popular in India for its deep red color and high yield.
- ‘Ganesh’ – A sweet, soft-seeded variety perfect for eating fresh.
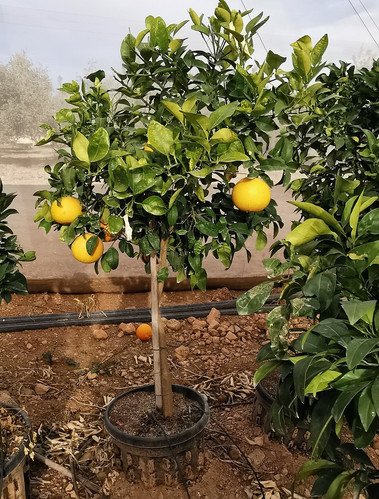
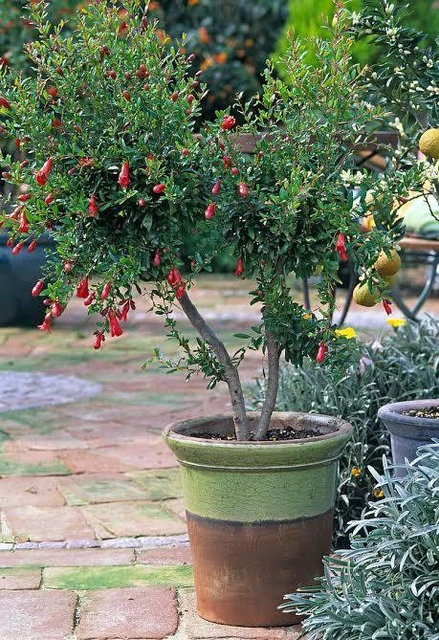
If you’re growing in pots, dwarf or semi-dwarf varieties are best as they stay compact and fruit abundantly.
Step 2: Preparing the Seeds
- Select a Ripe Pomegranate: Choose a healthy, fully ripe fruit. Avoid damaged or diseased ones.
- Extract the Seeds: Gently scoop out the arils (seed pods) and separate the seeds from the juicy pulp.
- Clean the Seeds: Rinse them in water to remove any remaining pulp. A sticky coating can hinder germination, so make sure they’re completely clean.
- Dry the Seeds: Spread the cleaned seeds on a paper towel and let them air-dry for 1–2 days in a shaded, ventilated area.
Step 3: The Secret Powder for 100% Germination
Here comes the key to success — the secret powder that helps seeds sprout faster and grow stronger. This “secret” isn’t chemical-based; it’s a natural rooting and germination booster made from organic ingredients.
DIY Secret Powder Recipe:
Mix the following ingredients well:
- 1 tablespoon cinnamon powder (natural antifungal and growth stimulator)
- 1 tablespoon aloe vera powder (or gel extract, for hydration and root growth)
- 1 teaspoon seaweed powder or humic acid (optional, for nutrient boost)
Coat the dried seeds lightly in this powder mixture before planting. This not only prevents fungal growth but also activates the seeds’ root hormones for faster sprouting and healthier seedlings.
Step 4: Sowing the Seeds
Now that your seeds are prepped and treated, it’s time to plant them.
Materials You’ll Need:
- Small nursery pots or seed trays
- Well-draining potting mix (50% garden soil + 25% compost + 25% sand or cocopeat)
- Spray bottle for watering
Planting Steps:
- Fill the pots with the potting mix, leaving about an inch from the top.
- Moisten the soil slightly — it should be damp but not soggy.
- Place the treated seeds about ½ inch deep in the soil and cover lightly.
- Mist the soil with water using a spray bottle.
- Cover the pots with a clear plastic wrap or dome to retain humidity.
Place the pots in a warm location with indirect sunlight. Ideal temperature for germination is between 20°C–28°C (68°F–82°F).
Step 5: Germination and Early Care
Germination usually takes 3 to 5 weeks, depending on temperature and seed freshness. Once seedlings appear:
- Remove the plastic cover gradually to harden them off.
- Keep the soil consistently moist but never waterlogged.
- Place them where they can receive 4–6 hours of bright sunlight daily.
When the seedlings are about 3–4 inches tall and have a few sets of true leaves, transplant them into larger pots (8–10 inches).
Step 6: Transplanting and Container Setup
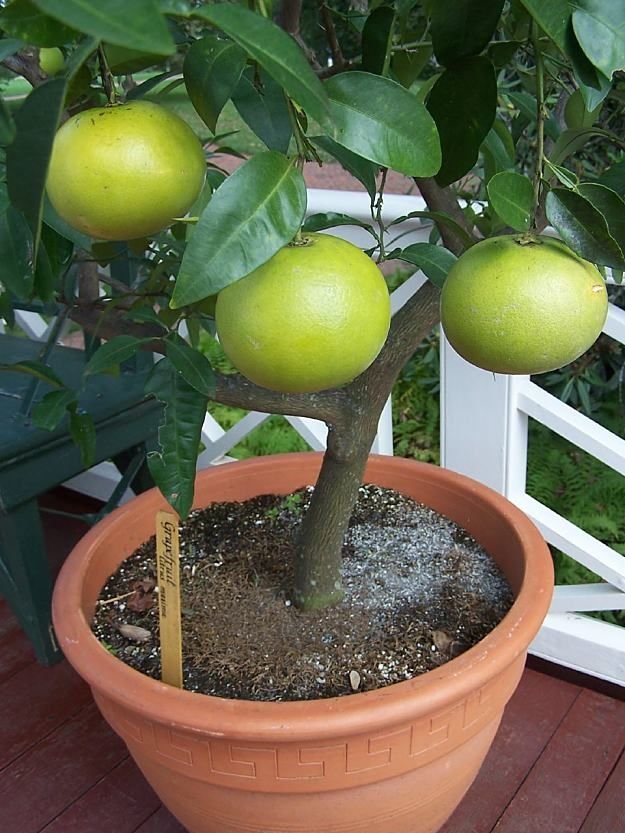
If you’re growing the pomegranate in a pot, choose one that’s at least 18–24 inches in diameter with good drainage holes.
Ideal Soil Mix:
- 40% garden soil
- 30% organic compost or cow manure
- 20% sand or perlite
- 10% cocopeat
This mix ensures proper aeration and nutrient supply for root development.
After transplanting, water the plant well and place it in a sunny spot. Pomegranate trees thrive in full sunlight (6–8 hours daily).
Step 7: Watering and Fertilization
Pomegranates are drought-tolerant but young plants need consistent moisture.
- Watering: Water every 3–4 days during the initial stage. Once established, reduce watering to once a week. Overwatering can cause root rot.
- Fertilizer: Use organic compost or a balanced fertilizer (NPK 10-10-10) every 6–8 weeks. During the flowering stage, switch to a phosphorus-rich fertilizer for better blooms and fruiting.
A monthly application of seaweed extract or compost tea can further enhance growth and fruit quality.
Step 8: Pruning and Maintenance
Proper pruning encourages more branches and better fruit yield.
- Prune your tree lightly after the first year to remove dead or weak shoots.
- Keep 3–4 strong main stems to form a balanced structure.
- Regularly remove suckers (shoots from the base) to focus energy on fruiting branches.
You can also train the tree into a bush shape for container growth.
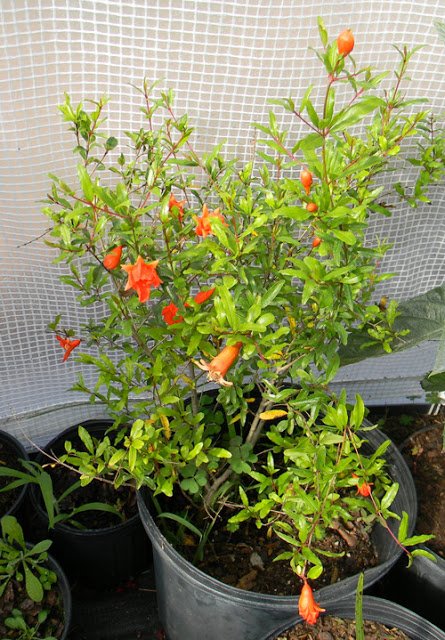
Step 9: Flowering and Fruiting
Your pomegranate tree will start producing flowers in 2–3 years from seed, though some may take longer.
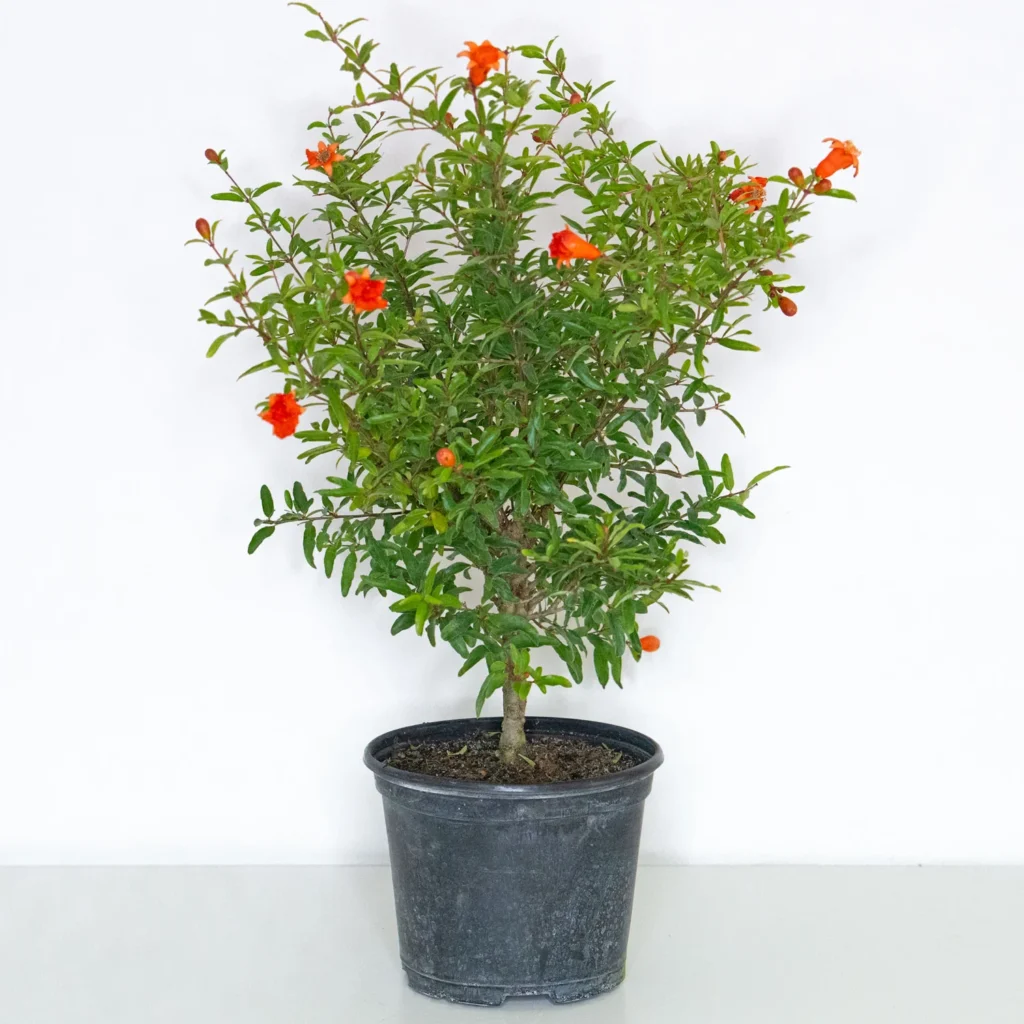
- Flowers appear in clusters of bright red or orange blossoms.
- Each flower that gets pollinated can turn into a fruit.
- Hand-pollination with a soft brush can improve fruit set for indoor or container plants.
Keep the plant in full sunlight and feed it during the growing season for best results.
Step 10: Pest and Disease Control
Watch out for common pests like aphids, whiteflies, and mealybugs.
Natural Remedies:
- Spray neem oil once every 10–15 days.
- Use garlic or chili water spray as an organic insect repellent.
Good air circulation and proper watering practices will prevent fungal diseases.
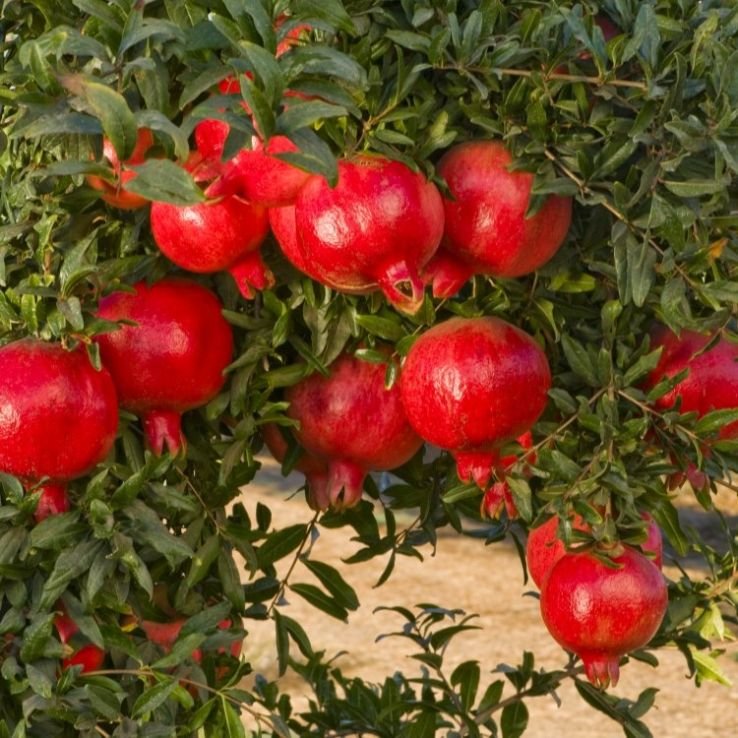
Harvesting and Beyond
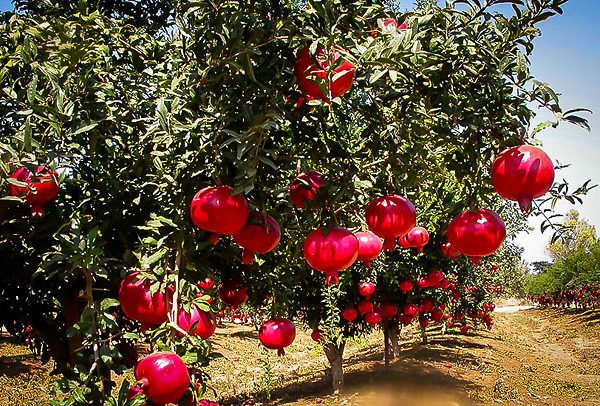
Your patience will pay off when you see your first pomegranate fruits — usually 3–4 years after planting from seeds. The fruits are ready for harvest when they develop a deep red color and make a metallic sound when tapped.
Harvest carefully with pruning shears to avoid damaging branches. Store ripe fruits in a cool, dry place or refrigerate them to extend shelf life.
Bonus Tips for Success
- Sunlight is key: More sunlight = sweeter fruits.
- Don’t overwater: Pomegranates prefer slightly dry conditions once mature.
- Mulch the soil: Helps retain moisture and regulate temperature.
- Use organic boosters: A mix of banana peel compost and bone meal enhances fruit quality.
Final Thoughts
Growing a pomegranate tree from seeds is not just about cultivating a fruit—it’s about nurturing life from a single seed into a thriving, fruitful tree. By using the secret powder (a simple mix of cinnamon and aloe vera), maintaining a healthy growing environment, and showing patience, you can achieve 100% success.
With time, your pomegranate tree will reward you with vibrant blooms and luscious fruits — a living testament to your gardening dedication. Whether in a backyard or balcony pot, this ancient fruit tree brings color, health, and joy to your home garden.