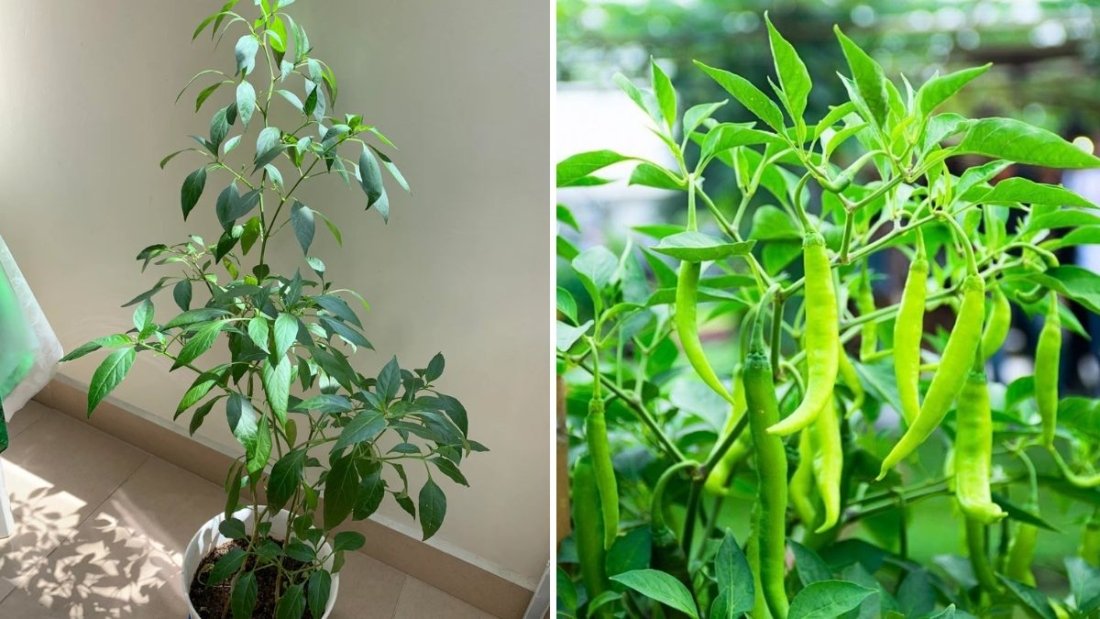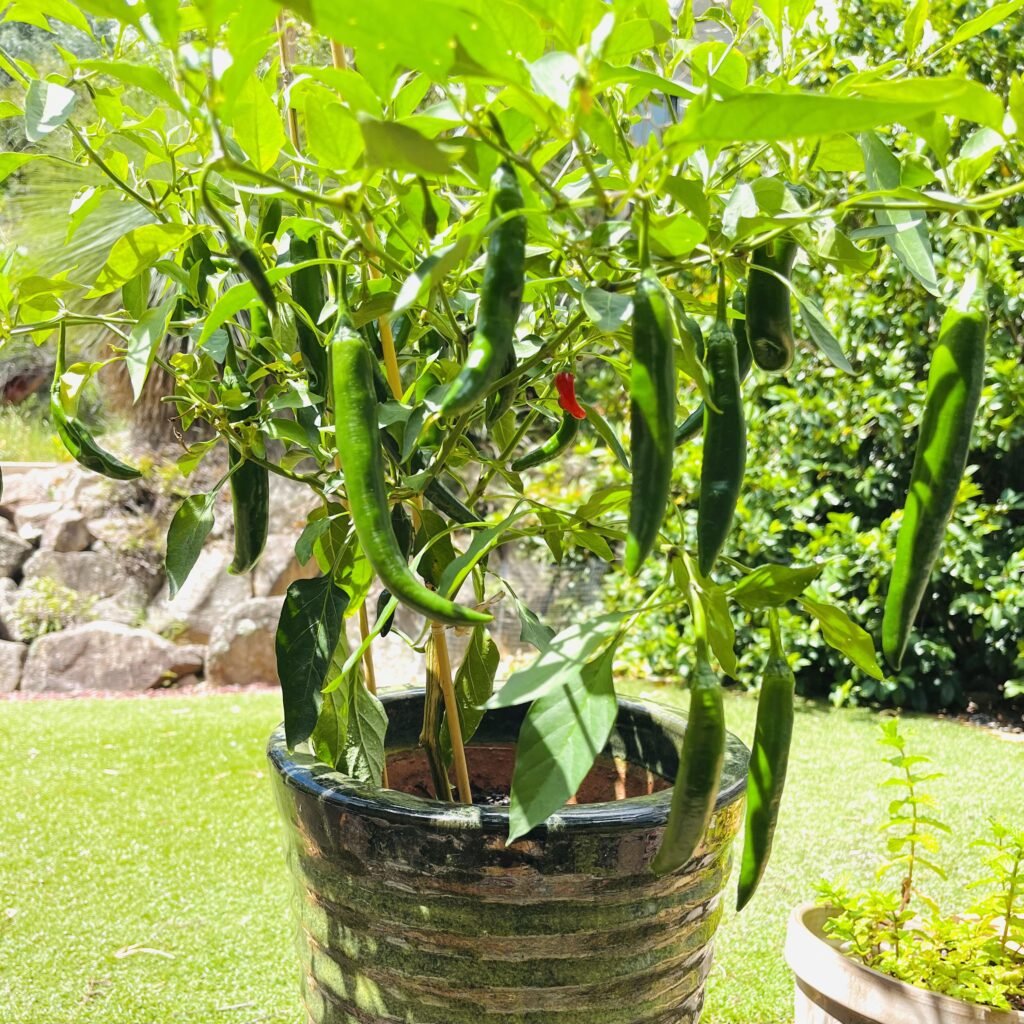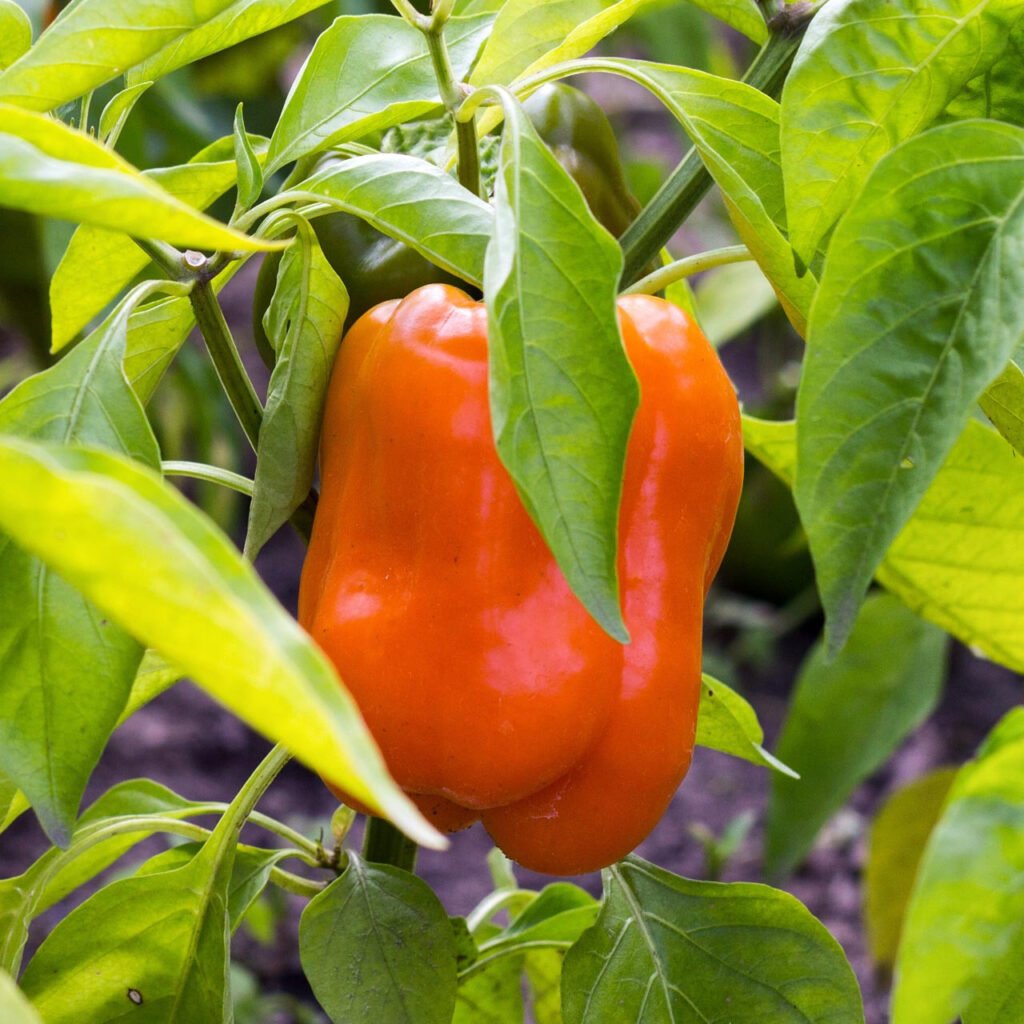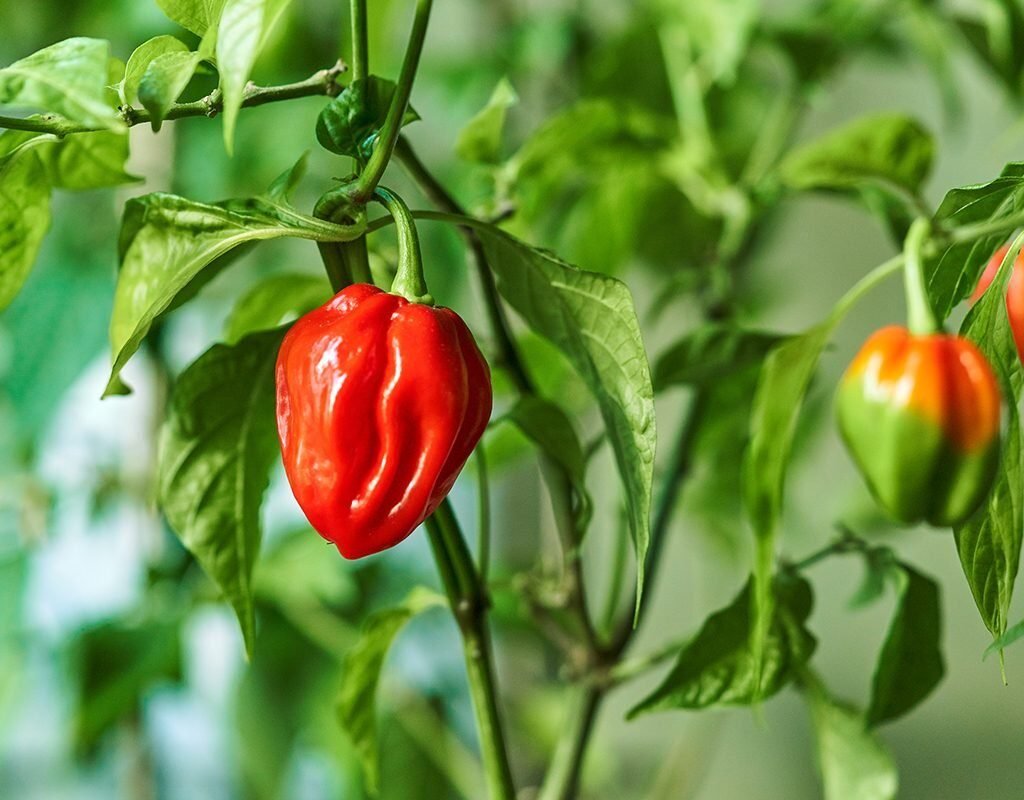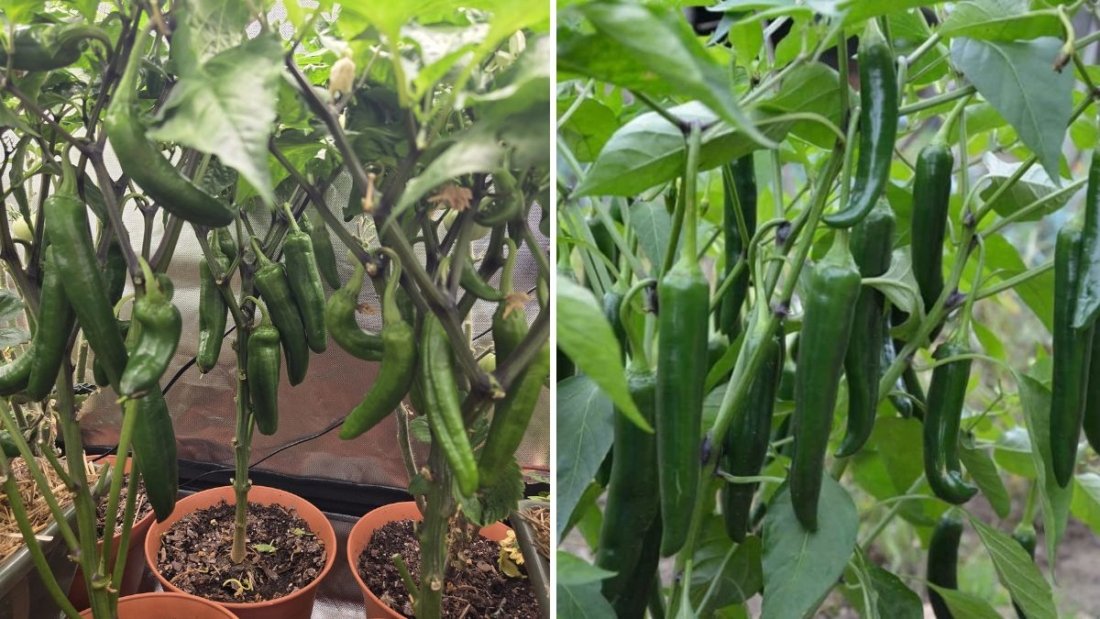
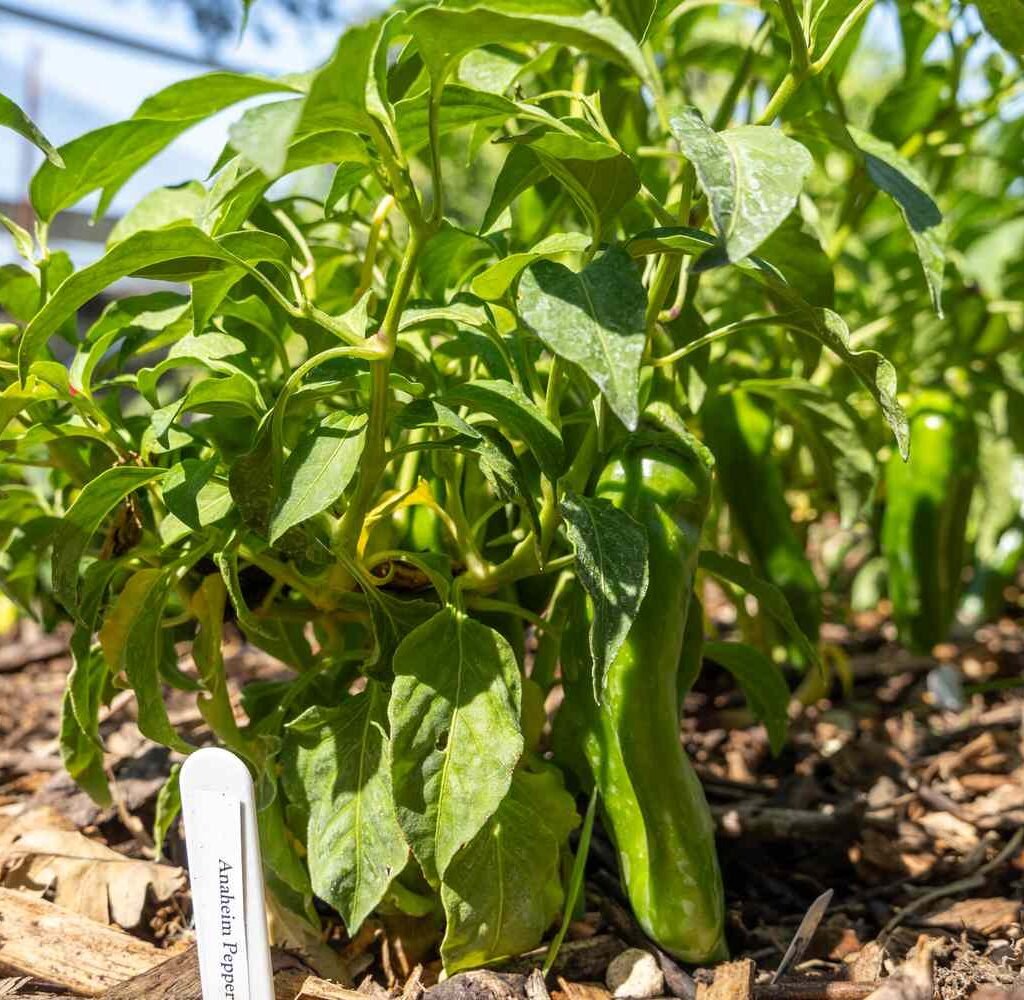
If you’re a fan of mildly spicy, flavorful peppers that are perfect for roasting, stuffing, or grilling, Anaheim peppers are a must-have addition to your home garden. These long, slender green chilies are known for their versatility in the kitchen and their manageable heat level, making them popular among both beginner and experienced gardeners.
In this guide, we’ll walk you through how to care for Anaheim pepper plants from planting to harvest — including tips on watering, fertilizing, pruning, pest control, and how to keep your plants producing healthy, tasty peppers all season long.
Introduction to Anaheim Peppers
Anaheim peppers, scientifically known as Capsicum annuum, are mild chili peppers typically measuring 6–10 inches long. They originated in New Mexico but gained their name from Anaheim, California, where they were first popularized for commercial cultivation.
These peppers offer a mild heat level (500–2,500 Scoville Heat Units), making them perfect for roasting, stuffing, or drying into red chili flakes. They thrive in warm climates and grow best in full sunlight with well-drained soil.
Ideal Growing Conditions for Anaheim Peppers
Before you start planting, it’s important to understand what Anaheim peppers need to thrive:
1. Temperature:
Anaheim peppers love warmth. The ideal temperature for growth is between 70°F and 85°F (21°C–29°C) during the day and not below 60°F (16°C) at night. Cold temperatures can stunt growth or cause flower drop.
2. Sunlight:
They require at least 6–8 hours of direct sunlight daily. The more sunlight they receive, the better the yield and flavor of the peppers.
3. Soil Requirements:
Use well-draining, loamy soil enriched with organic compost or aged manure. The soil pH should be slightly acidic to neutral, around 6.0–7.0. Avoid heavy clay soils that retain too much moisture.
4. Watering:
Peppers need consistent moisture, but overwatering can lead to root rot. Water deeply when the top inch of soil feels dry — typically once or twice a week, depending on weather conditions.
How to Plant Anaheim Pepper Seeds
Step 1: Start Indoors
Start Anaheim pepper seeds indoors 8–10 weeks before the last frost date. Use seed trays or small pots filled with a light seed-starting mix.
Step 2: Planting Depth and Germination
Plant seeds about ¼ inch deep, lightly covering them with soil. Keep the soil moist and warm (around 80°F or 27°C) for successful germination, which usually takes 10–14 days.
Step 3: Transplanting Outdoors
Once seedlings are 6–8 inches tall and all danger of frost has passed, transplant them into the garden. Harden them off gradually by exposing them to outdoor conditions for a few hours each day for a week.
Spacing:
Plant seedlings 18–24 inches apart, with 2–3 feet between rows. Proper spacing ensures good airflow, reducing the risk of fungal infections.
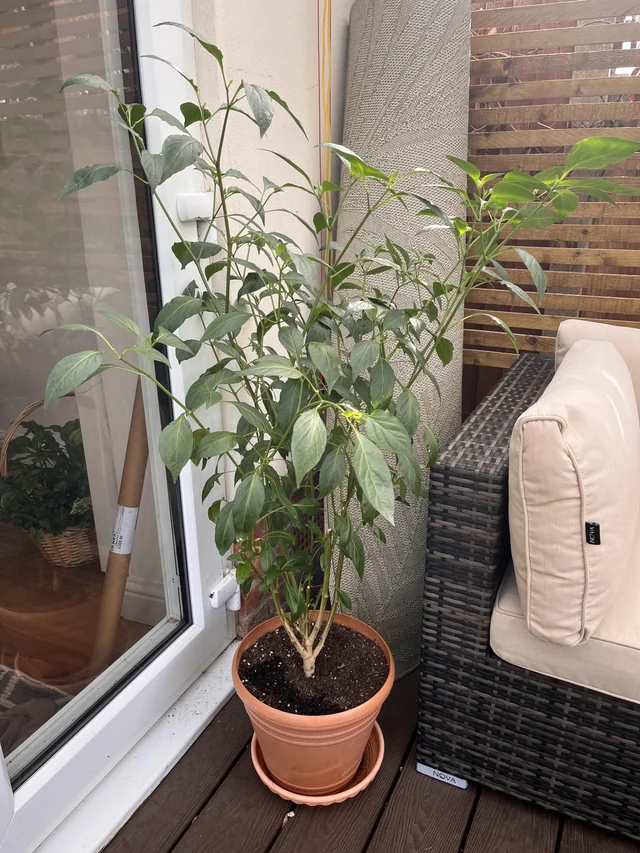
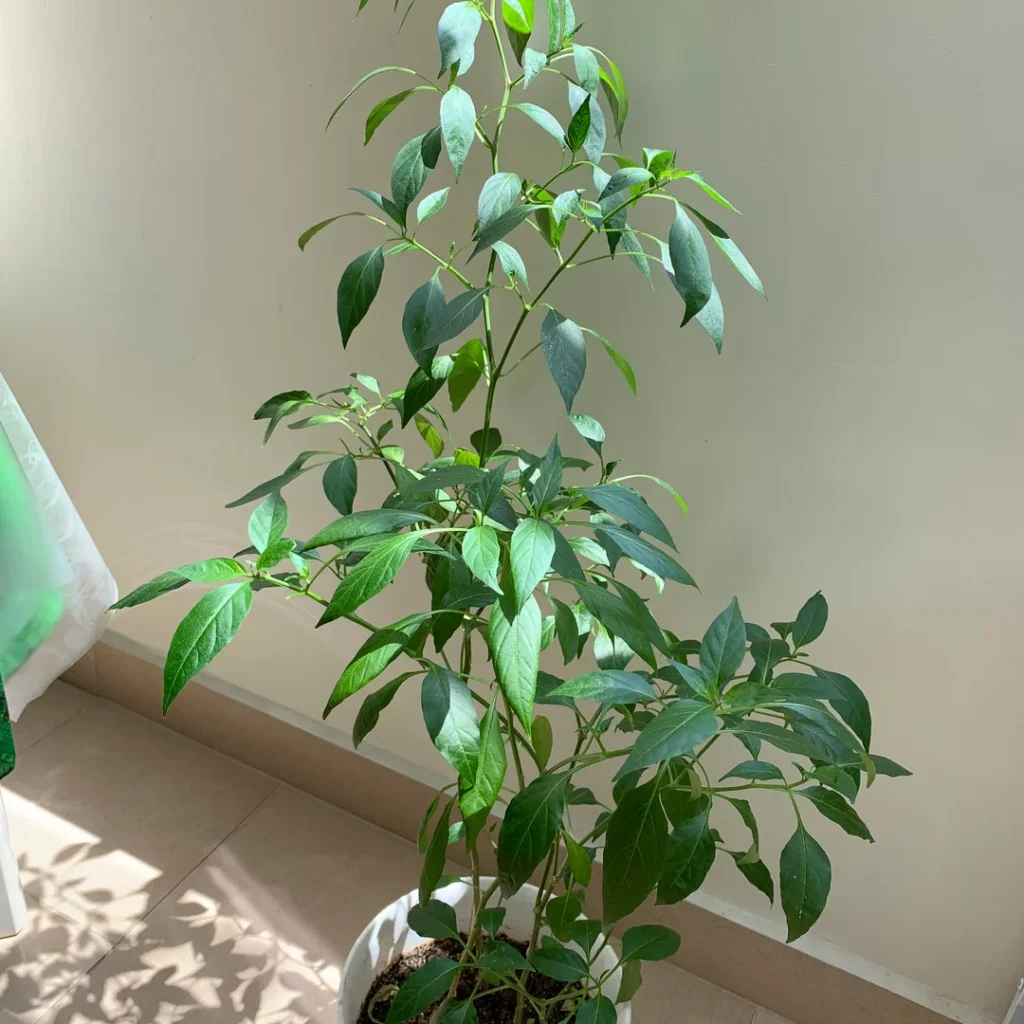
Caring for Anaheim Pepper Plants
Once your peppers are in the ground, consistent care is essential to ensure vigorous growth and abundant harvests.
1. Watering Schedule
- Water regularly but avoid waterlogging.
- Early morning watering is ideal.
- Mulch around the plants with straw or compost to retain moisture and suppress weeds.
2. Fertilization
Feed Anaheim pepper plants every 2–3 weeks with a balanced organic fertilizer or compost tea. Too much nitrogen can lead to lush leaves but fewer peppers.
A 5-10-10 (low nitrogen, higher phosphorus and potassium) fertilizer is best once flowering begins.
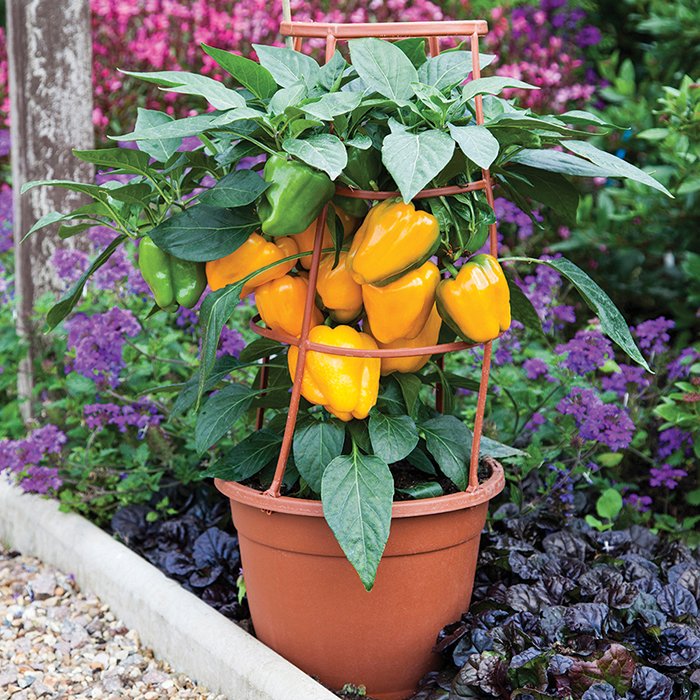
3. Pruning and Support
Pruning isn’t mandatory but helps improve airflow and yield. Remove:
- Yellow or damaged leaves.
- Lower leaves that touch the soil to prevent fungal infections.
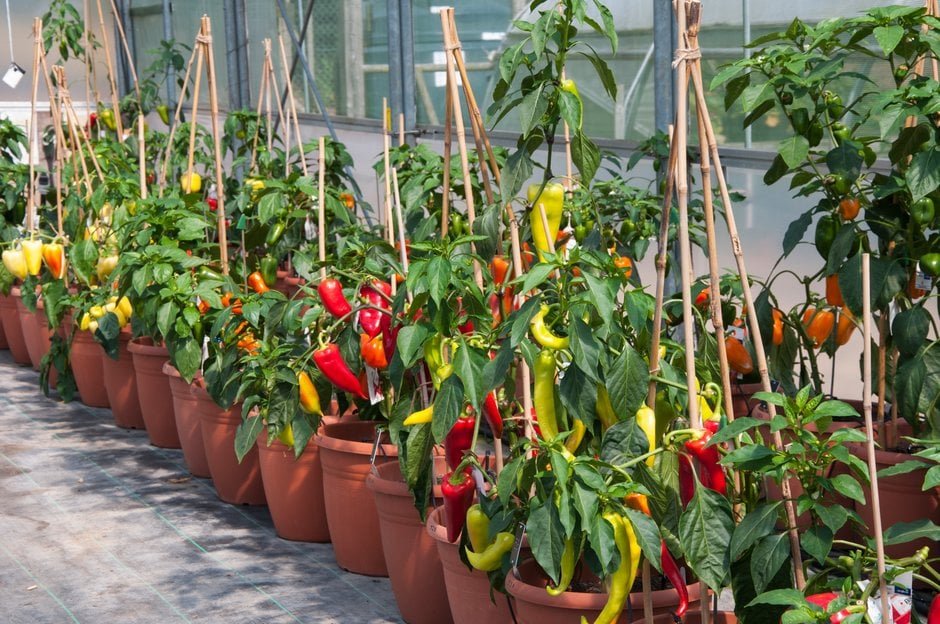
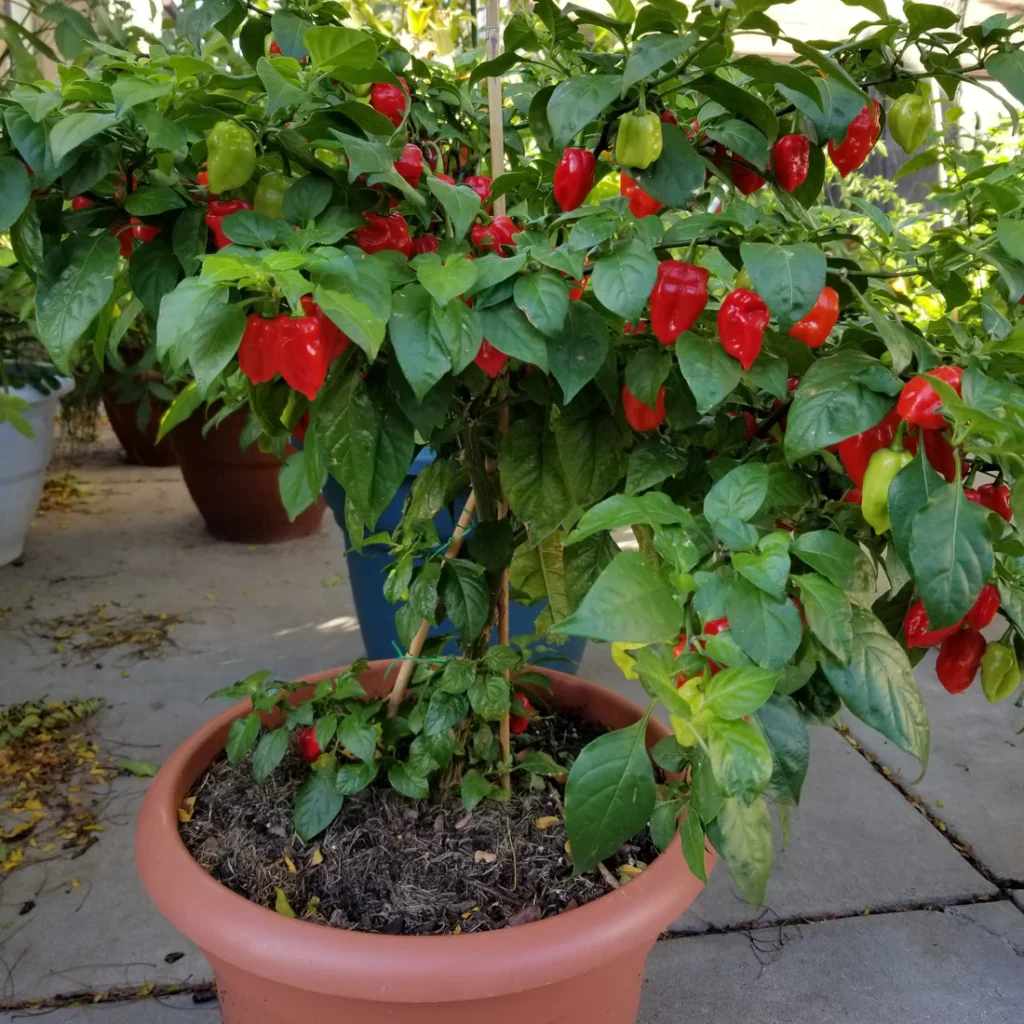
As plants grow taller, you may need to stake or cage them for support, especially when they begin to bear heavy fruit.
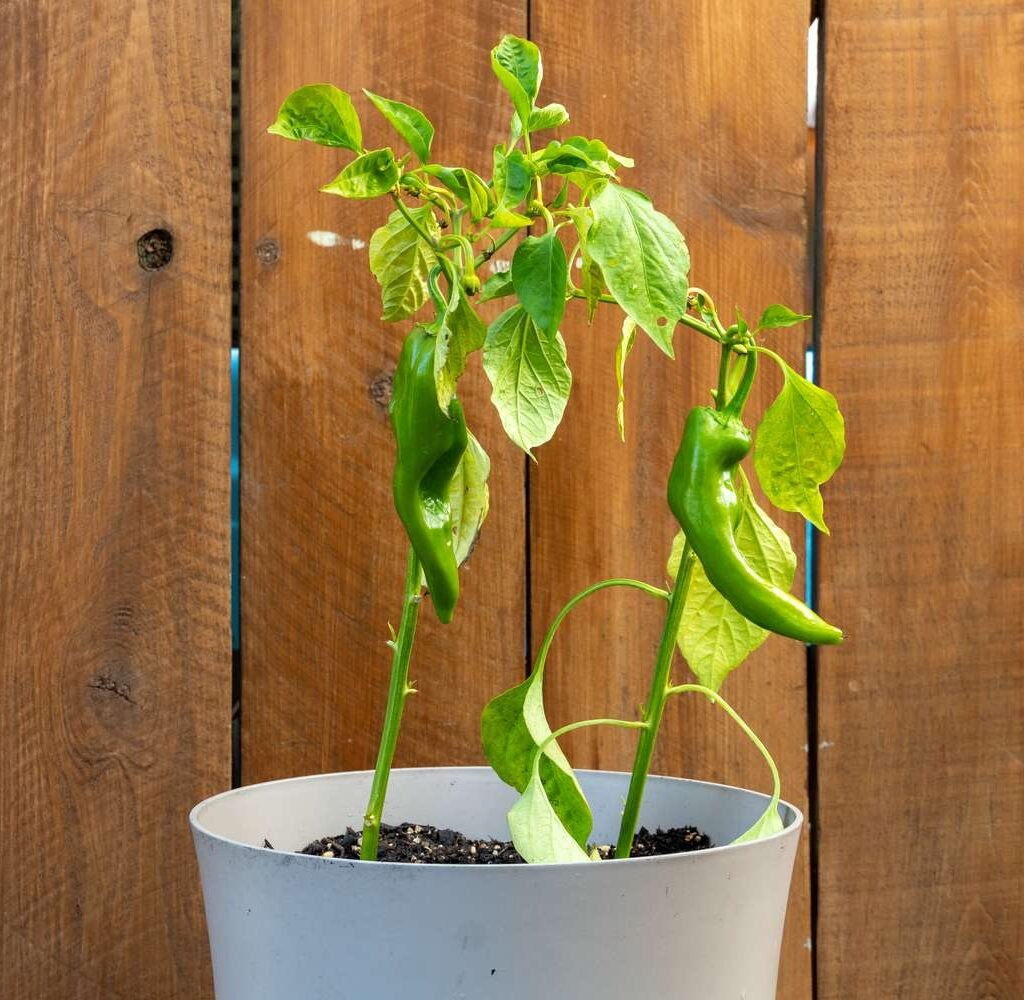
Why Anaheim Pepper Plants Produce Flowers but No Peppers
A common issue gardeners face is flowering without fruit set. Here are a few reasons why this happens and how to fix it:
1. Temperature Stress
If daytime temperatures exceed 90°F (32°C) or drop below 55°F (13°C), flowers may drop without forming fruit.
Fix: Provide shade during extreme heat or use row covers in cool weather.
2. Pollination Issues
Lack of pollinators or indoor growing without hand pollination can lead to poor fruit set.
Fix: Encourage bees by planting pollinator-friendly flowers nearby, or gently shake the flowers to distribute pollen.
3. Excess Nitrogen
Too much nitrogen fertilizer leads to leafy growth and few flowers.
Fix: Switch to a low-nitrogen fertilizer once flowering starts.
4. Irregular Watering
Fluctuations between dry and soggy soil can stress the plant and cause blossom drop.
Fix: Maintain consistent moisture, and use mulch to regulate soil hydration.
Common Pests and Diseases
Like most peppers, Anaheim plants are susceptible to a few pests and diseases. Here’s how to manage them naturally:
1. Aphids
These small green or black insects suck plant sap and weaken leaves.
Solution: Spray plants with neem oil or a mild soap-water solution.
2. Whiteflies
Tiny flying insects that feed on the underside of leaves.
Solution: Use yellow sticky traps and neem oil sprays.
3. Cutworms
They cut off young seedlings at the base.
Solution: Place collars made from cardboard around the base of young plants.
4. Fungal Diseases
Excess moisture can cause powdery mildew or root rot.
Solution: Ensure proper spacing, water at the base, and avoid wetting the foliage.
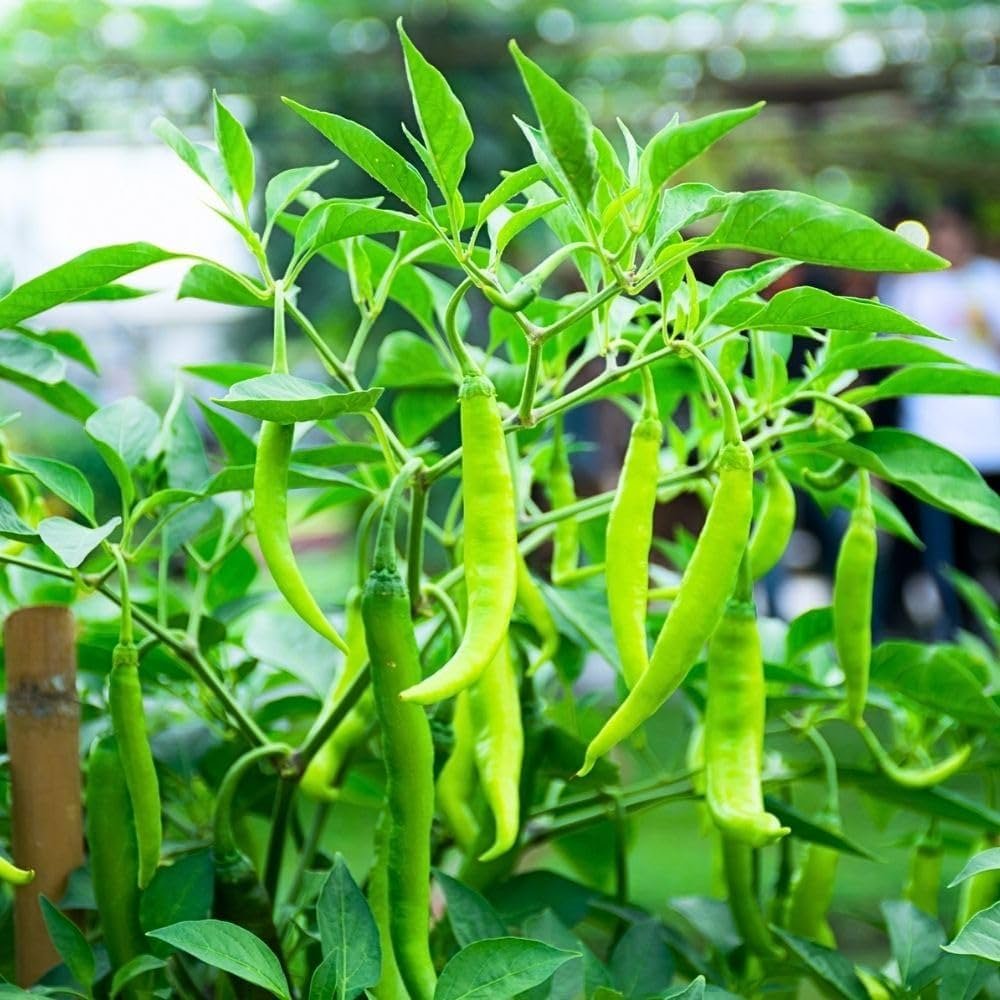
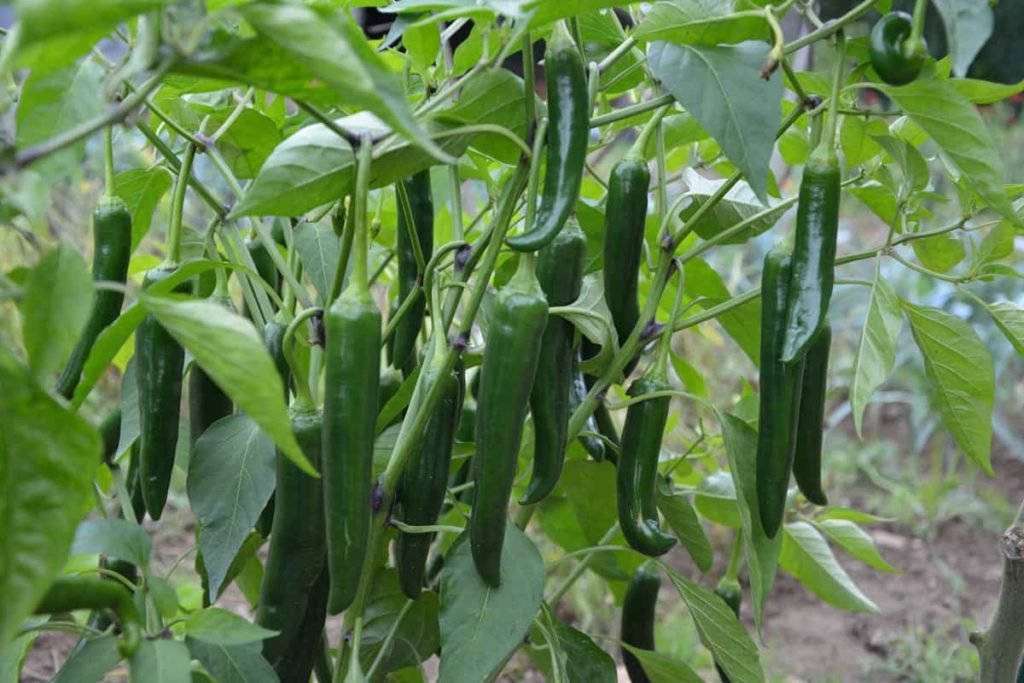
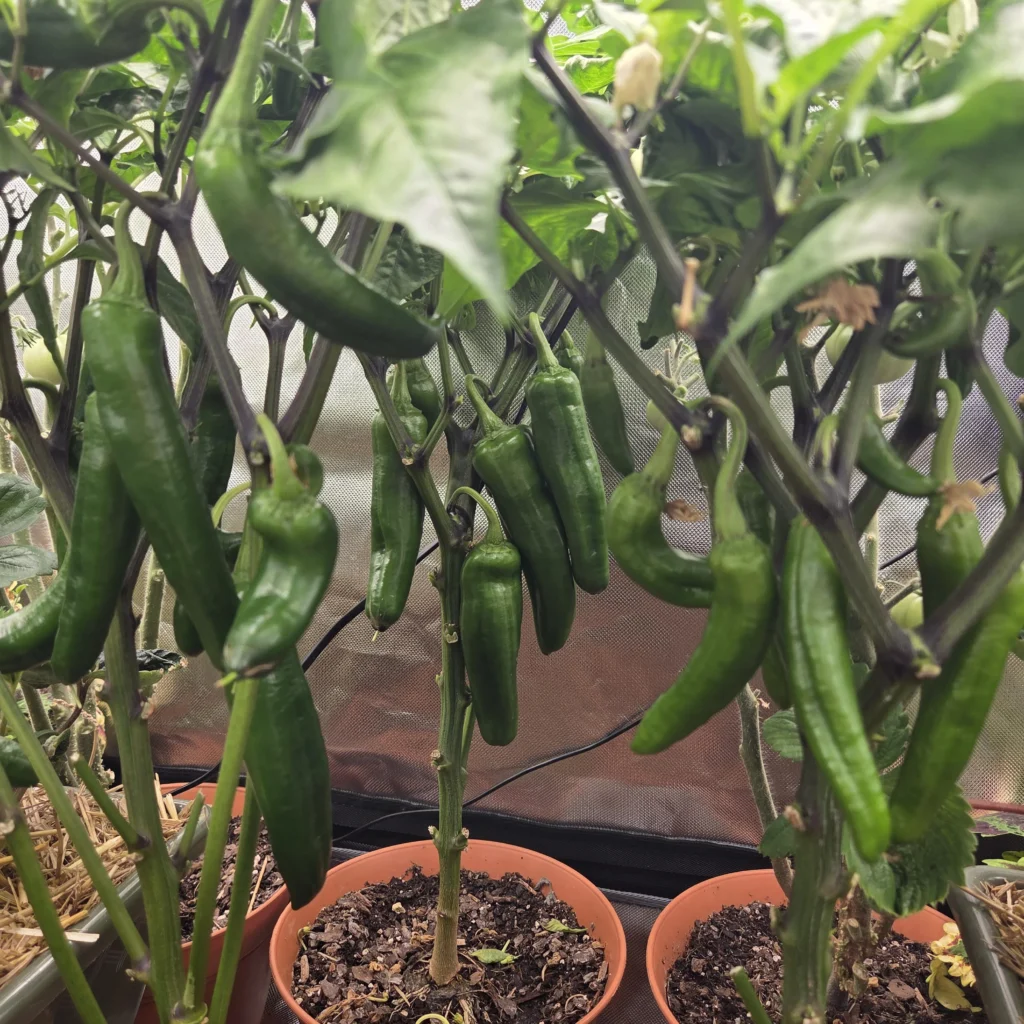
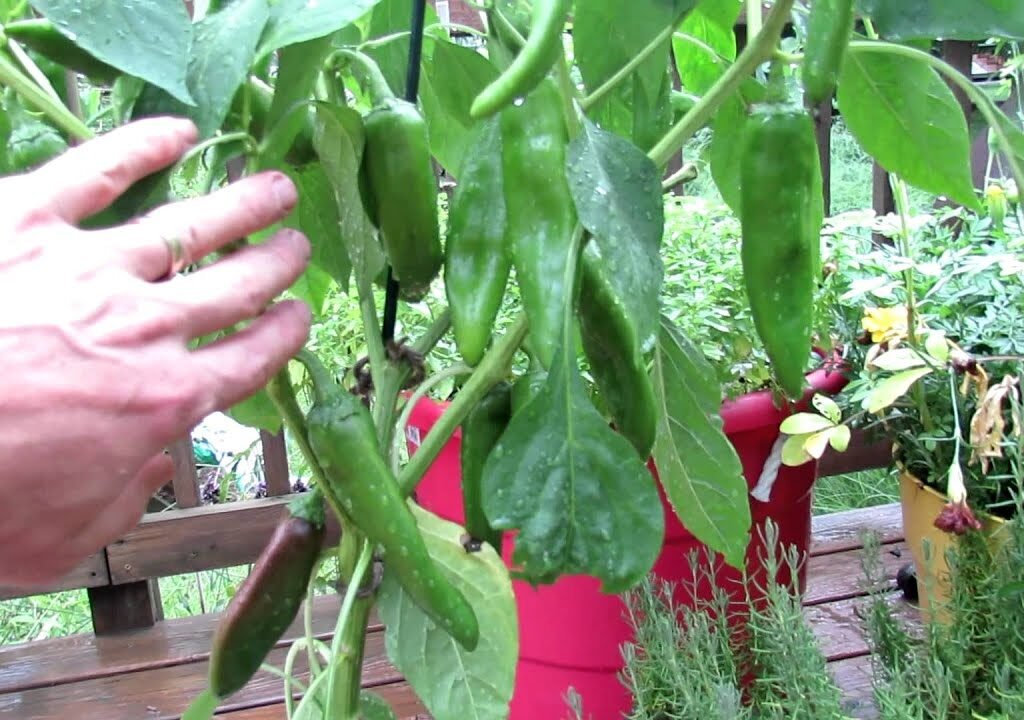
Harvesting Anaheim Peppers
Anaheim peppers typically take 70–90 days from transplanting to mature. Here’s how to know when they’re ready:
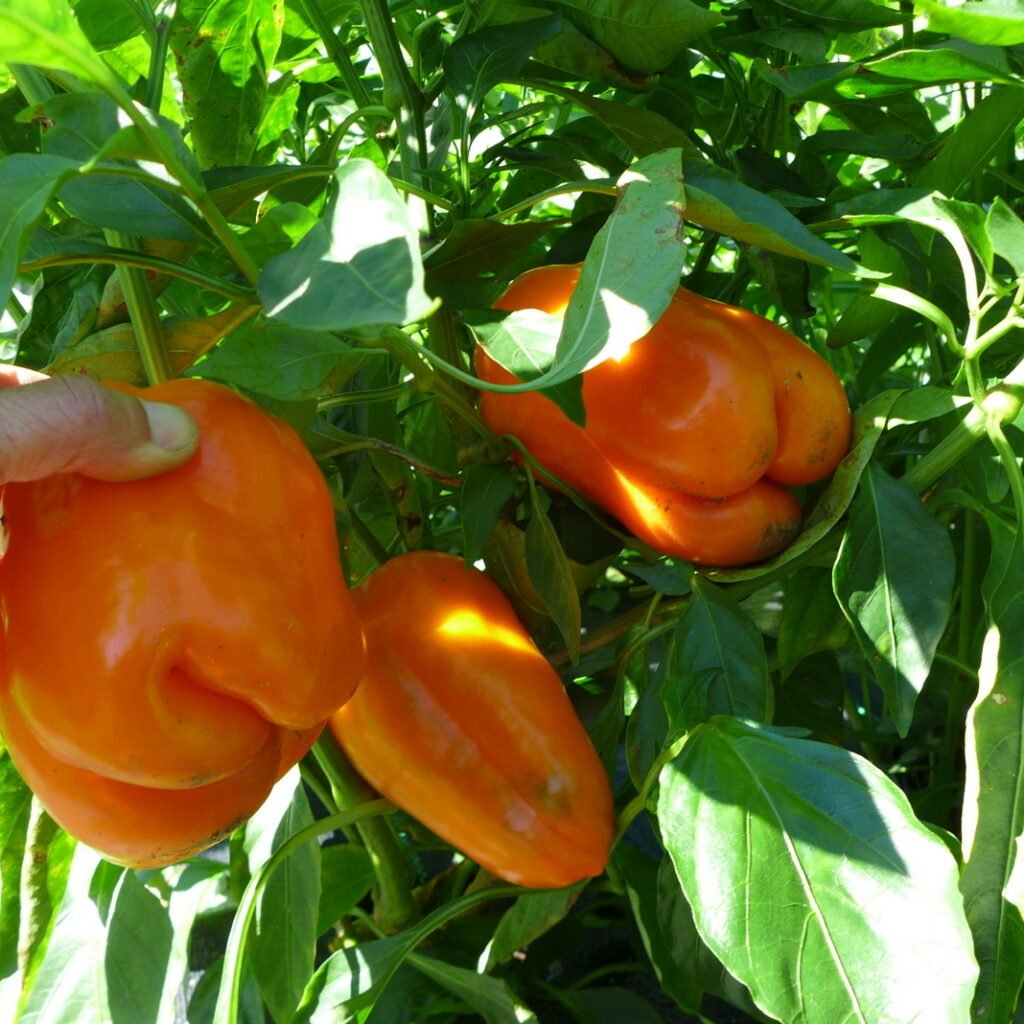
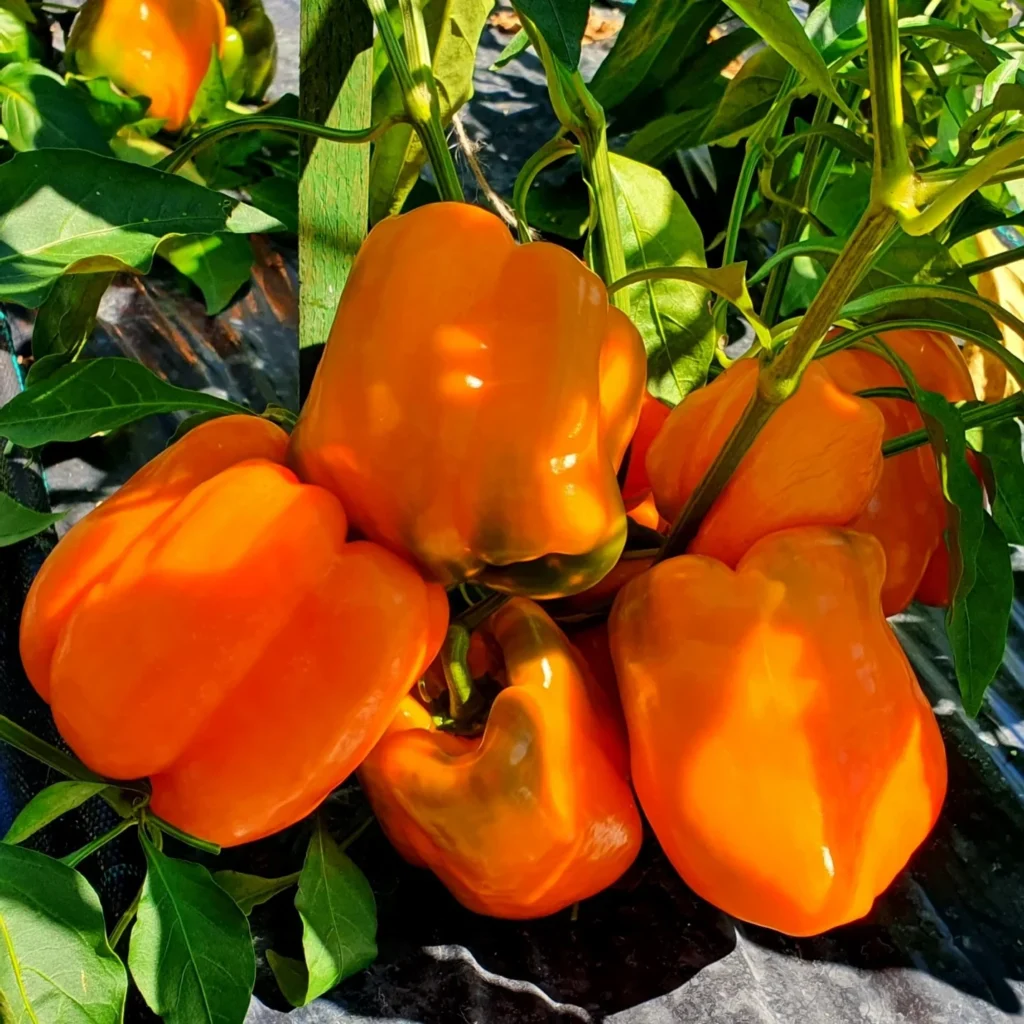
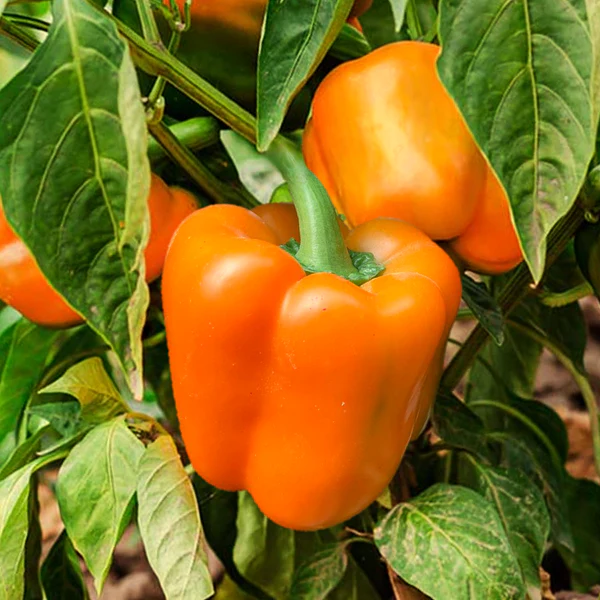
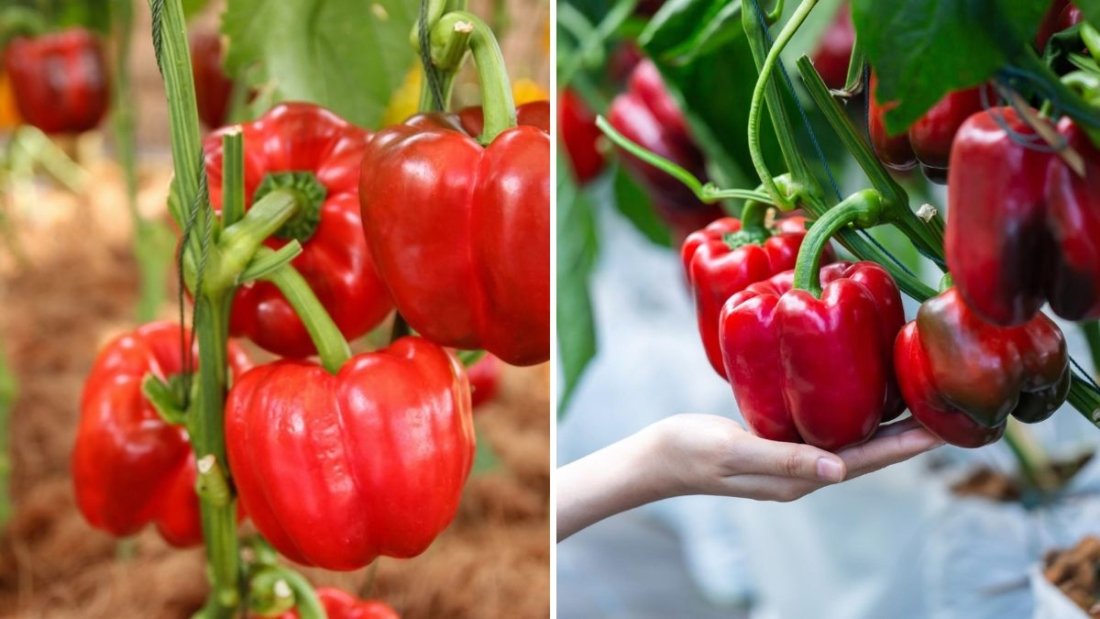
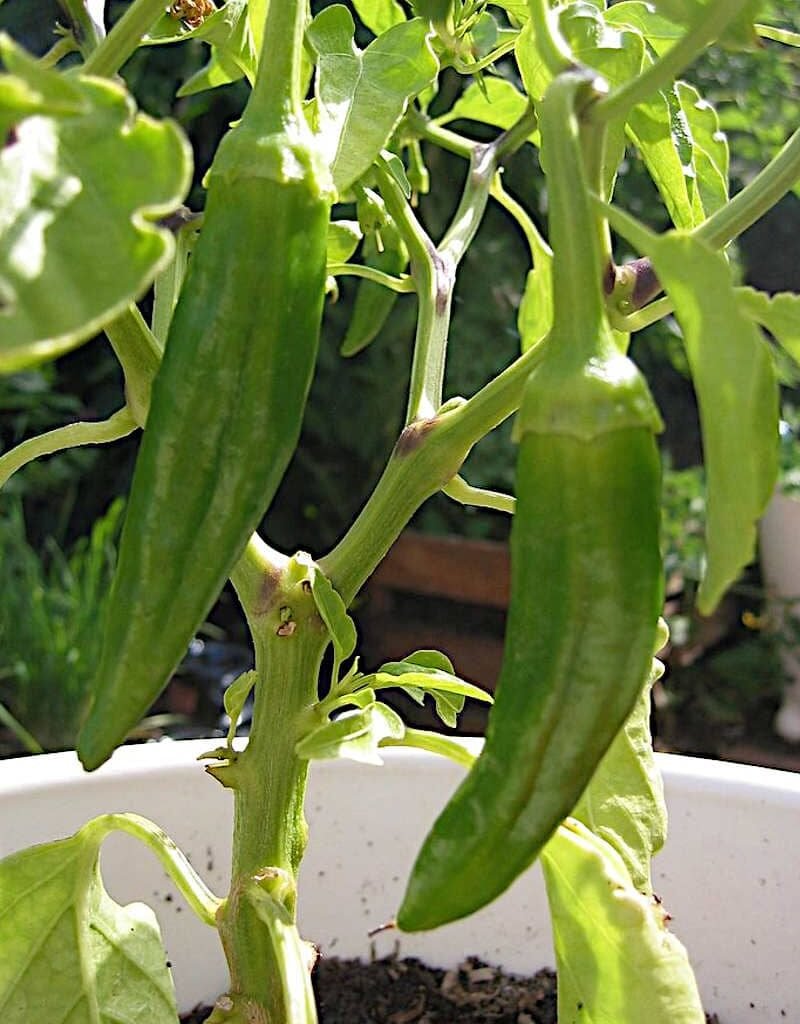
- Green Anaheim peppers are ready for harvest when they reach 6–8 inches long and have a firm, glossy skin.
- For a sweeter and richer flavor, allow them to ripen to red on the plant.
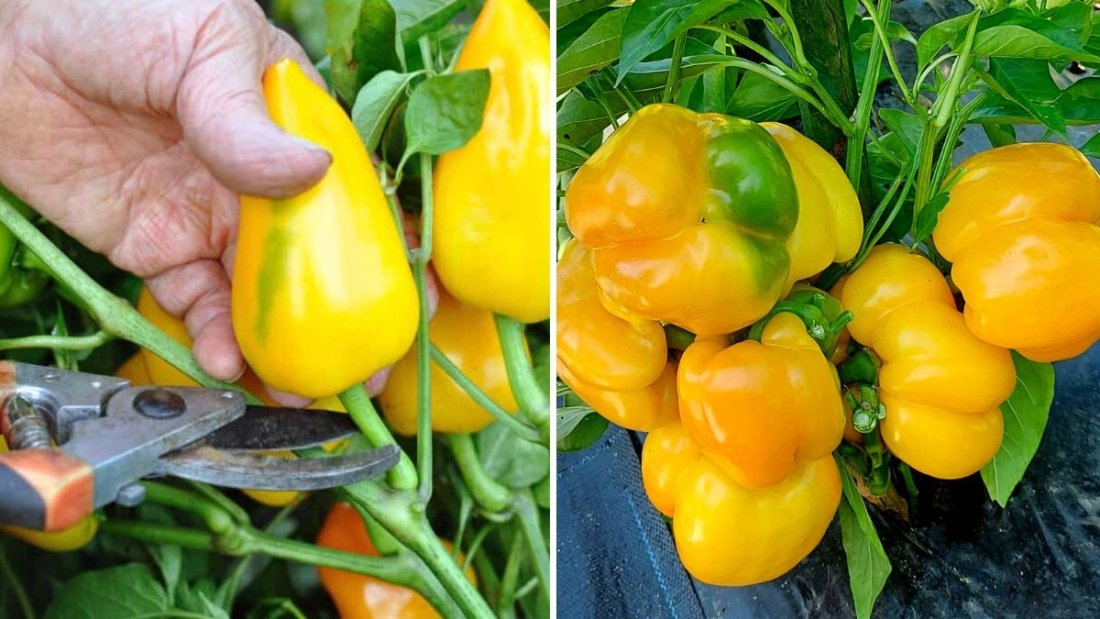
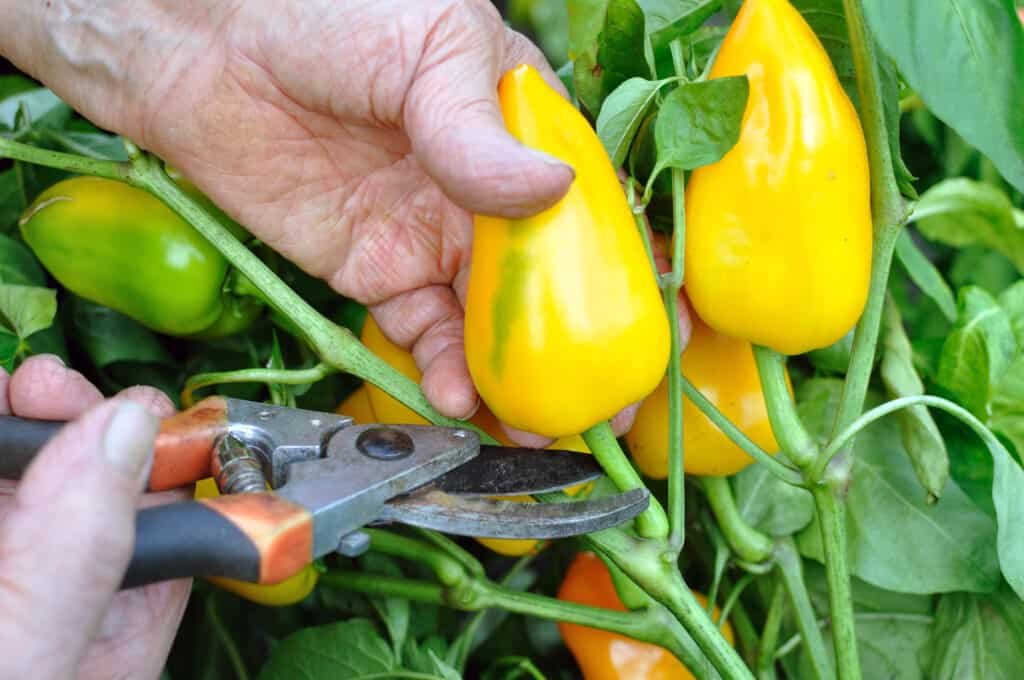
- Use scissors or pruning shears to cut the peppers off, leaving a short stem attached to avoid damaging the plant.
Pro tip: Regular harvesting encourages new flower and fruit development, extending your harvest season.
Post-Harvest Tips
After harvesting, you can store Anaheim peppers in several ways:
- Fresh Storage: Keep them in the refrigerator for up to 2 weeks.
- Freezing: Wash, slice, and freeze in airtight bags.
- Drying: Dry them in the sun or a dehydrator for making chili flakes or powder.
Dried Anaheim peppers are often called New Mexico chilies — known for their mild heat and smoky flavor in traditional Southwestern dishes.
Bonus Tips for Bigger, Healthier Peppers
- Rotate Crops: Don’t plant peppers in the same soil two years in a row to prevent soil-borne diseases.
- Mulch Deeply: Helps maintain soil temperature and moisture.
- Pinch Early Flowers: For stronger growth, pinch off early blossoms until the plant is about 12 inches tall.
- Feed with Epsom Salt: Mix one tablespoon in a gallon of water and apply once a month to boost magnesium and increase pepper production.
- Monitor pH: Test your soil annually to ensure it stays around 6.5–7.0 for optimal nutrient absorption.
Final Thoughts
Growing and caring for Anaheim pepper plants is both rewarding and deliciously productive. With just a little attention — consistent watering, sunlight, and proper nutrition — you can enjoy a steady harvest of mild, flavorful peppers throughout the season.
Whether you use them roasted in tacos, stuffed with cheese, or dried into chili flakes, Anaheim peppers are a garden treasure that add warmth and depth to your cooking. So get your seeds started, nurture your plants with care, and enjoy the spicy-sweet satisfaction of harvesting homegrown Anaheim peppers!