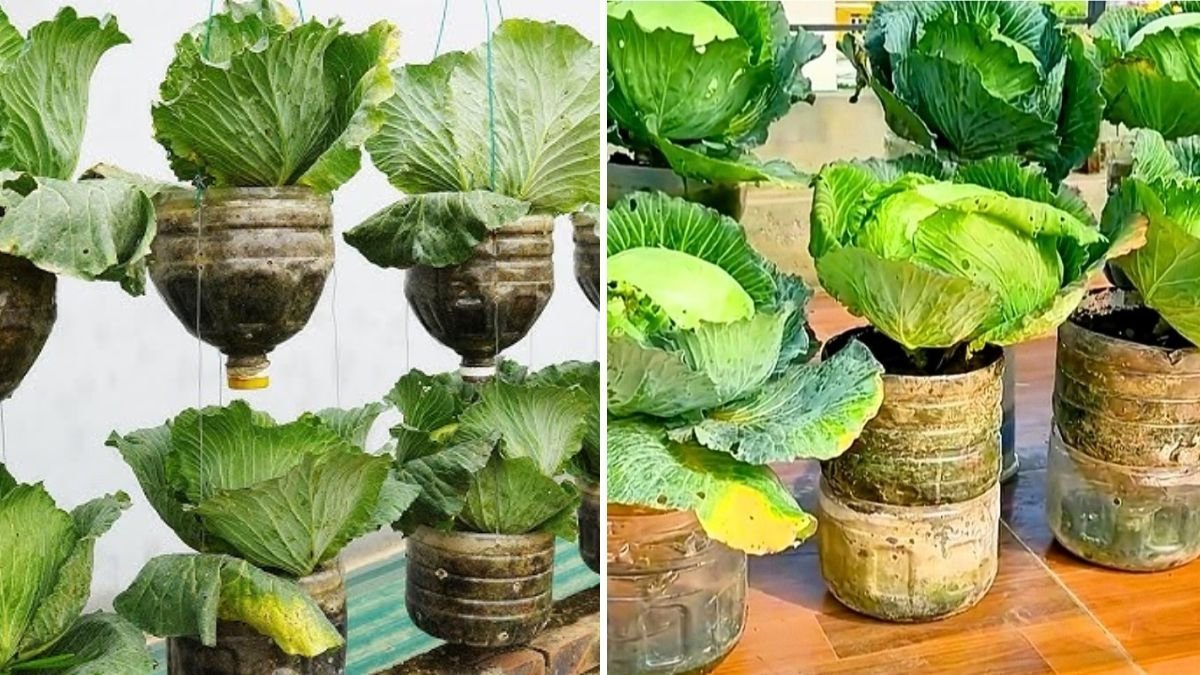
When most people think of growing cabbage, they imagine wide garden beds, rich soil, and plenty of space. But what if I told you that you can grow giant, healthy cabbages using nothing more than old plastic bottles? Sounds unbelievable, right?
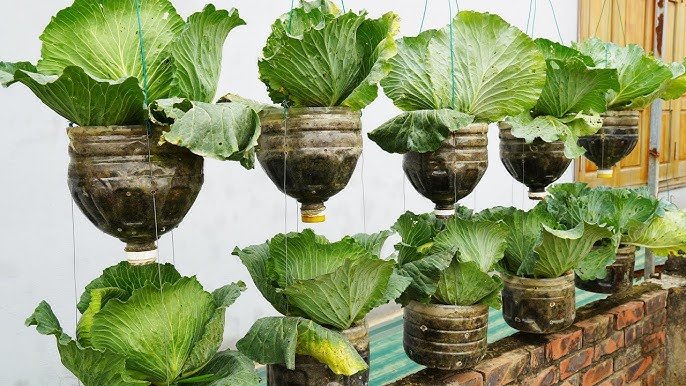
This creative, eco-friendly gardening method is taking the DIY world by storm — transforming discarded plastic into a thriving home for lush, oversized cabbages. Whether you live in a small apartment, have limited outdoor space, or simply want to recycle creatively, this technique proves that great harvests don’t always need big gardens.
In this detailed guide, you’ll discover how to grow giant cabbages in old plastic bottles, step-by-step — from bottle preparation and soil mixing to watering, fertilizing, and harvesting.
Why Grow Cabbage in Plastic Bottles?
Growing cabbage in old plastic bottles might sound unconventional, but it comes with plenty of benefits:
- Eco-Friendly Gardening – You recycle bottles instead of throwing them away, reducing plastic waste.
- Water Efficiency – Bottles retain moisture better, minimizing water wastage.
- Space-Saving Solution – Perfect for balconies, rooftops, or windowsills.
- Low-Cost Gardening – No need for expensive pots or planters.
- Portability – You can move the bottles easily to get sunlight or shelter.
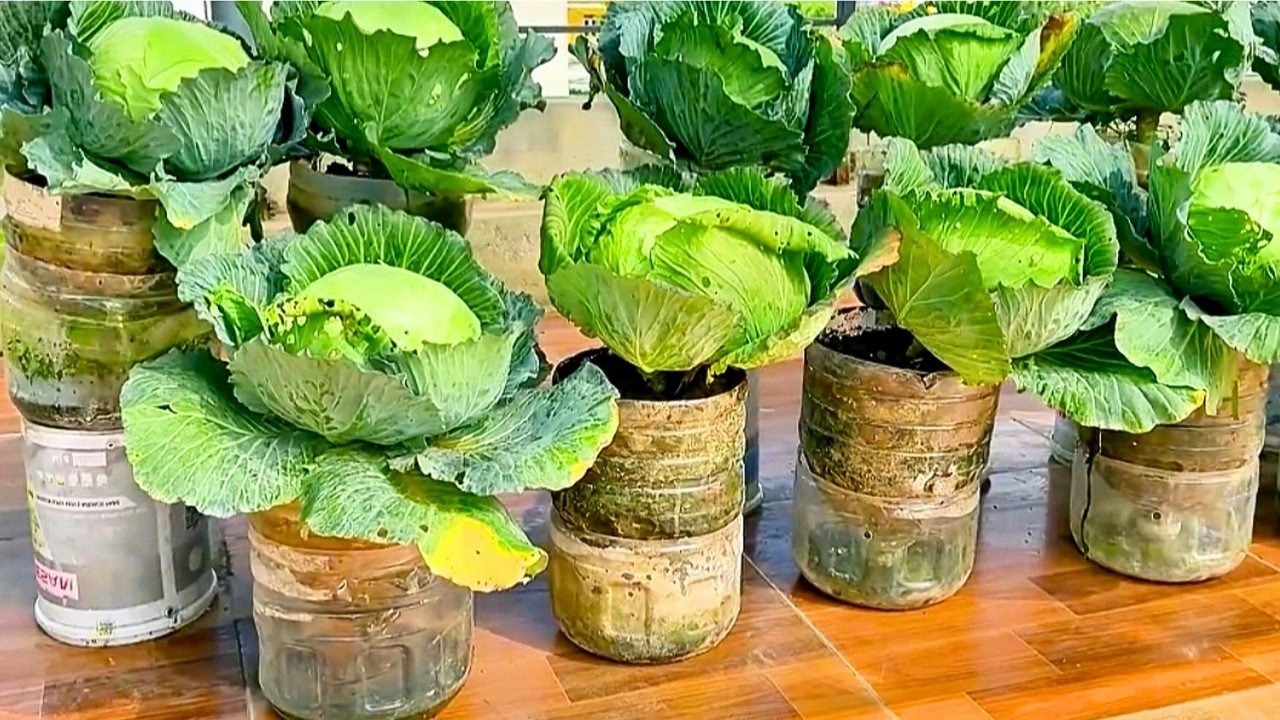
And most surprisingly, despite their small size, plastic bottles can nurture cabbage plants that grow unexpectedly large and healthy — thanks to proper soil, care, and nutrient balance.
What You’ll Need
Before you start, gather these simple materials:
- Old plastic bottles (2 to 5 liters each — bigger bottles are better)
- Cabbage seeds or young seedlings
- Rich potting mix (loamy soil + compost + sand)
- Organic fertilizer (compost, cow manure, or vermicompost)
- Small stones or pebbles (for drainage)
- A knife or scissors (to cut bottles)
- A watering can or spray bottle
- Wooden sticks or bamboo stakes (for plant support)
Optional:

- Natural pest repellent spray (like neem oil or garlic water)
- Paint or jute rope if you want to decorate the bottles
Step 1: Prepare Your Plastic Bottles
The bottle will serve as both the pot and the growing system, so preparation is key.
- Cut the bottle:
Use a sharp knife or scissors to cut off the top third of the bottle. This creates a wide opening for planting. - Make drainage holes:
Poke 4–5 small holes in the bottom for excess water to escape — good drainage prevents root rot. - Add drainage material:
Place a layer of pebbles or small stones at the bottom. - Fill with soil:
Mix equal parts of garden soil, compost, and sand. Add a handful of organic fertilizer. Fill the bottle about three-fourths full.
This soil mix ensures proper aeration, moisture retention, and nutrient balance — perfect for cabbage roots to spread deep and strong.
Step 2: Plant the Seeds or Seedlings
You can start from seeds or young cabbage seedlings.
- If sowing seeds:
- Sow 3–4 seeds in the center, about half an inch deep.
- Cover lightly with soil and mist with water.
- Once seedlings reach 3–4 inches tall, thin out the weaker ones and keep only the strongest.
- If transplanting seedlings:
- Dig a small hole in the middle of the bottle.
- Gently insert the seedling, covering its roots completely.
- Press the soil lightly around it for support.
Tip: One bottle should hold only one cabbage plant to allow enough space for the head to develop fully.
Step 3: Find the Right Location
Cabbage loves sunlight but doesn’t tolerate extreme heat.
- Place your bottles where they’ll receive 6–8 hours of sunlight daily.
- Morning sunlight is ideal — it’s gentle and promotes strong leaf growth.
- If you live in a hot climate, use a light shade net or cloth during peak afternoon hours.
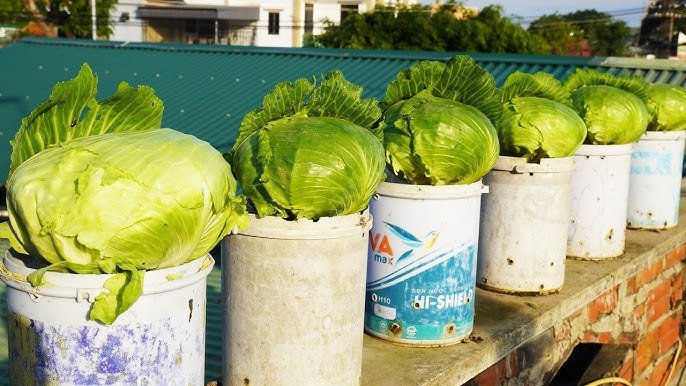
You can line up your bottles on a balcony railing, windowsill, or even hang them vertically for a space-efficient cabbage garden.
Step 4: Watering and Feeding
Cabbages are thirsty plants — consistent moisture is key to growing large heads.

Watering:
- Keep the soil moist but not soggy.
- Water once daily, and twice during hot weather.
- Use a spray bottle or watering can to water slowly until it drains out the bottom holes.
Fertilizing:
- Every 10–14 days, feed your cabbage with organic liquid fertilizer — compost tea, worm castings, or diluted fish emulsion.
- This provides essential nutrients like nitrogen, phosphorus, and potassium, promoting leafy growth and strong stems.
Pro Tip: Mulch the top of the soil with dried leaves or straw to retain moisture longer.
Step 5: Care and Maintenance
To help your cabbage thrive and grow giant, consistency is key.
- Loosen soil: Gently stir the top layer of soil every week to improve airflow.
- Remove yellow leaves: Trim off dying or pest-damaged leaves to keep the plant healthy.
- Add compost regularly: Every two weeks, mix a little compost into the topsoil to maintain fertility.
- Support growth: As your cabbage grows heavier, insert a small bamboo stake or stick to keep it upright.
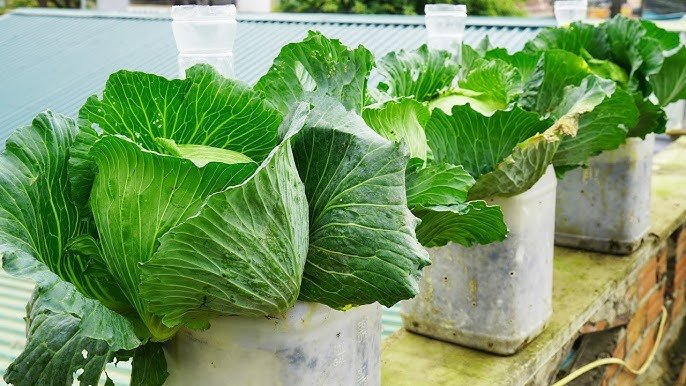
If you follow these steps, your cabbage will grow with wide, dark green leaves that curl around to form a firm, round head — even inside a small plastic bottle.
Step 6: Pest and Disease Control
Cabbage plants attract common pests like aphids, caterpillars, and slugs. But don’t worry — you can handle them naturally.
Natural Solutions:

- Neem oil spray: Mix neem oil, water, and a few drops of dish soap. Spray weekly on the leaves.
- Garlic-chili spray: Blend garlic and chili with water, strain it, and spray to repel insects.
- Manual removal: Check undersides of leaves regularly and remove any caterpillars or eggs by hand.
Because the bottles are small and portable, you can also move them indoors or to a shaded area if pest activity becomes intense.
Step 7: Watching the Growth Transformation
Within a few weeks, you’ll notice the magic — what started as a small seedling begins expanding rapidly. The leaves will grow broad, rich green, and strong. The cabbage head will start forming, getting denser with time.
It’s amazing to see how an old plastic bottle, something we often throw away, can nurture a plant that grows so big and healthy.
Keep your bottles clean and occasionally wipe away any algae that forms on the outside. If you’re growing multiple bottles, space them about 12 inches apart for better air circulation.
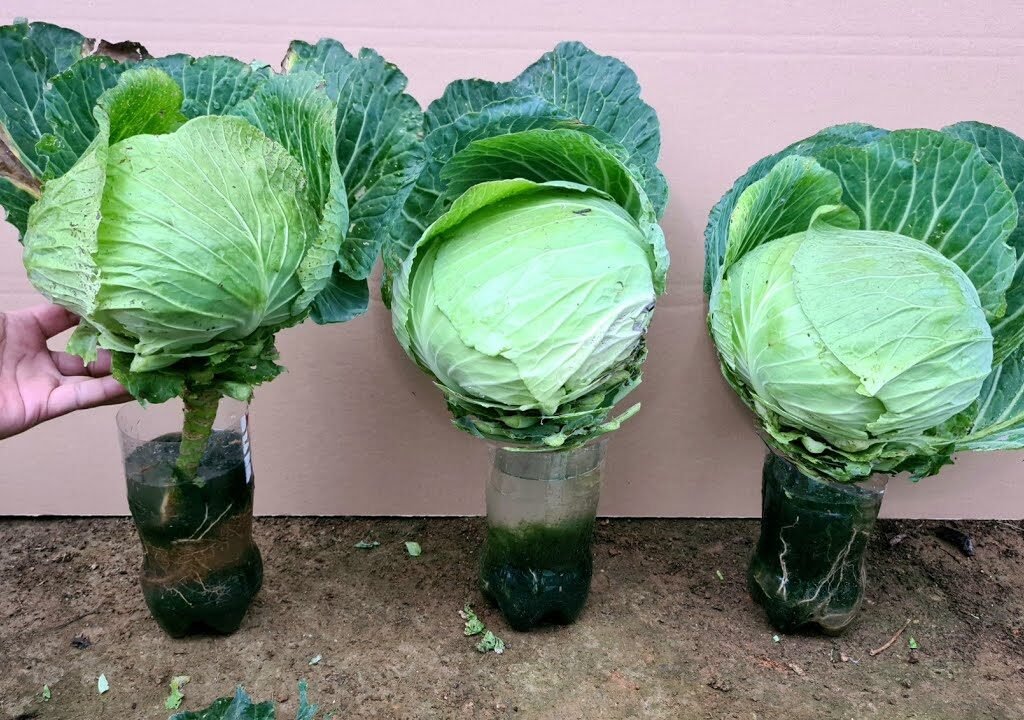
Step 8: Harvesting Giant Cabbages
Depending on the variety, cabbages take around 80–100 days to mature. You’ll know it’s harvest time when:
- The head feels firm and compact when pressed.
- Outer leaves are large and vibrant.
- The plant looks heavy for its size.
To harvest:
- Cut the cabbage at the base using a sharp knife.
- Leave the outer leaves and roots in the bottle — sometimes, small new heads will sprout from the sides!
After harvesting, wash your cabbage thoroughly and enjoy it fresh in salads, soups, or stir-fries.

Step 9: Regrowing from the Base
Want another crop without buying new seeds? You can regrow cabbage from its base!
- Cut the base of the cabbage, leaving about 2 inches of stem.
- Place it in a shallow bowl with water.
- After 5–7 days, you’ll see new leaves sprouting.
- Once small roots appear, transplant it into your bottle again.
This sustainable trick gives you multiple harvests from one plant and reduces waste even further.
Troubleshooting Common Problems
| Problem | Possible Cause | Solution |
|---|---|---|
| Yellowing leaves | Overwatering | Reduce watering and ensure good drainage |
| Small head formation | Poor soil nutrition | Add compost or organic fertilizer |
| Bolting (early flowering) | High temperature | Provide shade and consistent watering |
| Pests on leaves | Aphids or caterpillars | Use neem oil or garlic spray regularly |
Step 10: Make It Beautiful — Decorating Your Bottle Garden
Besides being productive, your plastic bottle garden can be a decorative feature!
- Paint the bottles in bright colors.
- Wrap them with jute or fabric for a rustic look.
- Arrange them vertically on a wall or fence for a space-saving design.
- Add cute labels for each plant.
Your garden will look not only eco-friendly but also artistic and full of life.
The Eco-Friendly Impact
By turning old plastic bottles into cabbage planters, you’re doing more than just gardening — you’re contributing to a greener planet.
Here’s what you achieve with this method:
- Reduce Plastic Waste: Reuse bottles instead of discarding them.
- Save Water: Bottle containers retain moisture better.
- Grow Organic Food: No harmful chemicals — just natural, healthy vegetables.
- Inspire Others: Your project encourages sustainable living in your community.
Small changes like this can make a big difference in building a cleaner, healthier environment.

Final Thoughts
Who would have guessed that something as simple as an old plastic bottle could help grow giant, healthy cabbages? This DIY gardening trick shows that innovation, creativity, and care can turn waste into abundance.
You don’t need a big garden — just a few bottles, some soil, and patience. Soon enough, you’ll be harvesting massive, fresh cabbages that you grew yourself — proof that sustainable living can be both rewarding and delicious.
So, before throwing away another plastic bottle, think again — it might just be the perfect start to your own giant cabbage garden!
Leave A Comment