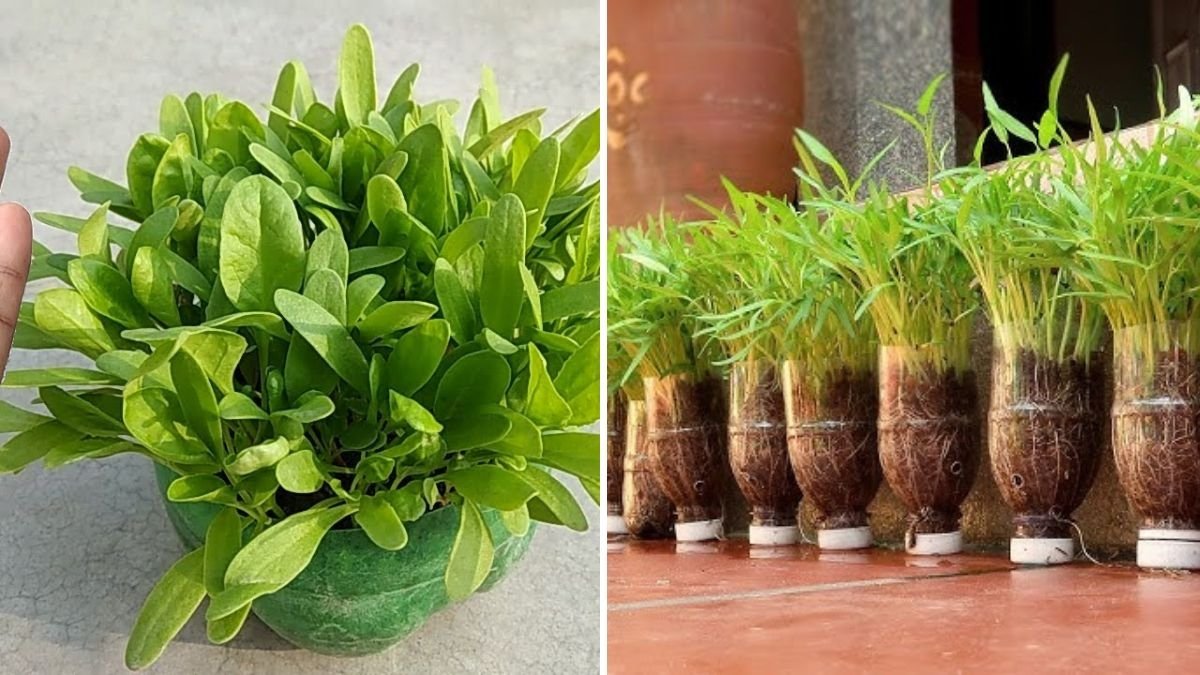
Growing your own fresh, organic spinach doesn’t have to require a big garden or expensive equipment. With just a few waste plastic bottles, a handful of seeds, and some simple care, you can enjoy a continuous supply of lush, green spinach leaves right from your balcony or windowsill. This eco-friendly method is perfect for beginners, small-space gardeners, or anyone looking to reduce plastic waste while producing healthy food at home.
In this detailed guide, we’ll walk you through how to grow spinach in waste plastic bottles from seeds—covering everything from preparation and planting to watering, fertilizing, and harvesting. Let’s get started on your journey to sustainable, homegrown greens!
🌱 Why Grow Spinach in Plastic Bottles?
Before we dig into the process, let’s understand why plastic bottles make such great containers for growing spinach:
- Eco-Friendly Gardening: Reusing bottles helps reduce plastic waste and promotes sustainable living.
- Space-Saving Solution: Ideal for balconies, terraces, or small apartments where traditional gardening isn’t possible.
- Cost-Effective: No need for pots or planters—plastic bottles are free and readily available.
- Portable and Lightweight: You can easily move your mini spinach garden to chase sunlight or avoid heavy rain.
- Controlled Environment: Bottles let you manage soil quality, moisture, and sunlight easily, leading to healthier plants.
🧺 Materials You’ll Need

To get started, gather the following simple materials:
- Empty plastic bottles (1 or 2-liter soda or water bottles)
- Sharp knife or scissors (for cutting)
- Potting soil or garden soil (preferably rich in organic matter)
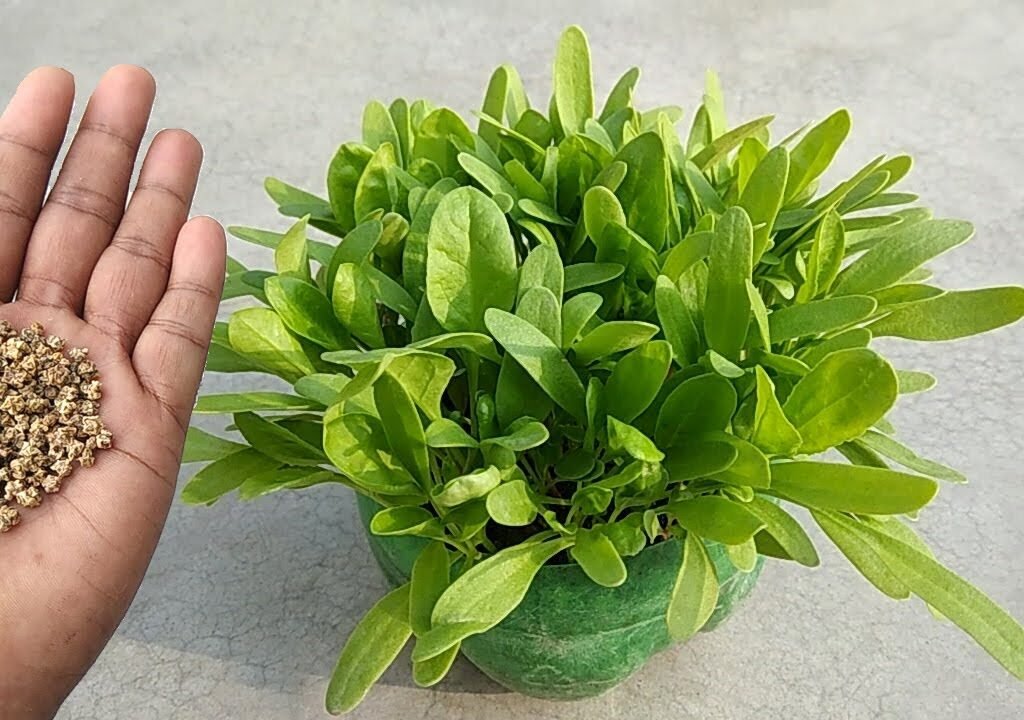
- Spinach seeds
- Compost or vermicompost
- Small stones or gravel (for drainage)
- Spray bottle or watering can
- Tray or plate (to catch extra water under bottles)
Optional: A marker and tape for labeling your bottles if you plan to grow multiple plants.
✂️ Step 1: Prepare the Plastic Bottles
- Take a clean, dry plastic bottle and remove the label.
- Use scissors or a knife to cut off the top portion (about 4–5 inches from the cap end).
- Make 3–4 drainage holes at the bottom using a heated nail or screwdriver. These holes prevent waterlogging and root rot.
- Place a few small stones or gravel at the bottom to improve drainage.
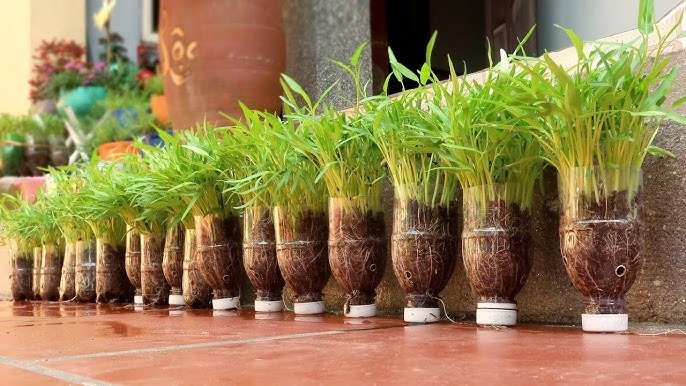
- If you want a self-watering design, invert the bottle’s top half (with the cap removed) into the bottom half and insert a cotton wick through the cap hole. This helps maintain consistent soil moisture.
Your plastic bottle planter is now ready for planting!

🌿 Step 2: Prepare the Potting Mix
Spinach loves moist, nutrient-rich, well-draining soil. You can easily make a perfect mix at home:
- 40% garden soil
- 40% compost or organic manure
- 20% cocopeat or sand (for aeration)
Mix well and fill your bottle planter, leaving about an inch of space from the top for watering.
💡 Pro Tip: Avoid compacting the soil too tightly; spinach roots need air circulation to grow well.
🌾 Step 3: Sowing Spinach Seeds
Now it’s time to plant your spinach seeds:
- Sprinkle 3–5 spinach seeds evenly on the soil surface.
- Cover them lightly with a thin layer of soil or cocopeat (about ½ inch deep).
- Mist gently with water using a spray bottle.
- Place the bottles in a shaded, warm area until the seeds germinate.
Spinach seeds usually germinate within 5–10 days. Keep the soil consistently moist during this time, but not soggy.
☀️ Step 4: Provide the Right Sunlight
Once seedlings appear, move your bottles to a sunny spot that receives at least 4–6 hours of sunlight daily.

- Spinach thrives in cool, moderate temperatures (15–25°C / 60–77°F).
- Avoid placing the plants in intense afternoon sun during summer—it can cause the leaves to wilt or bolt (go to seed early).
If you’re growing indoors, place your bottles near a south-facing window or use a small LED grow light.
💧 Step 5: Watering and Moisture Management
Spinach needs consistent moisture to produce soft, flavorful leaves.
- Water lightly but regularly—keep the soil damp but not waterlogged.
- Use a spray bottle or small watering can to avoid disturbing the roots.
- In hot climates, water once daily or every alternate day.
- Make sure excess water drains out through the holes to prevent root rot.
💡 Tip: If your bottle setup has a tray underneath, empty it after each watering to avoid stagnant water.
🌿 Step 6: Fertilizing for Healthy Growth
Spinach is a heavy feeder—it thrives when it gets enough nutrients.
- Add liquid compost tea or diluted seaweed fertilizer every 10–15 days.
- Avoid using chemical fertilizers; organic options give better flavor and are healthier.
- If the leaves start turning pale green or yellow, it’s a sign of nitrogen deficiency—add a small amount of compost to the top layer of soil.
✂️ Step 7: Thinning and Transplanting
When your spinach seedlings are about 2–3 inches tall, it’s time to thin them:
- Remove weaker seedlings, leaving 2–3 strong plants per bottle.
- If you want, transplant the removed seedlings into new bottles to expand your mini spinach garden.
Thinning ensures each plant has enough space, nutrients, and airflow to grow lush and healthy.

🌱 Step 8: Maintenance and Pest Control
Although spinach is fairly easy to grow, it can face a few challenges. Here’s how to handle them naturally:
Common Problems and Solutions:
- Aphids or leaf miners: Spray the leaves with neem oil or a mild soap-water solution once a week.
- Yellowing leaves: Overwatering or poor drainage—reduce watering and check drainage holes.
- Slow growth: Add a little compost or organic liquid fertilizer to boost nutrients.
- Bolting (flowering early): Happens in hot weather—move your plants to a shaded, cooler area.
Keep removing damaged or yellow leaves to encourage new, healthy growth.
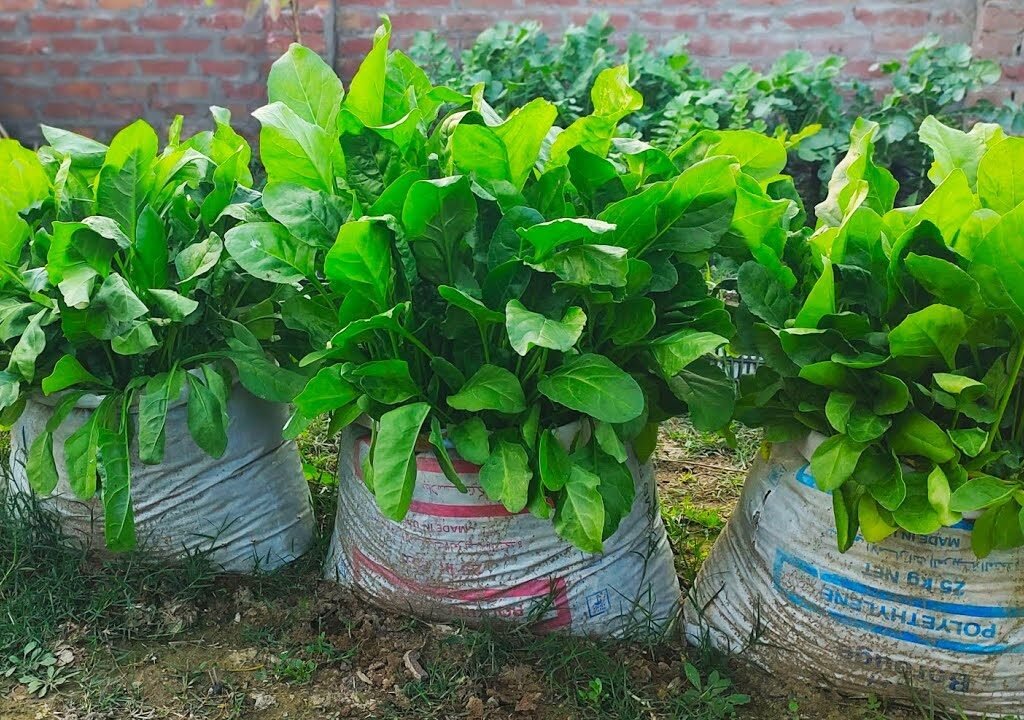
🌿 Step 9: Harvesting Spinach Leaves
The most rewarding part of growing spinach is the harvest! You can start picking leaves in 4–6 weeks after sowing.
Here’s how to do it right:
- Use clean scissors or fingers to snip the outer leaves first, leaving the center leaves to continue growing.
- Harvest regularly to encourage new leaf production.
- Avoid cutting more than one-third of the plant at once.
Spinach is best harvested in the morning when the leaves are crisp and full of moisture.
With proper care, each spinach plant can provide multiple harvests over several weeks!

🥗 Step 10: Enjoying Your Homegrown Spinach
Homegrown spinach is not only fresher and tastier but also packed with nutrients like:
- Iron – boosts energy and prevents anemia
- Calcium – strengthens bones and teeth
- Vitamin A & C – supports immune function and skin health
- Folate & fiber – promote digestion and heart health
You can use your freshly harvested spinach in countless ways:
- Add to salads, smoothies, or sandwiches
- Use in curries, soups, and stir-fries
- Make spinach pesto or dips for a healthy snack
- Blend with fruits for an iron-rich green juice
Once you taste your own organic spinach, you’ll never go back to store-bought!
🌎 Eco-Friendly Benefits of This Method
Growing spinach in waste plastic bottles isn’t just convenient—it’s a small but powerful step toward a greener planet.
- Recycling plastic helps reduce landfill waste.
- Urban gardeners can grow food even in small spaces.
- It promotes self-sufficiency and awareness of where your food comes from.
- And best of all, you get pesticide-free, nutrient-rich vegetables at almost no cost!
Imagine transforming your kitchen balcony into a lush mini-garden of spinach, lettuce, herbs, and microgreens—all grown in upcycled containers.
🌿 Pro Tips for Success
- Succession Planting: Sow new seeds every 2–3 weeks for a continuous harvest.
- Rotate Locations: Move bottles occasionally to ensure even sunlight exposure.
- Avoid Overcrowding: Give each plant space to breathe.
- Reuse Bottles: After harvesting, wash and refill bottles for your next batch.
- Mix Crops: Try growing lettuce, coriander, or basil in other bottles for variety.
🌱 Final Thoughts
Growing spinach in waste plastic bottles is a simple, rewarding, and eco-friendly way to enjoy homegrown greens. You don’t need a large garden, just creativity, care, and a few recycled containers.

From germination to harvest, the process teaches patience, sustainability, and the joy of nurturing life. Plus, the satisfaction of picking your own fresh spinach for a salad or curry is unbeatable!
So next time you’re about to toss a plastic bottle, think again. Turn it into a tiny spinach planter and start your green journey today.
Leave A Comment