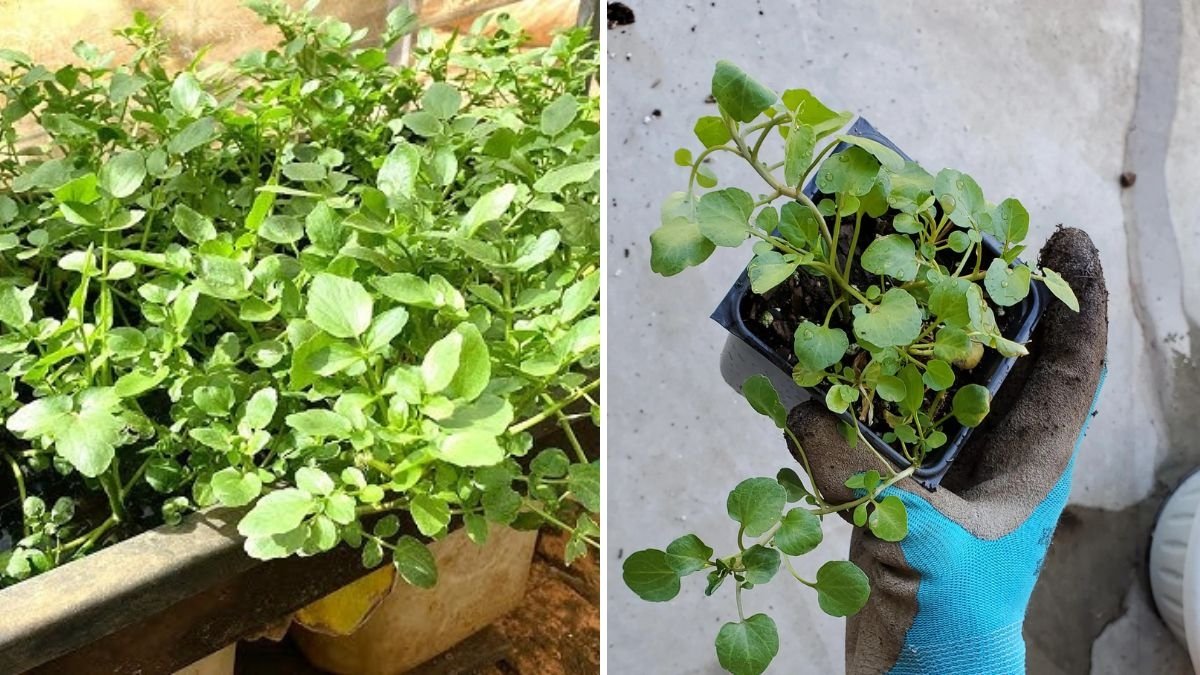
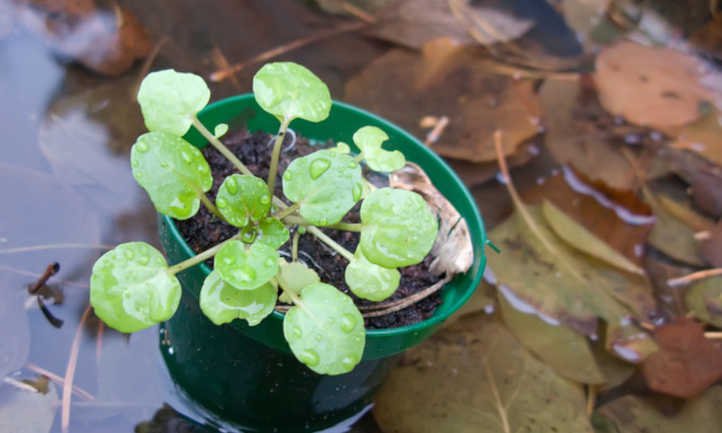
If you’re looking for a fast-growing, nutrient-rich leafy green that thrives even in small spaces, watercress (Nasturtium officinale) is an excellent choice. Known for its peppery flavor and exceptional nutritional value, watercress is a superfood that’s often found in streams and rivers—but with the right approach, you can easily grow it right at home, even without a flowing water source.
This comprehensive guide will walk you through the easiest way to grow watercress at home, from choosing the right growing setup to harvesting and caring for your plants. Whether you live in an apartment, have a backyard, or prefer container gardening, watercress can flourish with minimal effort.
Why Grow Watercress at Home?
Watercress is not just another leafy green—it’s one of the most nutrient-dense vegetables in the world, packed with vitamins A, C, and K, calcium, and antioxidants. Growing it at home offers several benefits:
- Always fresh and chemical-free greens at your fingertips
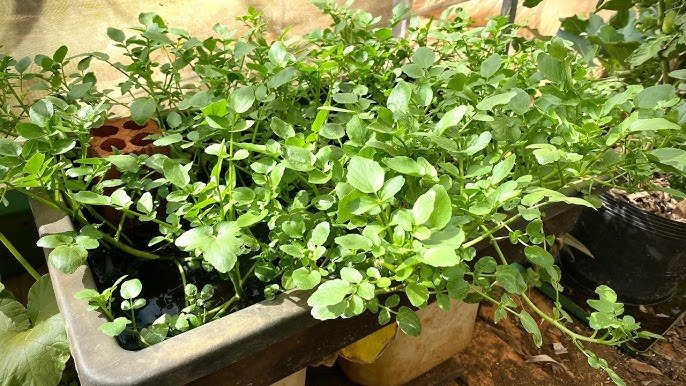
- Fast growth—ready to harvest within 4–6 weeks
- Low maintenance and perfect for hydroponic or soil setups
- Beautiful and functional, adding greenery to your space
It’s also a sustainable choice, as it grows quickly and can be harvested multiple times.
Step 1: Understanding Watercress Growing Conditions
Before planting, it’s important to understand what watercress loves. It naturally grows near clean, flowing water—so to recreate that at home, you’ll need constant moisture and good drainage.
Ideal Growing Conditions:
- Light: Partial sunlight to light shade (4–6 hours daily)
- Temperature: 10°C to 25°C (50°F to 77°F)
- Soil: Rich, loamy soil that stays consistently moist
- Water: Clean, non-chlorinated water is ideal
- Humidity: High humidity helps watercress thrive indoors
If you can maintain a moist environment, watercress will reward you with continuous growth.

Step 2: Choosing Your Growing Method
There are several easy ways to grow watercress at home. Choose one based on your available space and tools.
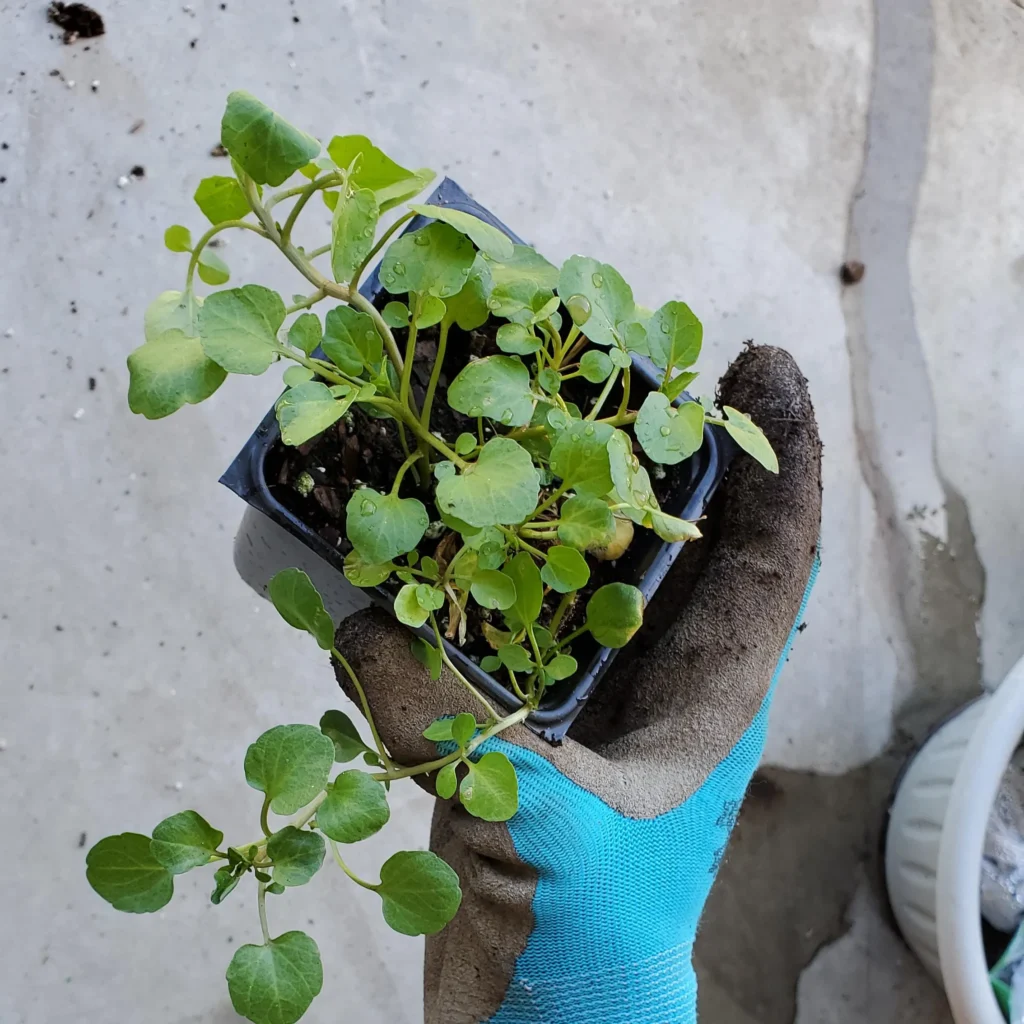
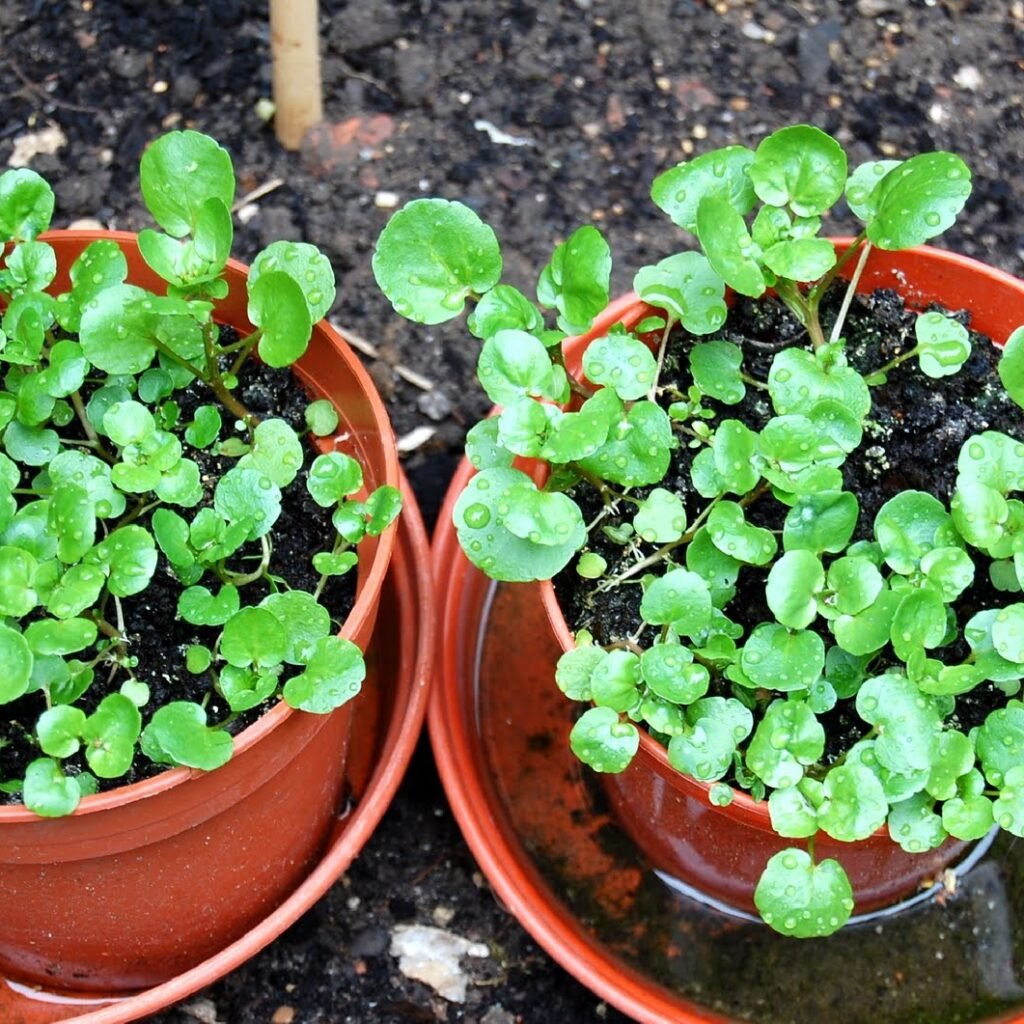
1. Growing Watercress in Soil
This method is ideal if you have garden space or planters.
You’ll need:
- A shallow container or pot (6–8 inches deep)
- Moisture-retaining potting mix
- Water tray or saucer
Steps:
- Fill the container with potting mix rich in compost or organic matter.
- Plant the seeds about ¼ inch deep and cover lightly with soil.
- Place the pot in a tray filled with water to keep the soil constantly moist.
- Keep in partial sunlight, ensuring the soil never dries out.
- Mist regularly to maintain humidity.
As the seedlings emerge, thin them out to avoid overcrowding. In 3–4 weeks, your plants will be lush and ready for light harvesting.
2. Growing Watercress in Water (Hydroponic Style)
Watercress naturally loves water, so growing it hydroponically is one of the easiest and cleanest ways to maintain it indoors.
You’ll need:

- A shallow bowl, jar, or container
- Clean water (filtered or rainwater preferred)
- Watercress seeds or cuttings
- Pebbles or mesh for support
Steps:
- Place pebbles or a small mesh base at the bottom of your container.
- Sprinkle seeds or place cuttings on top.
- Fill with water so that the roots or seed base stay submerged.
- Change the water every 2–3 days to prevent stagnation.
- Keep the container in bright, indirect light.
Within a week, you’ll notice tiny roots forming. Once established, you can start trimming and using your homegrown greens.
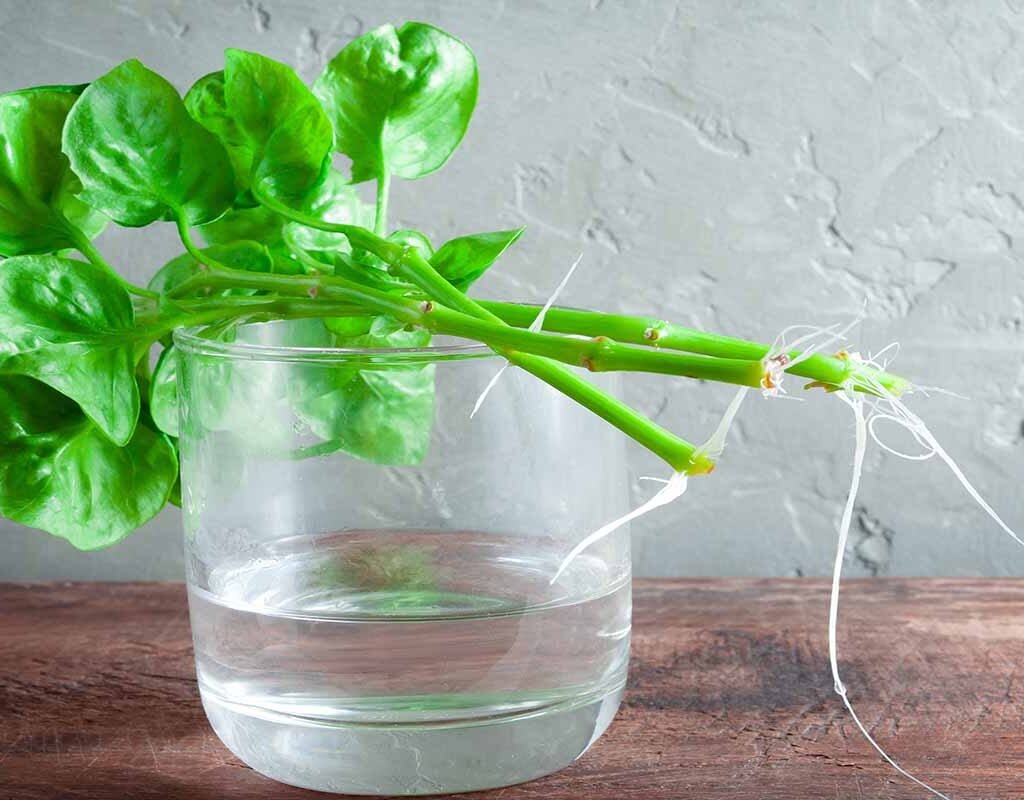
3. Regrowing Watercress from Store-Bought Stems
You can also regrow watercress from supermarket bunches—a great zero-cost option.
Here’s how:
- Take healthy watercress stems and cut off about 3–4 inches from the base.
- Remove the lower leaves, leaving a few at the top.
- Place the stems in a glass of water, ensuring only the lower part is submerged.
- Keep the glass in a bright spot (but out of direct sunlight).
- Change the water every two days.
Within 5–7 days, roots will appear. Once they’re about an inch long, transplant the cuttings into moist soil or a hydroponic container for continuous growth.
Step 3: Light and Temperature Tips
Watercress prefers cooler, mild weather, making it perfect for spring or fall planting. Too much direct sun can cause the leaves to turn yellow or bitter. Indoors, place your container near a bright window or under grow lights for 10–12 hours of light daily.
If you live in a warm region, consider growing watercress in partial shade or on a balcony with indirect light to prevent overheating.

Step 4: Watering and Maintenance
Water is key to success with watercress. The goal is to maintain constant moisture without creating stagnant water that could cause root rot.
For soil-grown plants:
- Keep the tray filled with water to maintain a shallow pool around the pot base.
- Mist the leaves every couple of days to keep humidity high.
For hydroponic plants:
- Replace the water regularly (every 2–3 days).
- Occasionally rinse the roots to prevent algae buildup.
You can add a diluted organic fertilizer once every two weeks, but avoid overfeeding—watercress thrives best in nutrient-rich water and doesn’t require heavy fertilization.
Step 5: Harvesting Your Watercress
Watercress grows rapidly, and you can start harvesting within 4–6 weeks after planting.
How to Harvest:
- Use clean scissors to snip the tops, leaving at least 2 inches of stem for regrowth.
- Harvest regularly to encourage new shoots and prevent the plants from flowering too soon.
- Avoid cutting all the leaves at once—pick selectively for a continuous supply.
Freshly harvested watercress tastes best immediately but can be stored in the refrigerator for up to 3 days wrapped in a damp paper towel.

Step 6: Common Problems and Solutions
Even though watercress is easy to grow, a few minor issues can arise:
| Problem | Cause | Solution |
|---|---|---|
| Yellow leaves | Too much sun or poor nutrients | Move to partial shade, add compost or mild fertilizer |
| Algae or slime in water | Stagnant water | Change water every 2–3 days |
| Wilting | Low humidity or dry soil | Keep soil moist, mist regularly |
| Pests (aphids, snails) | Moist environment | Use neem oil spray or rinse plants gently |
Keeping the environment clean and maintaining airflow will prevent most issues naturally.
Step 7: Using Your Homegrown Watercress
Once you’ve harvested your lush greens, there are countless delicious ways to use them:
- Add to salads for a peppery kick
- Blend in smoothies for extra nutrition
- Use in sandwiches or wraps
- Make creamy watercress soup
- Garnish for fish, pasta, or egg dishes
Because of its mild spice, watercress pairs beautifully with citrus, garlic, or creamy ingredients.
Bonus Tip: How to Keep Watercress Growing Year-Round
To enjoy fresh watercress all year long:
- Grow multiple small batches at different times.
- Move containers indoors during cold months.
- Use LED grow lights if natural sunlight is limited.
- Re-root fresh cuttings every few months for continuous growth.
This rotation ensures you’ll always have a supply of crisp, peppery leaves ready to harvest.
Final Thoughts
Growing watercress at home is truly one of the easiest and most rewarding gardening projects you can take on. Whether in soil, water, or recycled containers, watercress thrives with just a bit of care and attention.

In just a few weeks, you’ll have a lush, green patch of nutritious leaves ready to elevate your salads, soups, and daily meals. With its quick growth, minimal space requirements, and refreshing flavor, watercress proves that you don’t need a stream or a large garden to enjoy this aquatic supergreen—all you need is a little water, patience, and love for growing your own food.
Leave A Comment