Celery is one of those vegetables that many gardeners find challenging to grow — but once you understand its needs, it can become one of the most rewarding plants in your kitchen garden. Its crisp stalks, aromatic leaves, and versatility in cooking make celery a must-have for any organic gardener.
In this comprehensive 1200-word guide, we’ll walk you through how to plant celery successfully, focusing on the three keys to success: proper soil preparation, organic care, and seed starting techniques. By the end, you’ll know exactly how to grow healthy, flavorful celery right in your own backyard or containers.
Why Grow Celery at Home?
Before we dive into the growing steps, here’s why celery deserves a place in your kitchen garden:
- Nutrient-Rich Vegetable: Celery is packed with vitamins A, C, K, folate, and antioxidants that support overall health.
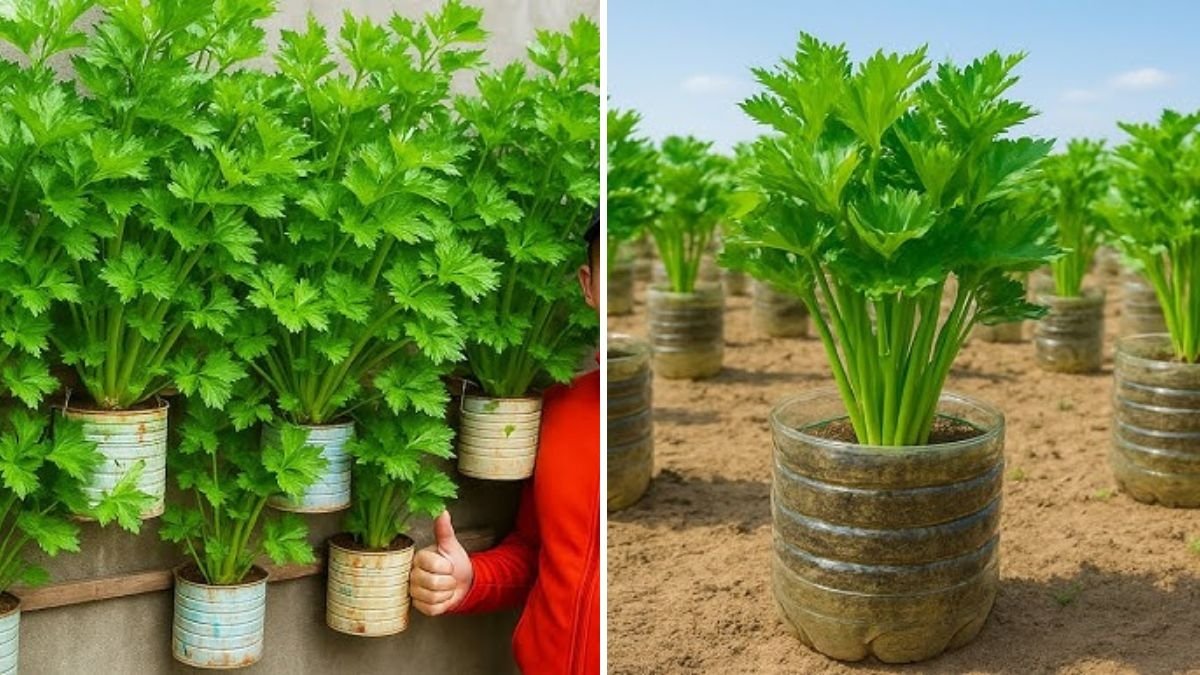
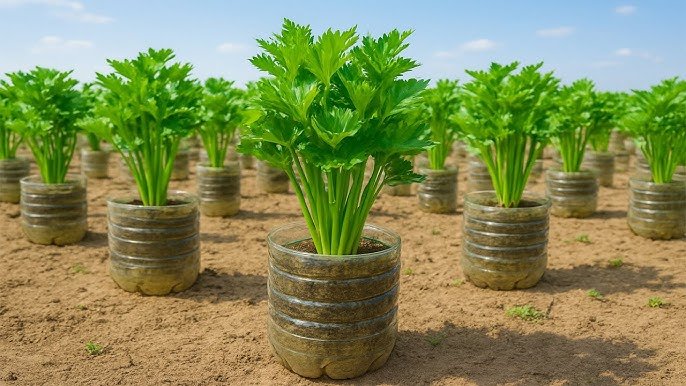
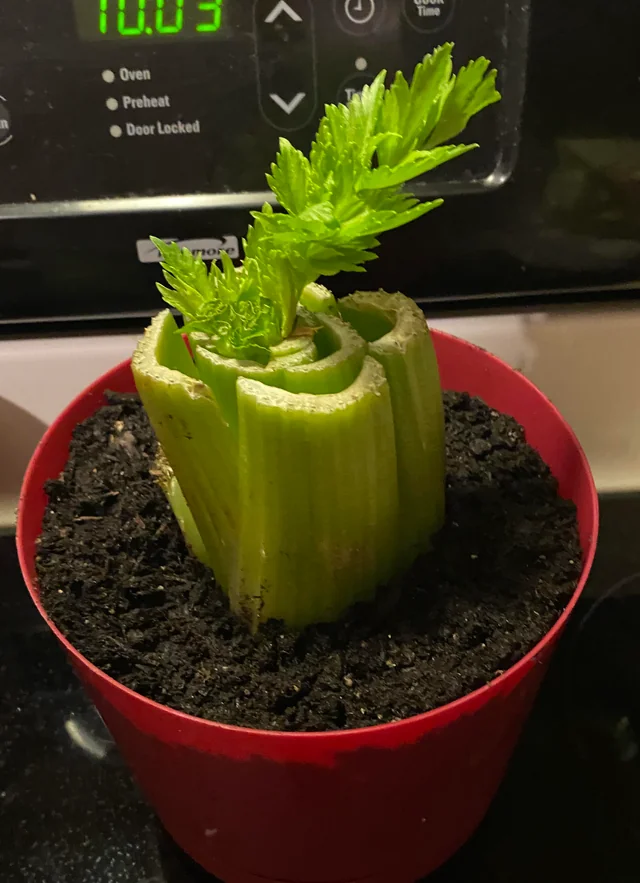
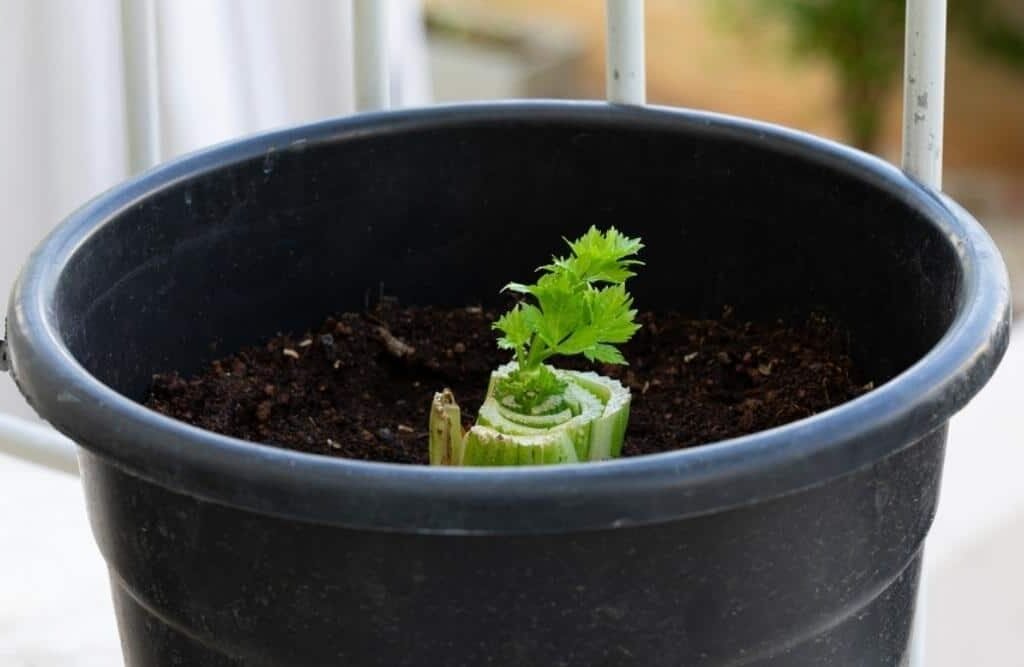
- Perfect for Small Gardens: It can thrive in containers or raised beds when provided with rich soil and steady moisture.
- Long Harvest Period: Once mature, you can harvest stalks over several weeks.
- Fresh and Chemical-Free: Growing celery organically ensures you get clean, flavorful produce without harmful pesticides.
Understanding Celery’s Growing Needs
Celery is a cool-season crop that requires rich soil, consistent moisture, and patience. It’s a slow-growing vegetable, usually taking 120 to 140 days from seed to harvest.
It prefers temperatures between 15°C and 24°C (60°F–75°F) and doesn’t tolerate extreme heat or frost well.
If you live in a warm region, plan to grow celery during the cooler months of autumn to early spring. In cooler areas, it can be planted from spring through early summer.

Key 1: Preparing the Soil Organically
Celery loves nutrient-rich, moisture-retentive soil. Since it’s a heavy feeder, organic soil preparation is the foundation of success.
Here’s how to prepare the perfect organic soil for celery:
1. Choose the Right Location
Pick a spot that receives at least 6 hours of sunlight daily. While celery enjoys sun, it can benefit from light afternoon shade in hot regions.
2. Soil Composition
Celery prefers loamy, fertile soil with a pH between 6.0 and 7.0.
If your soil is heavy clay or sandy, improve it by adding organic matter:
- Compost: Enriches the soil with essential nutrients.
- Well-Rotted Manure: Boosts nitrogen for lush stalk growth.
- Coco Peat or Leaf Mold: Improves moisture retention and soil texture.
3. Add Organic Fertilizers
Before planting, mix in organic soil enhancers such as:
- Bone meal or rock phosphate for phosphorus.
- Neem cake powder for pest resistance.
- Vermicompost for steady nutrient release.
Ensure the soil remains loose and airy — celery roots need space to grow deeply and evenly.

4. Moisture Matters
Celery thrives in damp soil but hates waterlogging. To maintain the right balance:
- Add organic mulch (like straw or dried leaves) after planting to retain moisture.
- Ensure the bed has good drainage so water doesn’t stagnate.
Key 2: Seed Starting and Germination
Celery seeds are tiny and slow to germinate, so patience and proper technique are crucial.
1. Starting Indoors
Since celery has a long growing period, it’s best to start seeds indoors 8–10 weeks before your region’s last frost date.
Steps to Start Celery Seeds:
- Pre-Soak Seeds: Soak them in warm water for 12–24 hours to speed up germination.
- Sow Seeds Shallowly: Sprinkle seeds on top of moist seed-starting mix and gently press them into the soil without covering completely (they need light to germinate).
- Keep Warm and Moist: Maintain a temperature of about 21°C (70°F) and mist regularly to keep the soil damp but not soggy.
- Germination Time: Seeds take 2–3 weeks to sprout, so don’t lose patience.
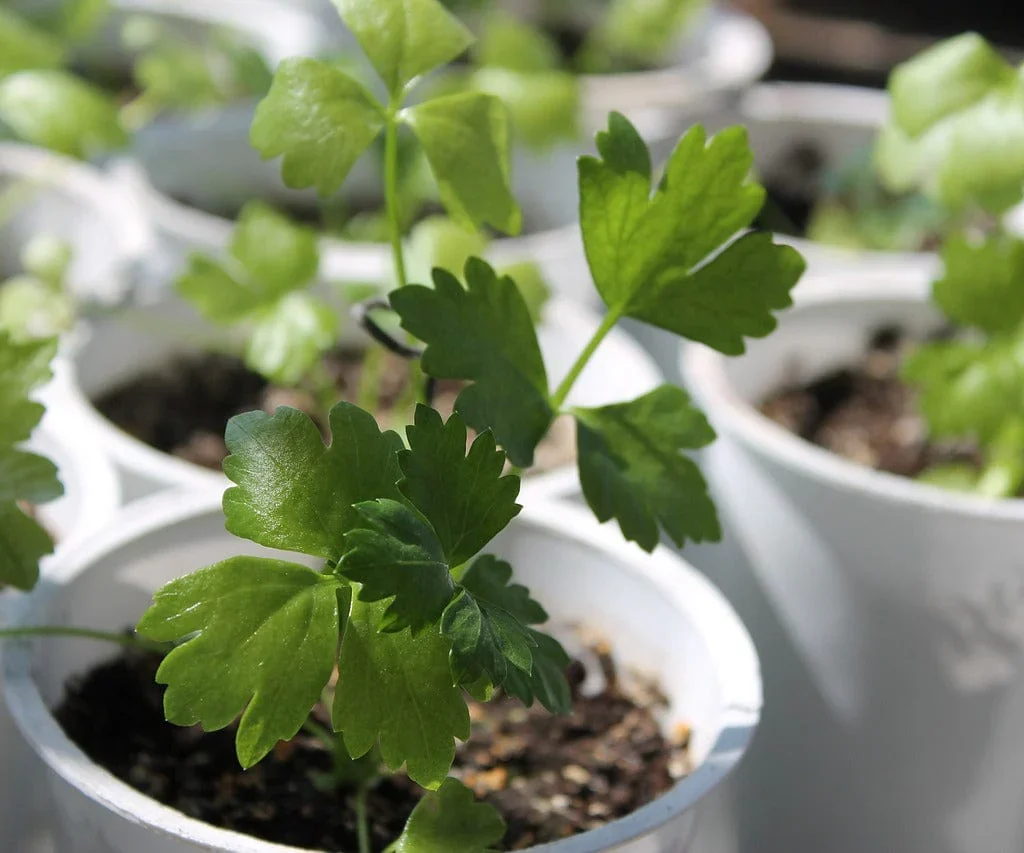
2. Transplanting Seedlings
Once seedlings reach about 3–4 inches in height and have at least 4–5 true leaves, they’re ready to move outdoors.
Harden Off Seedlings:
Before transplanting, gradually expose the seedlings to outdoor conditions for 5–7 days. Start by placing them outside for a few hours each day, increasing exposure daily.

Transplanting Steps:
- Dig holes 8–10 inches apart in rows spaced 12–18 inches apart.
- Gently remove seedlings from trays, keeping the root ball intact.
- Plant them slightly deeper than they were in the tray for better stalk support.
- Water thoroughly after planting.
Key 3: Proper Care and Organic Maintenance
Once your celery plants are in the ground, consistent care is essential for healthy, crisp stalks.
1. Watering
Celery has shallow roots and needs steady moisture:
- Water deeply 2–3 times per week.
- Never allow the soil to dry out completely — dryness can lead to bitter stalks.
- Avoid waterlogging by ensuring proper drainage.
If you live in a dry climate, drip irrigation or regular misting helps maintain consistent moisture levels.
2. Feeding the Plants Organically
Feed your celery plants every 2–3 weeks with organic fertilizers. Some effective options include:
- Compost tea or vermiwash: Boosts microbial life and nutrient absorption.
- Seaweed extract: Provides trace minerals and strengthens plant cells.
- Banana peel fertilizer: Adds potassium for thick, juicy stalks.
- Fish emulsion: Promotes robust leaf and stalk growth.
3. Mulching
Mulch around the base of each plant with dry leaves, straw, or grass clippings. Mulching helps:

- Retain soil moisture.
- Suppress weed growth.
- Keep roots cool and protected.
4. Pest and Disease Control
Common pests that affect celery include aphids, snails, and leaf miners. To control them organically:
- Spray neem oil weekly (5 ml per liter of water).
- Use garlic or chili spray to repel insects.
- Handpick snails early in the morning.
- Grow companion plants like marigold, basil, or mint to deter pests naturally.
Also, ensure good air circulation between plants to reduce fungal issues like leaf spot or blight.
Optional: Blanching for Tender Stalks
Blanching is a traditional technique to produce tender, pale celery stalks with a milder flavor.
Here’s how to blanch celery naturally:
- When plants are about 30–40 cm tall, start covering the lower stalks with mulch, straw, or cardboard tubes.
- Gradually add more material every few days as the plant grows.
- This keeps sunlight away from the stalks, reducing chlorophyll and making them softer and sweeter.
If you prefer greener celery with a stronger flavor, you can skip blanching.
Harvesting Celery
Celery typically takes 120–140 days to mature from seed. You can harvest the entire plant or cut stalks as needed.

How to Harvest:
- When stalks are about 8–10 inches tall and firm, cut the entire bunch at the base with a sharp knife.
- Alternatively, cut individual stalks from the outside, allowing the center ones to keep growing.
Pro Tip: Water the plant a day before harvesting for crisp, juicy stalks.
Post-Harvest Storage
- Fresh celery can be stored in the refrigerator for up to two weeks.
- Wrap in damp paper towels or store in a container with water to retain crispness.
- For longer storage, blanch and freeze chopped celery for use in soups or stews.
Common Mistakes to Avoid
- Inconsistent Watering: Dry spells lead to hollow, bitter stalks.
- Poor Soil Preparation: Celery struggles in low-nutrient or compact soil.
- Skipping Hardening Off: Sudden outdoor exposure can shock young seedlings.
- Too Much Sun in Hot Climates: Causes leaves to wilt and stalks to turn tough.
- Overcrowding: Leads to poor airflow and pest issues.
Health Benefits of Homegrown Celery
Homegrown celery isn’t just fresher — it’s also more nutritious and flavorful than store-bought options. Here are some benefits:
- Supports digestion: High in fiber and natural enzymes.
- Reduces inflammation: Contains antioxidants and anti-inflammatory compounds.
- Promotes hydration: 95% water content helps maintain fluid balance.
- Boosts heart health: Rich in potassium and low in sodium.
- Aids detoxification: Acts as a natural diuretic to flush toxins.
Final Thoughts
Learning how to plant celery successfully may take time, but once you understand the three keys — organic soil preparation, proper seed starting, and consistent care — you’ll find it’s easier than you think.
Celery rewards patience. By nurturing it with organic compost, steady watering, and pest-free care, you’ll enjoy fresh, crisp stalks bursting with flavor straight from your garden. Whether in soups, salads, or juices, nothing beats the satisfaction of harvesting your own homegrown celery — pure, organic, and full of life.
Leave A Comment