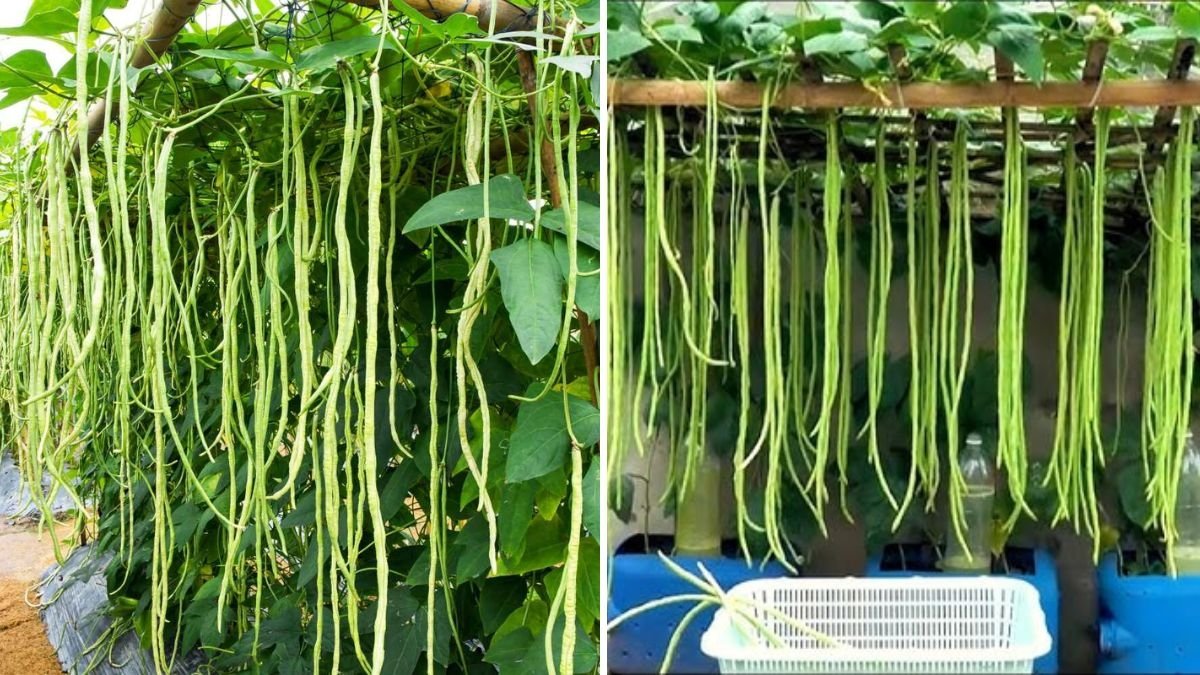
Growing yardlong beans (also called asparagus beans or snake beans) doesn’t require a big garden space or fancy equipment. In fact, with a few old plastic cans, some rich soil, and proper care, you can grow these long, crunchy, and delicious beans right at home — even on your balcony or terrace! In this guide, we’ll show you how to grow yardlong beans in old plastic containers and get amazing results, just like in the inspiring video titled “You’ll Be Surprised How I Grow Yardlong Beans in Old Plastic Cans! Amazing Results!”
Why Yardlong Beans Are Perfect for Small Spaces

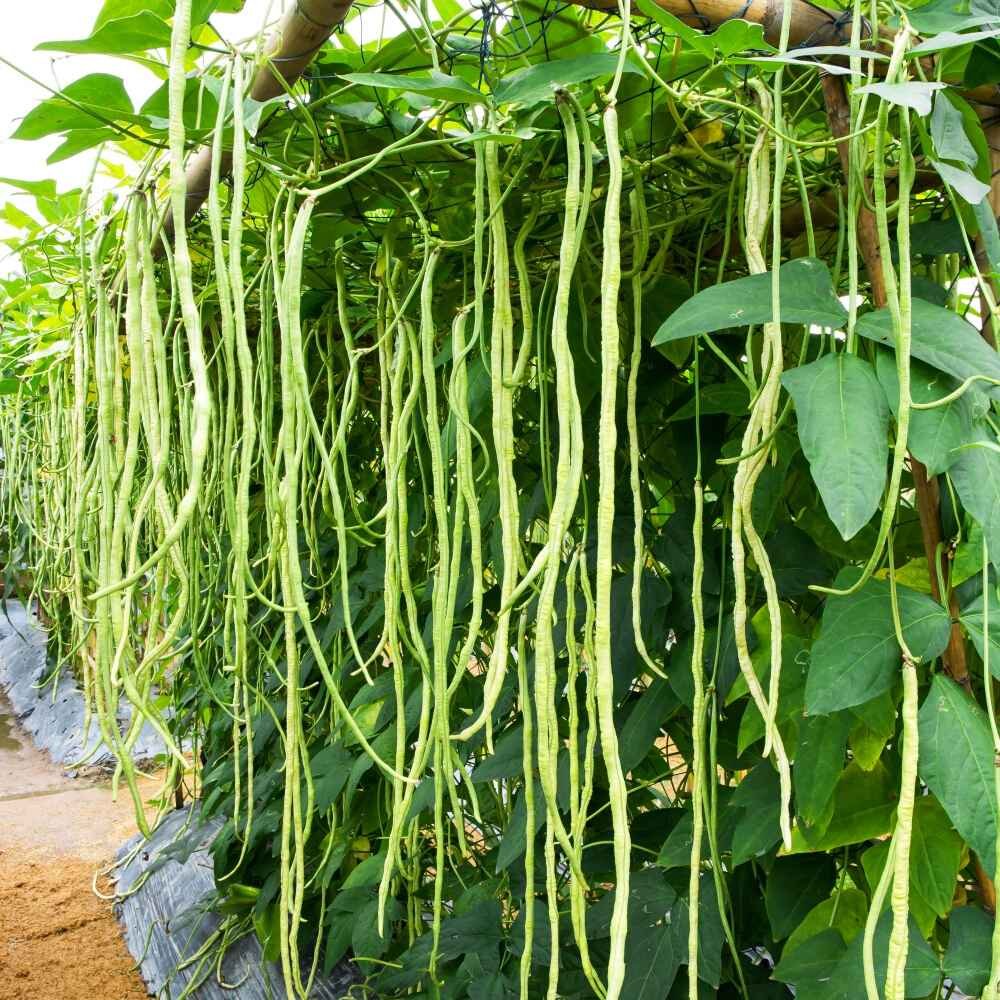
Yardlong beans (Vigna unguiculata subsp. sesquipedalis) are a tropical legume known for their vigorous vines and impressive bean pods that can reach up to 3 feet long. They thrive in warm climates and are excellent for container gardening because
- They grow vertically, saving horizontal space.
- They produce a continuous harvest for weeks.
- They fix nitrogen in the soil, improving soil fertility.
- They are easy to grow even for beginners.
If you live in an apartment, have limited garden space, or want to recycle old plastic containers, yardlong beans are an ideal choice.
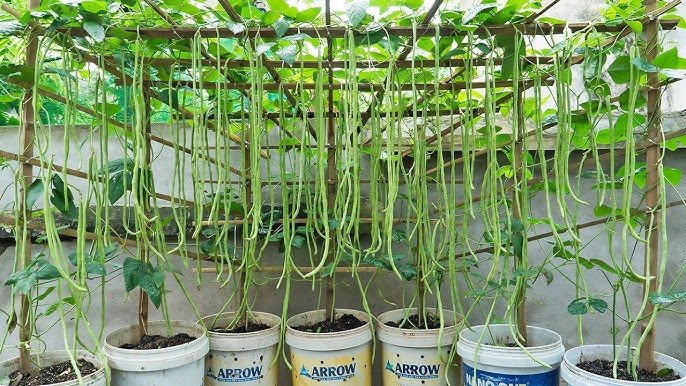
Step 1: Choosing the Right Containers
The key to growing yardlong beans successfully in old plastic cans is choosing containers of the right size and preparing them properly.
Container Requirements:
- Size: Each can should be at least 12–15 inches deep and 10–12 inches wide. Yardlong beans develop deep roots, so depth is important.
- Drainage: Drill 5–6 holes at the bottom of each can for proper drainage. Yardlong beans don’t like waterlogged soil.
- Material: Any sturdy plastic container will work—old paint buckets, oil cans, or water jugs can be repurposed.
Before planting, wash the containers thoroughly and ensure there are no residues of chemicals or oils.
Step 2: Preparing the Perfect Soil Mix
Yardlong beans prefer loose, fertile, and well-drained soil. For container gardening, it’s crucial to provide a nutrient-rich potting mix.

Ideal Soil Mix:
- 40% garden soil
- 30% compost or well-rotted cow manure
- 20% coco peat or peat moss
- 10% sand or perlite (for drainage)
You can also add a handful of wood ash or bone meal to boost potassium and phosphorus levels, which helps with flowering and pod development.
Before planting, moisten the soil mixture slightly so that it feels damp but not soggy.
Step 3: Planting the Seeds
Now comes the exciting part — planting the seeds!
Seed Preparation:
- Soak yardlong bean seeds in warm water for 6–8 hours before sowing. This helps soften the seed coat and speeds up germination.
Planting Process:
- Fill each container with the prepared soil mix, leaving about 2 inches at the top.
- Make 2–3 small holes (1 inch deep) per can.
- Drop one seed into each hole and cover lightly with soil.
- Water gently using a watering can or spray bottle.
Germination:
Seeds usually germinate within 5–7 days under warm conditions (25–30°C or 77–86°F). Place the containers in a sunny location where they can receive at least 6 hours of sunlight daily.

Step 4: Providing Support for Climbing
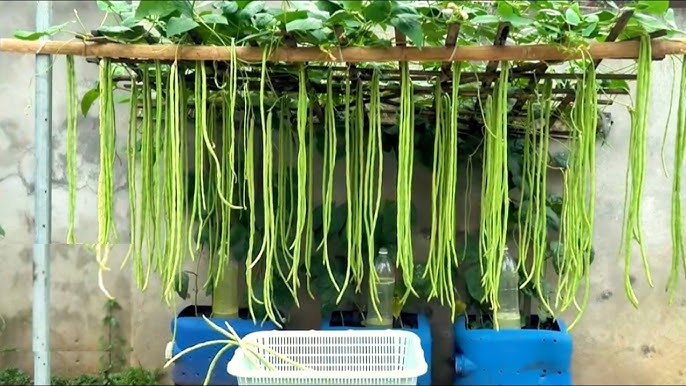
Yardlong beans are vigorous climbers, and providing proper support early on is essential.
How to Build a Support Structure:
- Use bamboo poles, wooden stakes, or metal rods.
- Arrange them in a teepee or tripod shape around the container.
- Tie the top ends together for stability.
- Train the vines gently to climb up as they grow.
Without support, the vines may sprawl and produce fewer beans. A vertical setup encourages better airflow, reduces disease, and leads to a more abundant harvest.
Step 5: Watering and Fertilizing
Watering:
Keep the soil consistently moist but not soggy. Water deeply 2–3 times a week, depending on your climate. During hot weather, you may need to water daily.
Fertilization:
- At 2 weeks: Add liquid compost tea or fish emulsion.
- At flowering stage: Apply a potassium-rich fertilizer (such as banana peel compost tea or wood ash solution).
- Avoid too much nitrogen fertilizer after germination, as it promotes leafy growth instead of pod production.
Mulching Tip:
Add a layer of straw, dried leaves, or coco husk around the base to retain moisture and regulate soil temperature.
Step 6: Flowering and Pollination
In about 30–40 days, your plants will start producing small white or pale violet flowers. These blossoms develop into long pods within 10–15 days after pollination.

Yardlong beans are self-pollinating, but bees and other insects help improve yield. If you’re growing them indoors or on a balcony, gently shake the vines during flowering to encourage pollination.
Step 7: Pest and Disease Control
While yardlong beans are relatively low-maintenance, they can still attract some common garden pests.
Common Pests:
- Aphids
- Spider mites
- Whiteflies
- Caterpillars
Organic Control Methods:
- Spray neem oil solution (1 teaspoon per liter of water) once a week.
- Use insecticidal soap or garlic spray as a preventive measure.
- Remove any yellow or damaged leaves to prevent disease spread.
Make sure the plants get enough sunlight and airflow to avoid fungal issues like powdery mildew.
Step 8: Harvesting Yardlong Beans
Harvesting is the most rewarding stage!
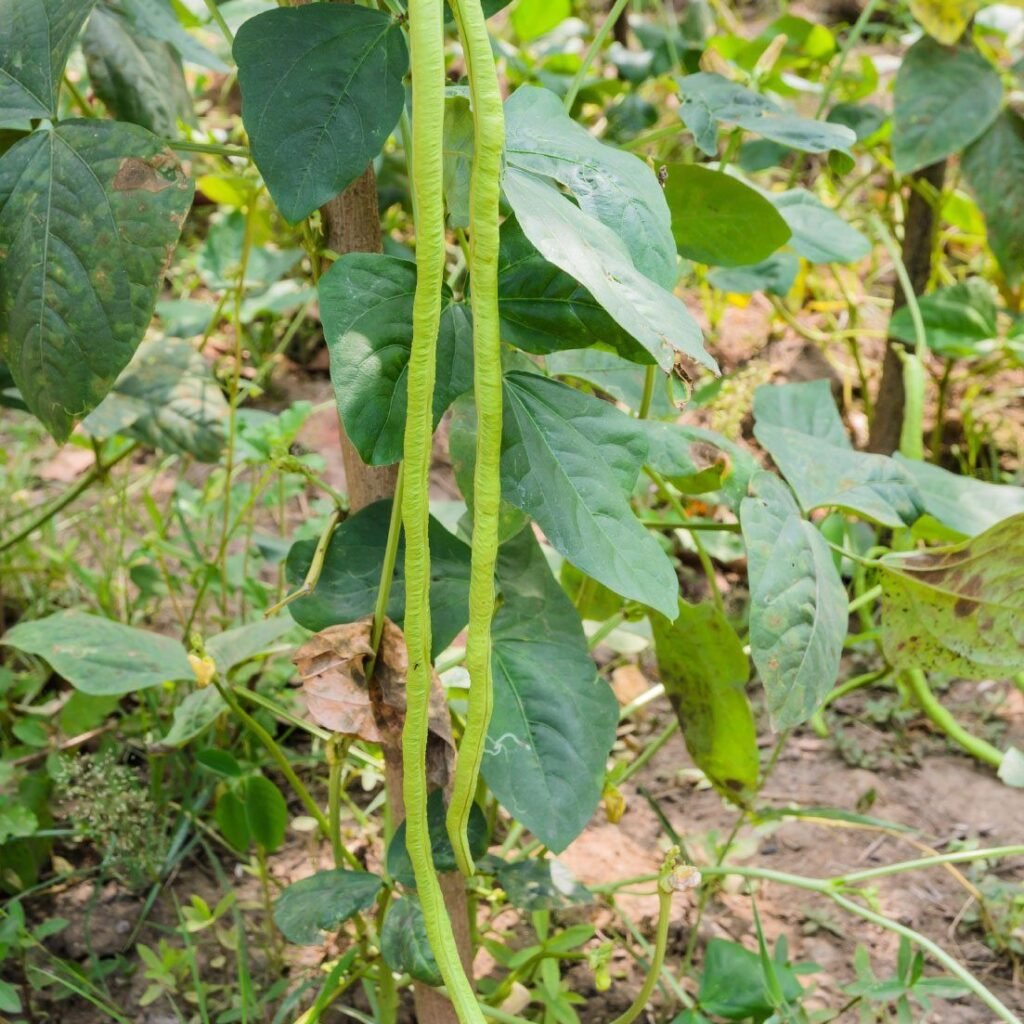
When to Harvest:

- Pods are ready 60–70 days after sowing.
- Pick them when they are 12–18 inches long and tender.
- Avoid waiting too long, as mature pods become tough and fibrous.
How to Harvest:
Use scissors or your fingers to gently snap the beans off the vine. Regular harvesting encourages continuous production and keeps the vines healthy.
Step 9: Enjoying Your Homegrown Beans
Freshly harvested yardlong beans are delicious, tender, and full of nutrients. You can use them in:
- Stir-fries and curries
- Soups and stews
- Salads and fried rice
- Tempura or steamed side dishes
They’re rich in fiber, protein, and vitamins A and C, making them a healthy addition to any meal.
Step 10: Post-Harvest Care and Seed Saving
After harvesting for several weeks, the vines will gradually slow down. At this stage:
- Remove old vines and compost them.
- Save some mature pods for seed collection.
- Let the pods dry completely on the vine, then store the seeds in an airtight container for next season.
You can reuse the same plastic cans after cleaning and refreshing the soil with compost for your next crop.
Bonus Tip: Companion Planting for Better Yields
Yardlong beans thrive when grown alongside friendly plants that help deter pests and improve growth. Try companion planting with:
- Marigolds: Repel aphids and beetles.
- Basil: Attracts pollinators and enhances flavor.
- Radishes or spinach: Utilize ground space efficiently.
Avoid planting them too close to alliums like garlic or onions, as these can inhibit bean growth.

Final Thoughts
Growing yardlong beans in old plastic cans is an excellent way to recycle waste, save space, and enjoy a sustainable source of healthy food. With a little care — good soil, proper watering, sunlight, and timely harvesting — you’ll be amazed by the huge yields you can achieve from simple containers.
Whether you’re gardening on a balcony, terrace, or backyard, this method proves that even small spaces can produce big harvests. So grab those unused plastic cans, sow some seeds, and watch your yardlong beans climb skyward — rewarding you with an incredible bounty of fresh, homegrown beans!
Leave A Comment