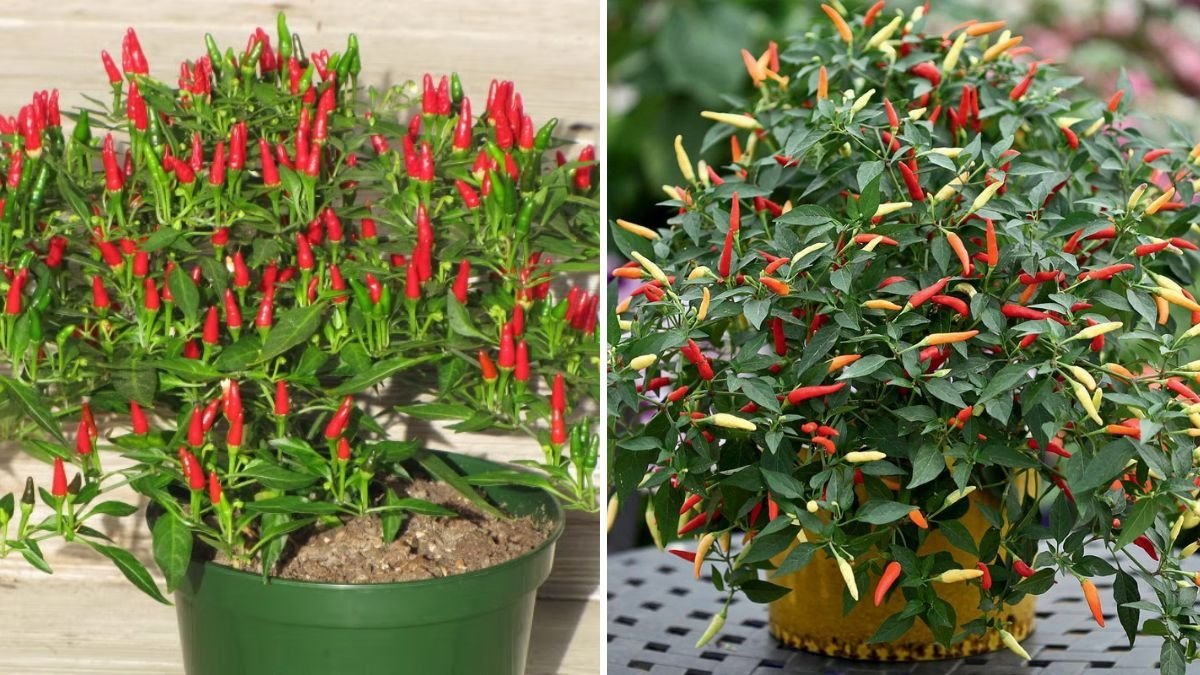
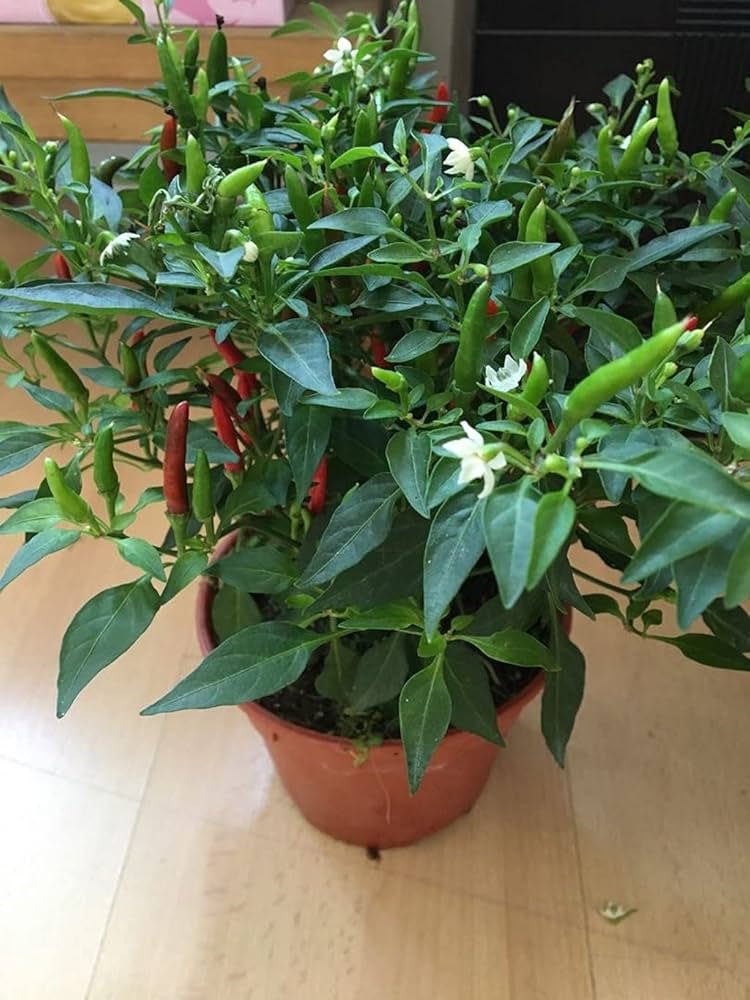
Thai chili peppers — small, fiery, and bursting with flavor — are a must-have for anyone who loves spicy food and vibrant garden plants. These compact yet highly productive plants thrive beautifully in pots, balconies, or kitchen gardens, making them ideal for both beginners and experienced gardeners.
If you’ve ever wondered how to grow Thai chili peppers at home starting from fresh chilies, this comprehensive 1200-word guide will take you from seed extraction all the way to harvest. You don’t need expensive tools or advanced gardening skills — just a little care, patience, and love for spice!
Why Grow Thai Chili Peppers at Home?
Before diving into the growing process, let’s see why Thai chilies deserve a spot in your home garden:
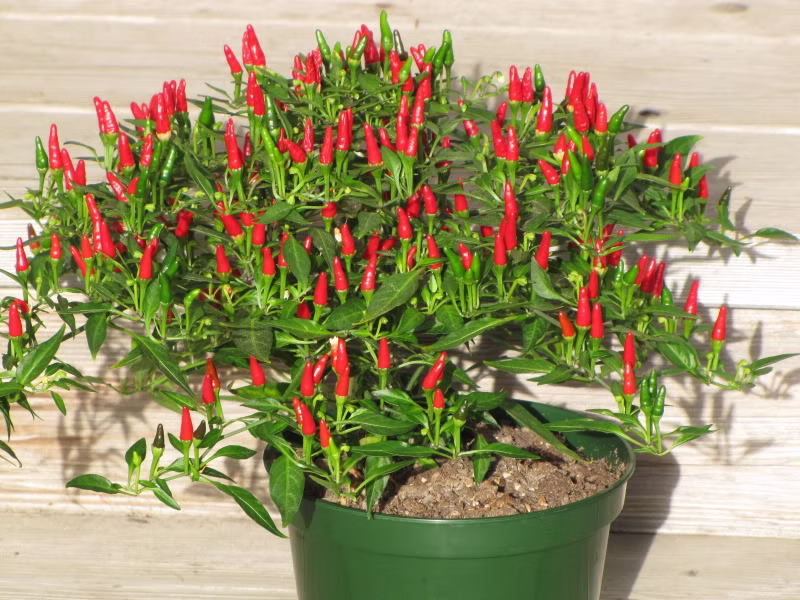
- Compact and Productive: Thai chili plants are small yet produce dozens of peppers throughout the season.
- Ideal for Pots: They thrive in containers, making them perfect for balconies, patios, and window gardens.
- High Yield: Even one healthy plant can supply enough chilies for your kitchen for months.
- Flavor and Heat: Thai chilies pack a spicy punch that enhances curries, stir-fries, sauces, and pickles.
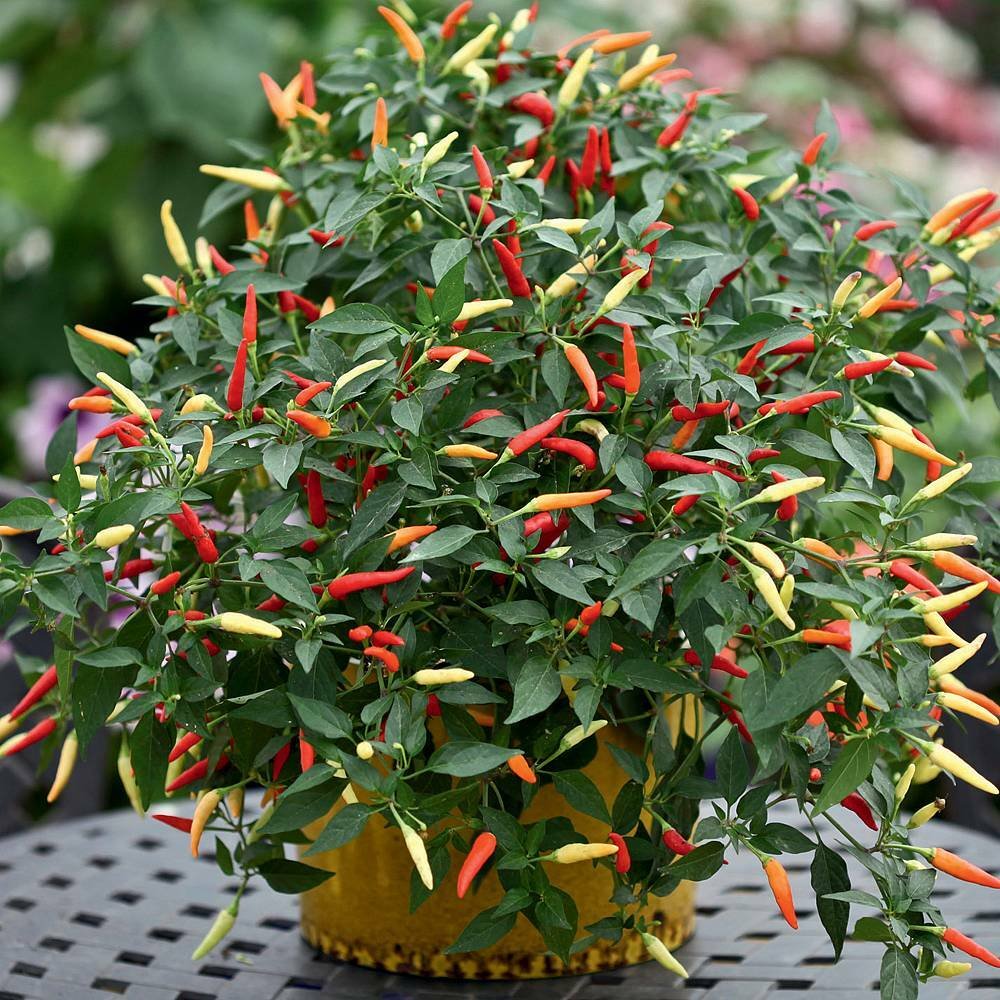
- Decorative Appeal: The vibrant red, orange, and green fruits add stunning color to your garden.
Step 1: Collecting and Preparing Seeds from Fresh Thai Chilies
The most exciting part of this process is that you can grow Thai chili plants directly from fresh chilies — the ones you buy from a market or use in your cooking.
How to Extract Seeds:
- Choose fully ripe red Thai chilies, as mature seeds germinate better.
- Slice the chili open carefully with a knife.
- Use a spoon or your fingers to remove the seeds.
- Spread the seeds on a paper towel and let them dry for 1–2 days in a shaded, well-ventilated area.
Optional Step – Pre-soaking the Seeds:
To speed up germination, soak the seeds in warm water for 8–12 hours before planting. This softens the outer seed coat and encourages faster sprouting.
Step 2: Choosing the Right Container and Soil
Thai chili peppers are heat-loving plants that thrive in rich, well-draining soil.

Container Requirements:
- Choose a pot that’s 10–12 inches deep with good drainage holes.
- Use one plant per pot to give it enough space to grow and produce fruits.
Best Soil Mix for Chilies:
Make a nutrient-rich organic soil mix using:
- 40% garden soil or coco peat
- 30% compost or cow dung manure
- 20% vermicompost
- 10% sand or perlite for drainage
You can also add:
- 1 tablespoon bone meal for phosphorus (root growth and flowering)
- A handful of neem cake to prevent pests and fungus
Mix well and fill your pot, leaving an inch of space at the top.
Step 3: Sowing the Seeds
Once your seeds are dry and your soil mix is ready, it’s time to plant.
Seed Sowing Steps:
- Moisten the soil lightly before sowing.
- Place 2–3 seeds in the center of the pot, about ¼ inch deep.
- Cover gently with soil and mist with water.
- Keep the pot in a warm, shaded area until the seeds germinate.
- Maintain moisture by misting regularly — don’t overwater.
Germination Time:
- Seeds usually sprout within 10–20 days depending on temperature.
- Ideal temperature range: 25°C–32°C (77°F–90°F).
Once seedlings appear, place them in a bright location with plenty of indirect sunlight.
Step 4: Transplanting Seedlings (If Started in Seed Trays)
If you started your seeds in seed trays or small pots, transplant them once they’re about 4–6 inches tall and have 4–5 true leaves.

Transplanting Steps:
- Water seedlings before transplanting to reduce shock.
- Make a hole in your prepared pot.
- Carefully remove the seedling, keeping its roots intact.
- Place it in the hole and press the soil gently around the base.
- Water immediately after transplanting.
Keep the plant in partial shade for 2–3 days before moving it into full sun.
Step 5: Sunlight and Temperature Requirements
Thai chili peppers love the sun!
- Provide 6–8 hours of direct sunlight every day.
- Ideal growing temperature: 24°C–35°C (75°F–95°F).
- If temperatures drop below 18°C (65°F), growth slows down.
- During very hot days, use a shade cloth or keep the pots where they get morning sun and afternoon shade.
Consistent sunlight is key to healthy plants and spicy fruits.
Step 6: Watering and Mulching
Watering is one of the most important parts of growing Thai chilies.
Watering Tips:
- Keep the soil consistently moist but not soggy.
- Water deeply every 2–3 days, depending on weather.
- Reduce watering slightly during the ripening stage to increase fruit heat.
- Avoid overhead watering; always water at the base to prevent leaf diseases.
Add a mulch layer (dry leaves or straw) around the base to retain moisture and prevent weeds.
Step 7: Feeding the Plants (Organic Fertilizers)
Thai chili peppers are heavy feeders and respond well to organic nutrients.

Fertilizer Schedule:
- Every 15 days: Add a handful of compost or vermicompost.
- Once every 2 weeks: Apply a liquid fertilizer such as:
- Compost tea (for overall growth)
- Banana peel fertilizer (for potassium to boost flowering)
- Seaweed extract or fish emulsion (for stronger plants and more fruits)
- During flowering: Add a small amount of wood ash or bone meal for better fruit formation.
Avoid overfeeding nitrogen (too much compost or urea), as it will lead to lush leaves but few chilies.
Step 8: Supporting and Pruning the Plant
Although Thai chili plants are small, they can get heavy with fruits.
Support:
Use a thin bamboo stick or garden stake to support the plant and prevent it from bending.
Pruning Tips:
- Pinch off the top growing tips once the plant reaches about 10–12 inches tall to encourage branching.
- Remove yellow or damaged leaves to allow better airflow and sunlight.
Pruning helps the plant focus its energy on producing more flowers and chilies.
Step 9: Pest and Disease Management
Like most pepper plants, Thai chilies can attract common pests.
Common Pests:
- Aphids
- Whiteflies
- Spider mites
- Thrips
Organic Pest Control Methods:
- Spray neem oil (5 ml per liter of water) once a week.
- Use a soap-water spray to wash off small insects.
- Grow basil, marigold, or garlic nearby — these repel pests naturally.
- Ensure good air circulation around the plants to prevent fungal infections.
If leaves show signs of fungus (like black or white spots), remove affected parts and spray a mix of baking soda and water (1 teaspoon per liter).

Step 10: Flowering and Fruit Development
After 40–60 days, your Thai chili plant will begin to flower.
Pollination Tips:
- Thai chili flowers are self-pollinating, but you can help by gently shaking the plant or using a soft brush to transfer pollen.
- Keep pollinators like bees around by planting flowers nearby.
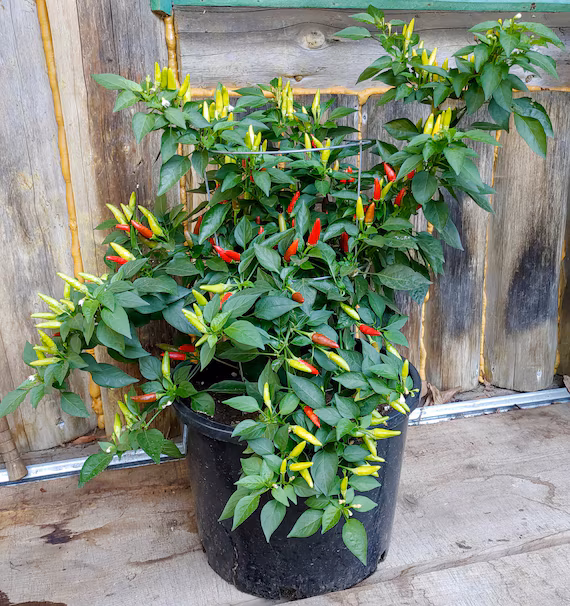
After successful pollination, small green chilies start to appear, growing larger and eventually turning red as they ripen.
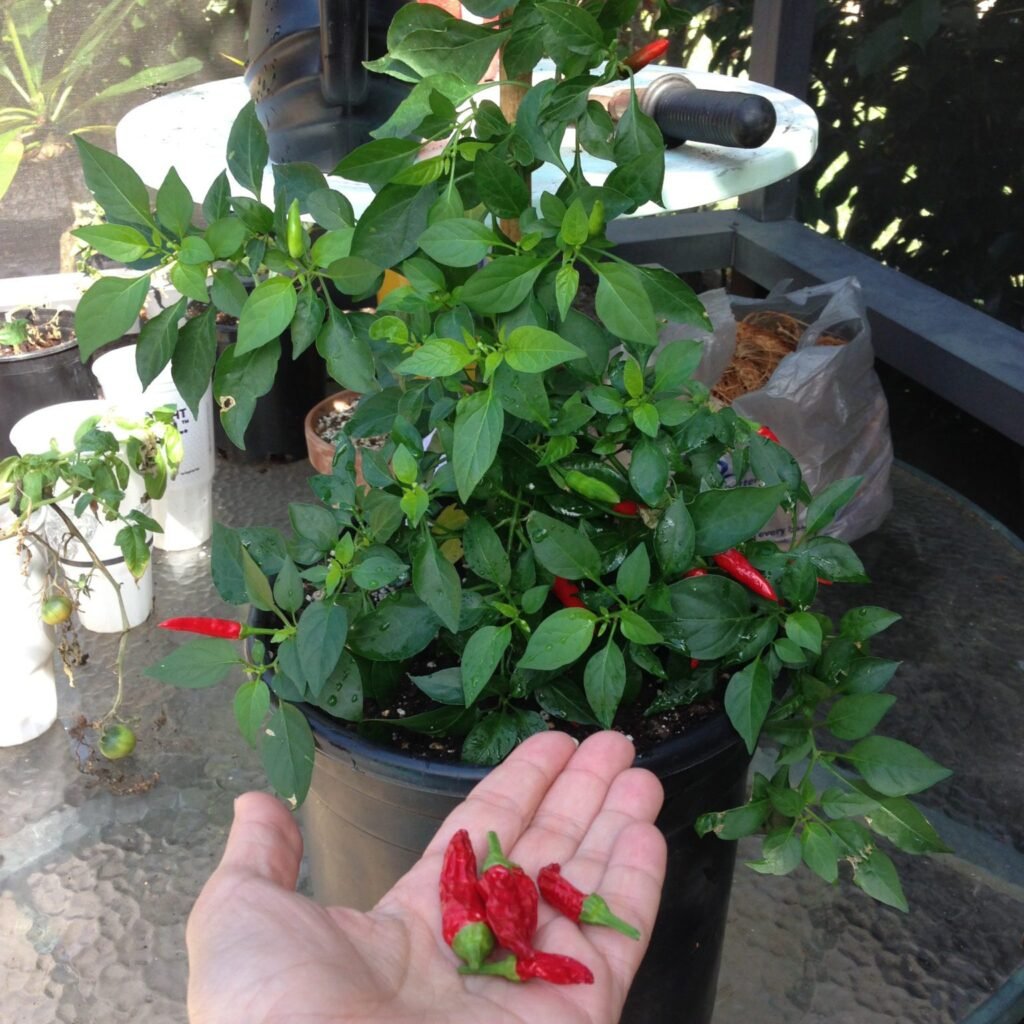
Step 11: Harvesting Thai Chili Peppers
Thai chili peppers are ready to harvest about 70–90 days after transplanting.
How to Harvest:
- You can pick chilies when they’re green for mild heat or wait until they turn red for maximum spice.
- Use scissors or a knife to cut the fruit with a short stem.
- Regular harvesting encourages the plant to produce more chilies.
Each plant can yield 50–100 chilies during a single growing season if well cared for.
Step 12: Saving Seeds for Future Planting
You can easily save seeds from your own harvest for next season.
- Select the ripest red chili from a healthy plant.
- Remove and dry the seeds on paper for 2–3 days.
- Store them in an airtight container in a cool, dry place.
These seeds can remain viable for up to 2 years when stored properly.

Step 13: Common Growing Mistakes to Avoid
- Overwatering: Causes root rot and yellowing leaves.
- Low Sunlight: Results in weak plants and poor fruiting.
- Too Much Nitrogen: Produces more leaves and fewer chilies.
- Neglecting Pollination: Reduces yield.
- Using Cold Water: Always water with room-temperature water for best growth.
Step 14: Benefits of Growing Thai Chili at Home
Homegrown Thai chilies aren’t just about spice — they come with many benefits:
- Fresh and Chemical-Free: 100% organic and safe for your family.
- Nutrient-Rich: High in Vitamin C, Vitamin A, and antioxidants.
- Supports Digestion and Immunity: Capsaicin in chilies aids metabolism and boosts circulation.
- Long-Lasting Plants: With good care, Thai chili plants can live up to 2 years, giving multiple harvests.
Final Thoughts
Growing Thai chili peppers at home from fresh chilies is one of the most rewarding experiences for any gardener. With just a few fresh peppers, good soil, sunlight, and basic care, you can enjoy a year-round supply of spicy, flavorful chilies right from your kitchen garden.
Whether you use them fresh in curries or dry them for storage, your homegrown Thai chilies will bring unmatched flavor and satisfaction. Start today — your next spicy harvest is just a few months away!
Leave A Comment