Few garden crops are as satisfying and versatile as super sweet snack peppers. Whether you enjoy them raw in salads, grilled for dinner, or stuffed with your favorite fillings, these colorful, bite-sized peppers are a gardener’s delight. With their crunchy texture, rich flavor, and vibrant hues, they’re not only delicious but also easy to grow—even for beginners.
In this guide, inspired by the video “Growing Super Sweet Snack Peppers from Seed to Regular Harvest – Step by Step,” we’ll walk you through everything you need to know—from selecting seeds and preparing soil to planting, caring, and harvesting your own abundant supply of sweet snack peppers.
1. Understanding Super Sweet Snack Peppers
Super sweet snack peppers are small, thin-walled fruits known for their mild, sugary taste and crisp bite. They’re typically available in red, orange, and yellow varieties and are ideal for both snacking and cooking. Unlike traditional bell peppers, snack peppers mature faster and produce prolifically over the season.
Some popular varieties include:
- ‘Sweet Banana’ – long, yellow fruits with a mellow flavor.
- ‘Lunchbox Red, Orange, and Yellow’ – mini peppers perfect for snacking.
- ‘Mini Bell Mix’ – compact plants producing colorful, mini bell-shaped peppers.
These varieties thrive in warm climates and can be grown in containers, raised beds, or directly in garden soil, making them ideal for any type of home gardener.
2. Starting from Seeds
Choosing the Right Seeds
For best results, purchase high-quality, hybrid or heirloom pepper seeds from a reliable supplier. Look for disease-resistant types that promise uniform fruit size and sweetness.

Germination Setup
Peppers require warmth and patience to germinate. Follow these steps:
- Timing: Start seeds 8–10 weeks before your region’s last frost date.
- Containers: Use seed trays, small pots, or biodegradable cups with drainage holes.
- Soil Mix: A light, well-draining mix such as coco peat and perlite or seed-starting mix works best.
- Planting Depth: Sow seeds about ¼ inch deep, gently covering with soil.
- Moisture & Temperature: Keep the soil consistently moist (not soggy) and maintain a temperature of 26–30°C (80–85°F) for best germination.
Using a heat mat under the trays can significantly improve germination rates. You’ll see seedlings emerging within 10–14 days.
3. Transplanting Seedlings
Once your seedlings have 2–3 sets of true leaves, it’s time to transplant them into larger containers or your garden bed.
Hardening Off
Before moving them outdoors, harden off the seedlings by gradually exposing them to outdoor conditions for 7–10 days. Start with a few hours of sunlight each day and increase exposure gradually.
Choosing the Planting Site
Snack peppers thrive in full sunlight (6–8 hours per day). Choose a well-draining, fertile soil enriched with compost or well-rotted manure.
Soil Preparation
- pH range: 6.0 to 6.8 (slightly acidic to neutral)
- Fertilization: Mix in organic compost, bone meal, or a balanced fertilizer (10-10-10) before planting.
Spacing
Space plants about 12–18 inches apart in rows that are 24–30 inches apart. Proper spacing ensures good airflow, reducing the risk of fungal diseases.

4. Caring for Your Snack Pepper Plants
Watering
Peppers prefer consistent moisture but dislike waterlogging. Water deeply once or twice a week, depending on weather conditions. Mulching around the plants helps retain soil moisture and suppress weeds.
Fertilization Schedule
Feed your plants regularly for the best yield:
- At planting: Apply a balanced fertilizer or compost mix.
- After flowering: Use a potassium-rich fertilizer to encourage fruiting.
- During harvest season: Supplement with organic liquid feed every 2–3 weeks.
Avoid excessive nitrogen as it promotes lush foliage at the expense of fruit production.
Support and Pruning
Even though snack pepper plants are compact, their branches may become heavy with fruit. Use small stakes or tomato cages for support.
Prune off lower leaves touching the soil to prevent disease and pinch off early flowers to encourage stronger growth.
Pest and Disease Control
Watch for common pepper pests such as:
- Aphids
- Whiteflies
- Spider mites
- Pepper weevils
Use neem oil spray or insecticidal soap weekly to keep pests under control.
For fungal issues like leaf spots or mildew, ensure good airflow and avoid overhead watering.

5. Flowering and Fruit Development
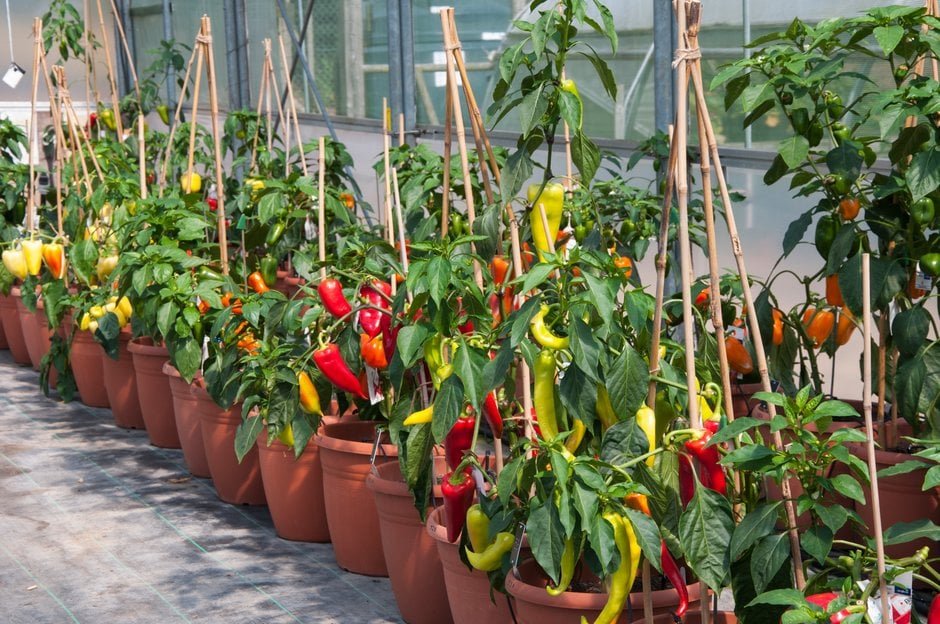
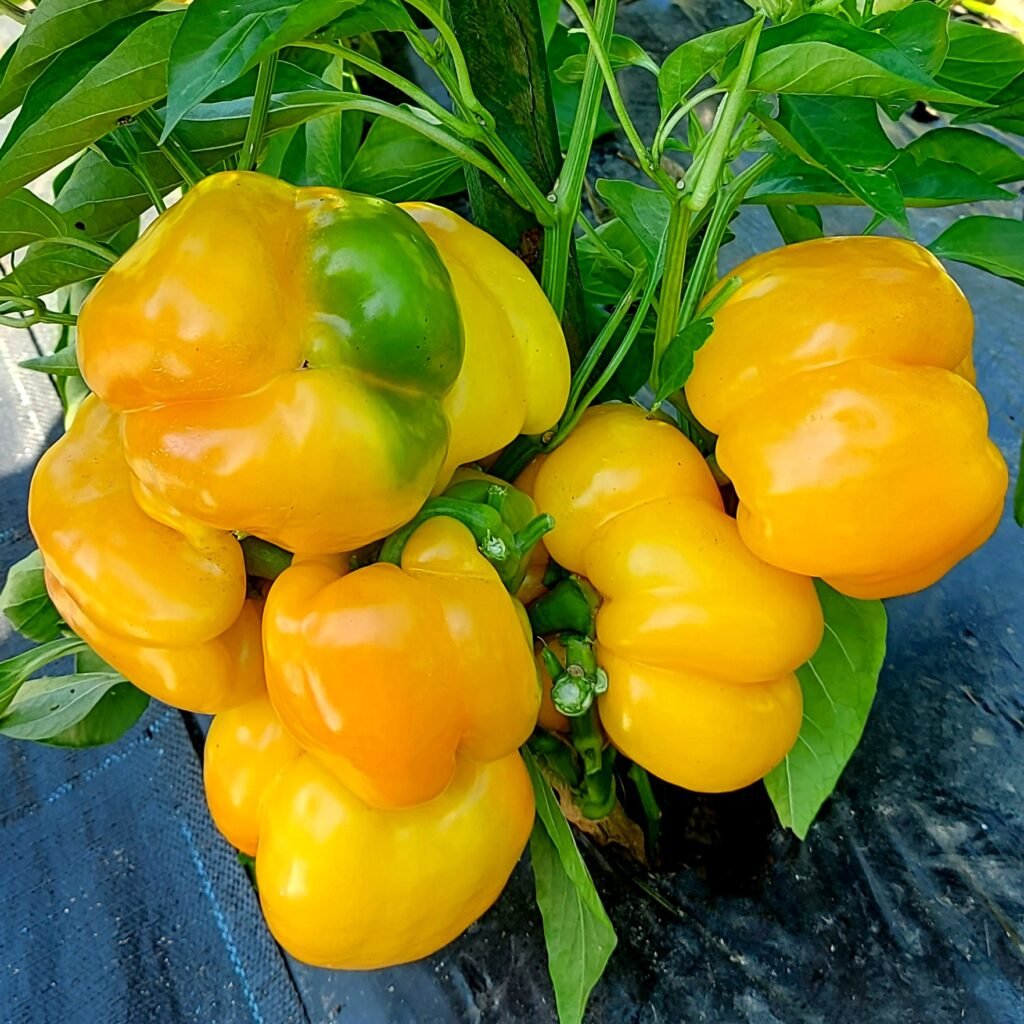
Snack peppers begin flowering around 60–70 days after transplanting. Bees and other pollinators play a key role in pollination, so avoid using harsh chemical sprays that could harm them.
Each flower transforms into a small green fruit that gradually changes color as it ripens—from green to yellow, orange, or red, depending on the variety. Fully ripe peppers tend to be sweeter and more flavorful than those picked early.
6. Harvesting Your Sweet Snack Peppers
One of the best things about snack peppers is their continuous yield. You can begin harvesting once fruits reach full size and color, typically around 90–100 days after germination.
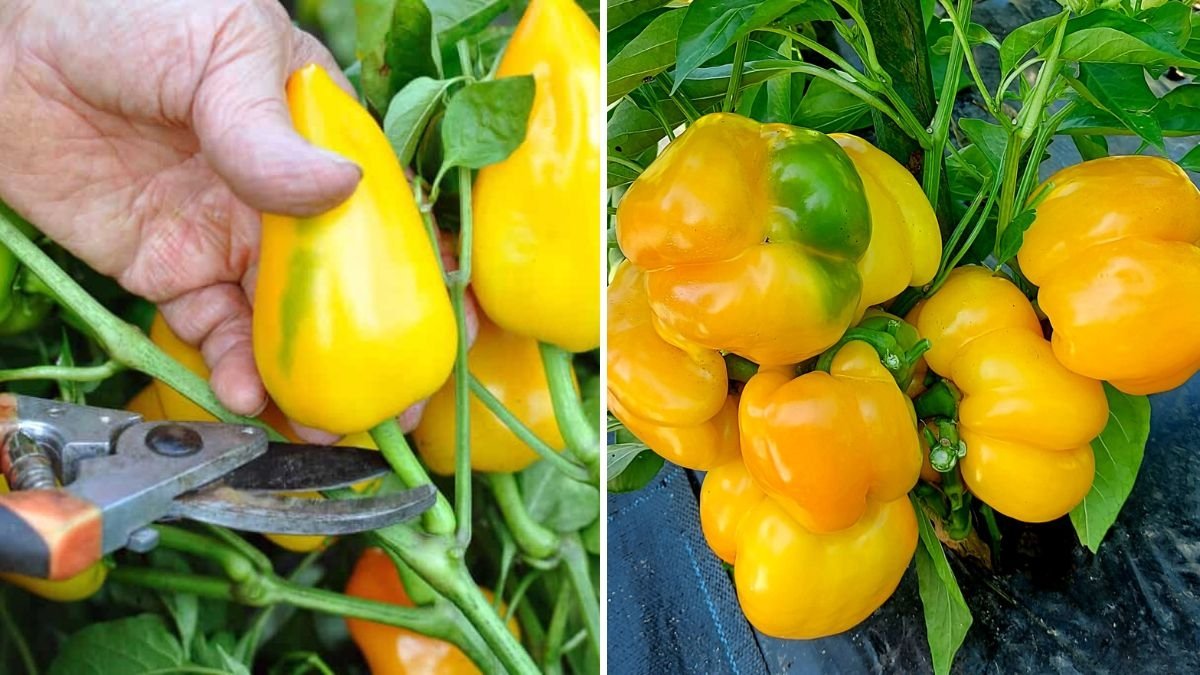
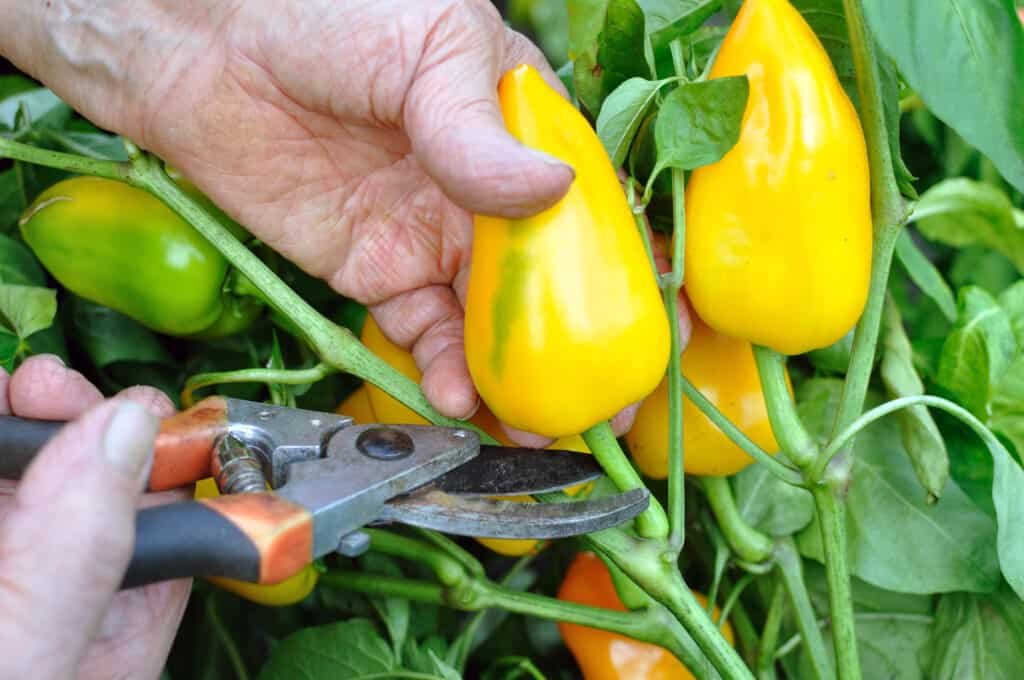
How to Harvest
- Use a sharp knife or garden shears to cut the peppers from the stem.
- Avoid pulling fruits directly, as it can damage the plant.
- Frequent harvesting encourages the plant to produce more peppers throughout the season.
You can harvest them at any color stage—green for a slightly tangy flavor, or red/orange/yellow for maximum sweetness.
Storage Tips
- Fresh peppers can be stored in the refrigerator for up to two weeks.
- For long-term storage, freeze chopped peppers or dry them for later use in sauces and seasonings.
7. Common Growing Problems and How to Solve Them
| Problem | Likely Cause | Solution |
|---|---|---|
| Blossom end rot | Calcium deficiency or inconsistent watering | Maintain even moisture and add crushed eggshells or lime. |
| Yellow leaves | Overwatering or nitrogen imbalance | Reduce watering and feed with balanced fertilizer. |
| Poor fruit set | Low temperatures or lack of pollination | Hand-pollinate flowers and maintain warm conditions. |
| Small fruits | Crowded plants or nutrient deficiency | Space properly and feed regularly. |
Healthy plants will bounce back quickly once proper care is restored.
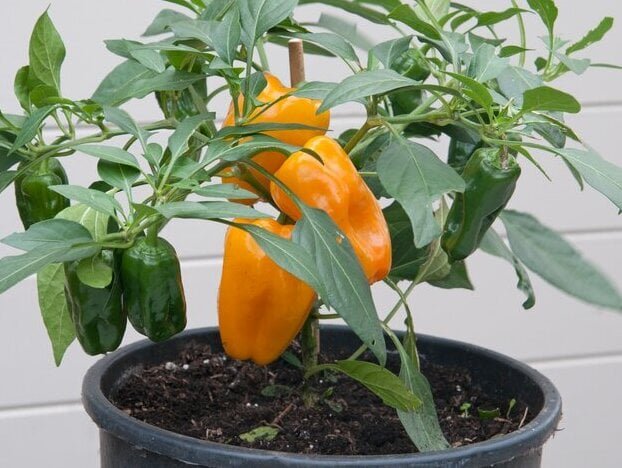
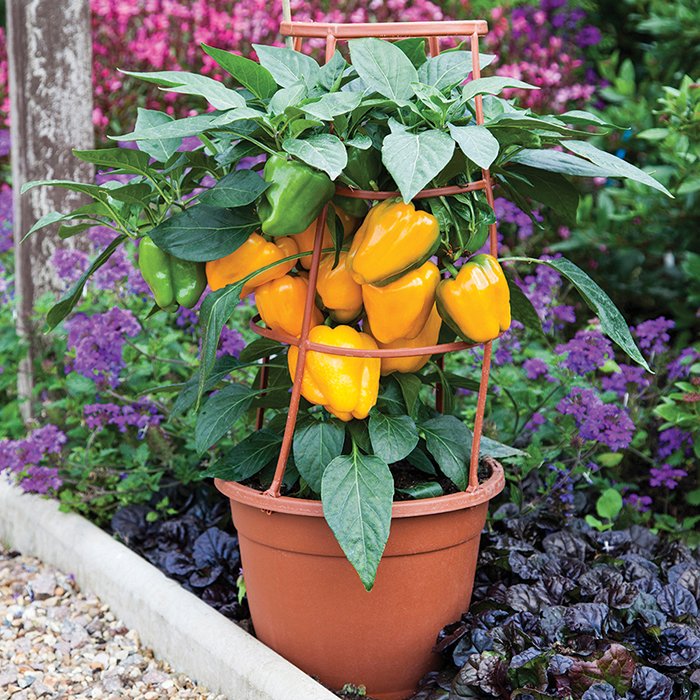
8. Growing in Containers
If you have limited space, container gardening is a great option. Choose pots that are at least 12 inches deep and wide with good drainage holes.

Fill them with rich, loamy potting mix and place them in a sunny spot. Container-grown peppers may need more frequent watering and feeding but can produce just as abundantly as in-ground plants.
9. Saving Seeds for Next Season
If you’re growing open-pollinated or heirloom varieties, you can save seeds for future planting:
- Choose healthy, ripe fruits.
- Remove seeds and spread them on a paper towel to dry for about 10 days.
- Store in an airtight container in a cool, dark place.
Label the seeds with the variety name and date for easy tracking.
10. Enjoying Your Homegrown Snack Peppers
Super sweet snack peppers are not only fun to grow but also a treat in the kitchen. Enjoy them:
- Fresh in salads, sandwiches, or lunchboxes
- Grilled or roasted as a side dish
- Stuffed with cheese or grains
- Added to stir-fries, pasta, or fajitas for a burst of color and flavor
Their natural sweetness also makes them a favorite among kids and those who find regular peppers too spicy.
Conclusion
Growing super sweet snack peppers from seed to harvest is a deeply rewarding experience. With just a bit of care—warmth, sunlight, regular feeding, and proper watering—you can enjoy a steady supply of these vibrant, delicious peppers all season long.

Whether you grow them in your backyard, on your balcony, or even indoors with grow lights, these cheerful little peppers will brighten your space and meals alike.
Start your pepper-growing journey today—and experience the joy of harvesting fresh, sweet, homegrown snack peppers right from your garden!
Leave A Comment