If you’re looking for a rewarding plant to grow that offers stunning blossoms, delicious fruits, and beautiful fall color — the Serviceberry (Amelanchier) is a perfect choice. This native North American shrub or small tree is an all-season performer, gracing your garden with white spring flowers, edible summer berries, and fiery autumn foliage. Growing Serviceberry from seed might take time, but it’s a fulfilling process that allows you to cultivate hardy, resilient plants right from the start.
In this detailed guide, we’ll walk you through every stage — from collecting seeds to germination, transplanting, and long-term care — so you can grow your own Serviceberry from seed successfully.
What Is a Serviceberry?

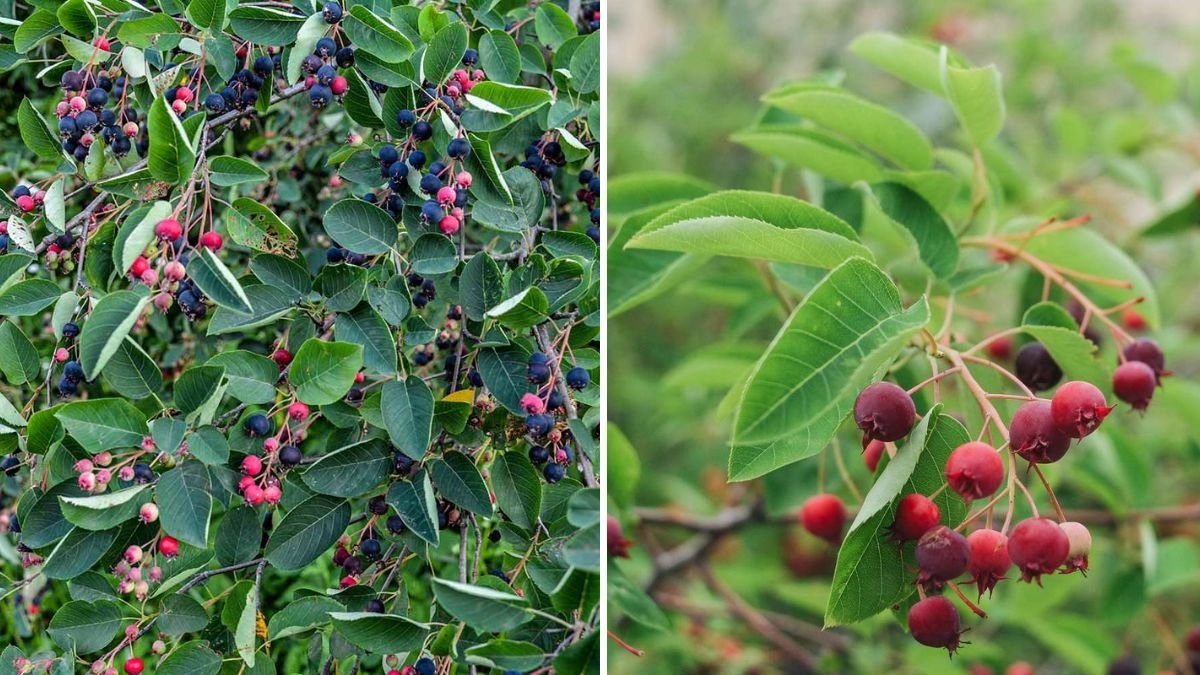
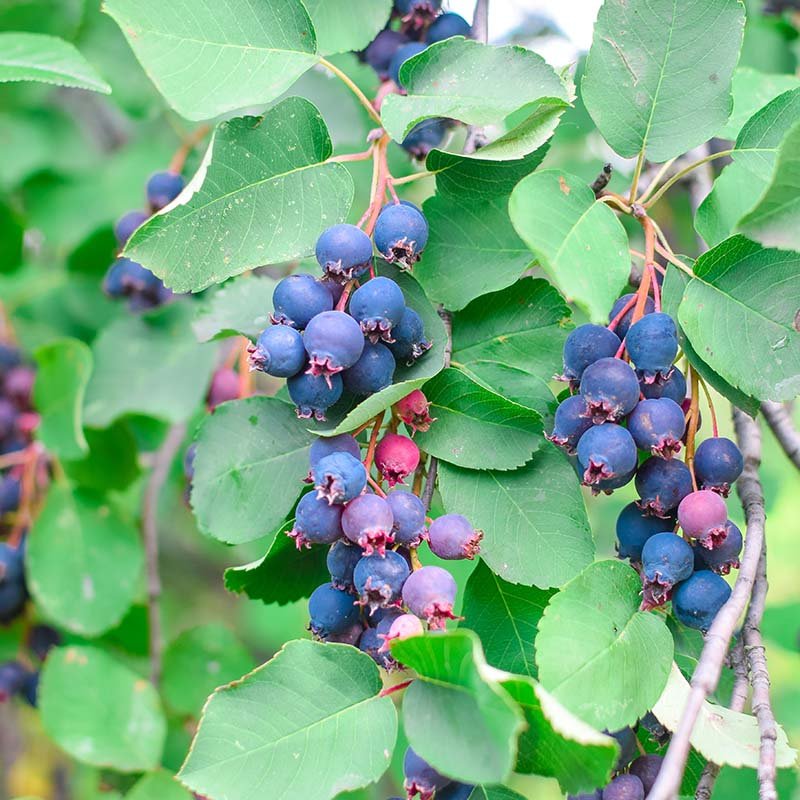
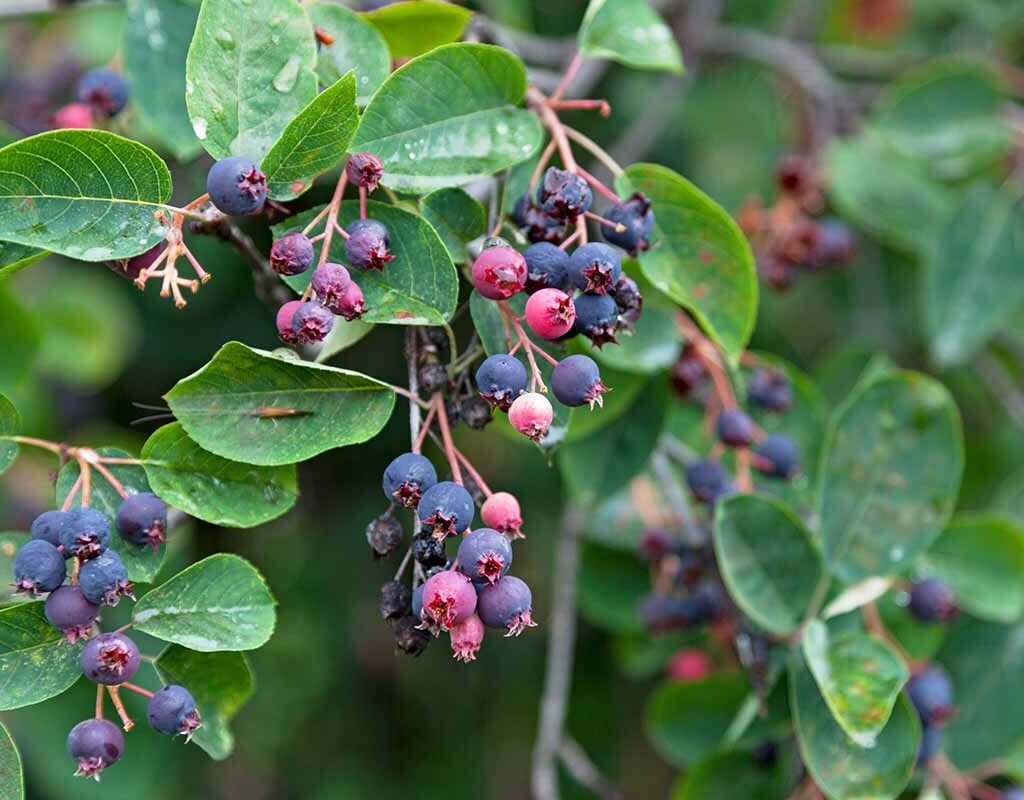
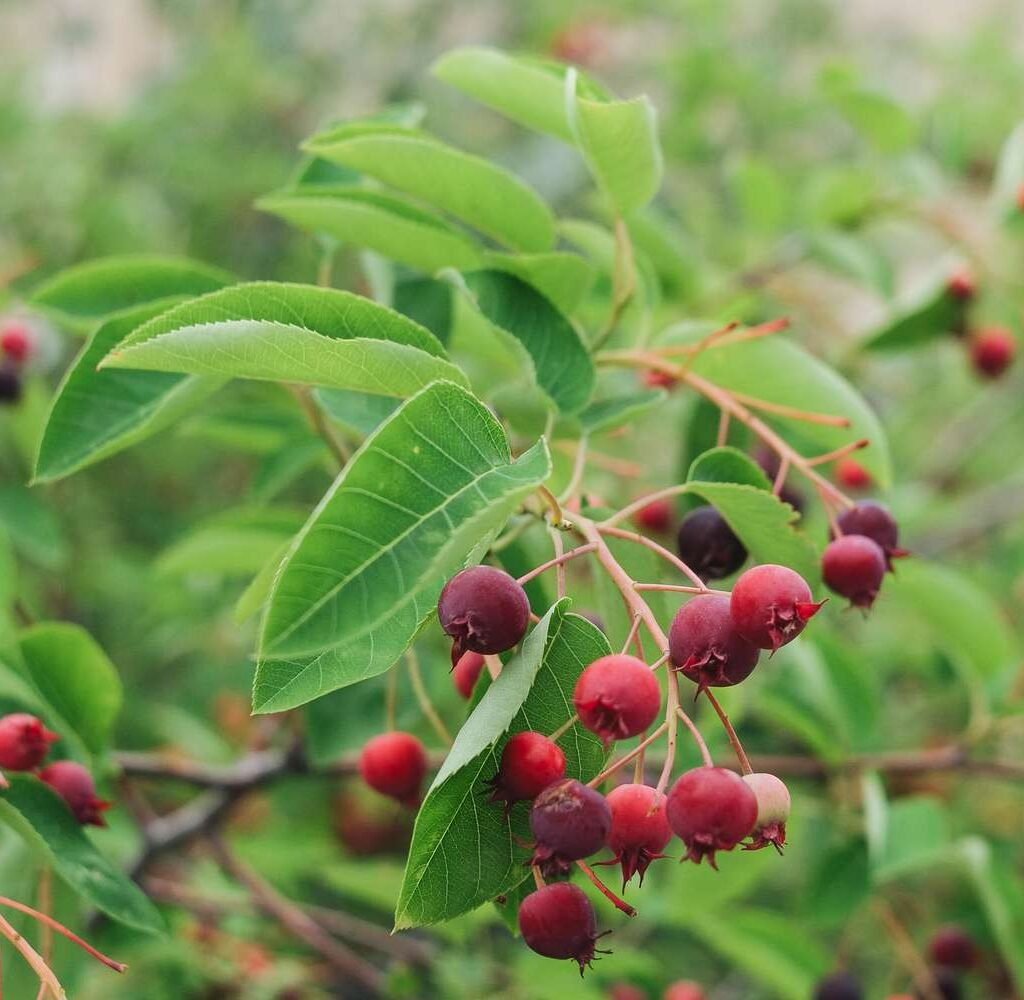
Serviceberry (also called Juneberry, Saskatoon, or Shadbush) belongs to the Amelanchier genus. It’s a hardy deciduous shrub or small tree that grows across many regions of North America and Europe. Serviceberries produce clusters of delicate white flowers in early spring, followed by sweet, dark purple berries that resemble small blueberries and are loved by both people and birds.
These berries can be eaten fresh, baked into pies, or made into jams and jellies. Serviceberries are also rich in antioxidants, fiber, and vitamins, making them both ornamental and useful.
Step 1: Collecting and Preparing Serviceberry Seeds
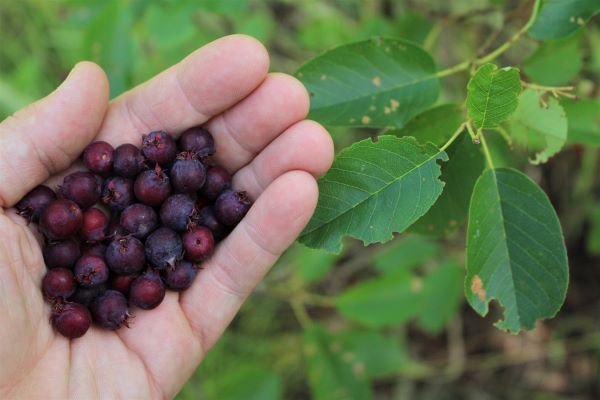
If you want to grow Serviceberry from seed, start by harvesting ripe berries in mid to late summer — usually around June or July, depending on your region. Look for fully ripened, deep purple or black berries that are soft to the touch.

Here’s how to prepare the seeds:
- Collect ripe fruits directly from the tree or pick freshly fallen ones.
- Mash the berries gently in a bowl with a little water to separate the seeds from the pulp.
- Allow the mixture to sit for a few minutes — viable seeds usually sink, while the pulp and bad seeds float.
- Rinse the good seeds several times under running water.
- Spread them out on a paper towel or fine mesh screen to dry for 24–48 hours in a shaded, well-ventilated area.
Once dried, your Serviceberry seeds are ready for stratification, a crucial step for breaking seed dormancy.
Step 2: Stratifying the Seeds (Cold Treatment)
Serviceberry seeds have a hard dormancy period, meaning they need exposure to cold and moist conditions to trigger germination. This process is called cold stratification and mimics the natural winter cycle.
Here’s how to do it:
- Mix the cleaned seeds with moist peat moss, vermiculite, or sand in a small plastic bag.
- Label the bag with the date and type of seed.
- Place the bag in the refrigerator (not freezer) at around 1–5°C (34–41°F).
- Keep the seeds in the fridge for 90 to 120 days.
- Check the bag monthly to ensure the medium remains moist but not soggy.
During this cold stratification period, the seeds slowly break dormancy and prepare for germination once they’re exposed to warmer conditions.
Step 3: Sowing the Seeds
After the stratification period, it’s time to plant your Serviceberry seeds.

You’ll need:
- Seed trays or small pots
- A well-draining seed-starting mix (peat, sand, and perlite mix works well)
- A spray bottle for gentle watering
Sowing process:
- Fill the seed trays or pots with your seed-starting mix.
- Moisten the mix lightly before sowing.
- Place seeds about ¼ inch (6 mm) deep into the soil.
- Lightly cover with a thin layer of mix and mist with water.
- Place the pots in a warm area with bright, indirect light — ideally around 20–25°C (68–77°F).
Keep the soil evenly moist but not waterlogged. Germination can take anywhere from 4 to 8 weeks, depending on the seed’s age and environmental conditions. Be patient — some seeds may take longer to sprout.
Step 4: Caring for Seedlings
Once your Serviceberry seeds germinate, you’ll see small green shoots emerging. This is an exciting stage, but also delicate — the young seedlings need consistent care.
Tips for healthy seedlings:
- Keep them in bright, indirect sunlight for at least 6 hours daily.
- Avoid direct scorching sun, which can dry them out.
- Water regularly, keeping the soil moist but never soggy.
- Once seedlings grow 2–3 sets of true leaves, start feeding with a diluted organic liquid fertilizer (about ¼ strength).
When seedlings reach about 4–6 inches tall and develop strong root systems, they’re ready for transplanting into larger containers or outdoor beds.
Step 5: Transplanting Outdoors
Before transplanting, it’s essential to harden off your young Serviceberry plants — this helps them adapt from indoor to outdoor conditions.
Hardening off process:
- Start by placing seedlings outdoors in partial shade for 2–3 hours daily.
- Gradually increase their outdoor exposure each day for about a week.
Once hardened, choose a suitable planting spot.

Ideal planting conditions:
- Sunlight: Full sun to partial shade.
- Soil: Moist, well-draining, and slightly acidic to neutral (pH 6.0–7.0).
- Spacing: For shrubs, space them about 4–6 feet apart. For trees, 10–12 feet spacing works best.
Dig a hole twice as wide as the root ball, place the seedling in, and backfill with rich organic soil. Water thoroughly after planting.
Mulch around the base with straw, bark chips, or compost to retain moisture and suppress weeds.
Step 6: Watering and Feeding
Serviceberries love moisture, especially when young. Keep the soil consistently moist, particularly during the first year after planting. Once established, Serviceberries are moderately drought-tolerant, but regular watering during dry spells helps maintain healthy growth and fruit production.
Fertilizing tips:
- Use a balanced organic fertilizer in early spring to encourage growth.
- Avoid high-nitrogen fertilizers — they promote excessive foliage growth at the expense of flowers and fruits.
- Compost or well-rotted manure can be added annually around the base for steady nutrient supply.
Step 7: Pruning and Maintenance
Pruning helps maintain shape, encourage air circulation, and remove any damaged or diseased branches.
How to prune Serviceberry:

- Prune during late winter or early spring before new growth starts.
- Remove crossing or crowded branches to create an open structure.
- Trim off any suckers (new shoots from the base) if you want a single-trunk tree form.
Serviceberries are generally low-maintenance and resistant to most pests, though you should watch for aphids or powdery mildew. Good airflow and avoiding overwatering prevent most problems.
Step 8: Fruiting and Harvesting
Your patience will pay off — Serviceberry plants usually start bearing fruit after 3 to 5 years when grown from seed. The fruits ripen in early summer and turn deep purple or nearly black when ready.
To harvest, simply pick the ripe berries by hand. They’re delicious fresh, or you can use them for pies, smoothies, jams, or even homemade wine. Birds adore them too, so consider using netting if you want to save some for yourself!
Step 9: Seasonal Care and Longevity
Serviceberries are hardy plants that thrive in USDA zones 3–9. Each season brings a new layer of beauty:
- Spring: Stunning white flowers.
- Summer: Sweet, edible fruits.
- Fall: Fiery orange and red foliage.
- Winter: Smooth gray bark and graceful structure.
They can live for several decades with minimal care. Regular pruning, mulching, and occasional feeding will keep them thriving for years.

Final Thoughts
Growing Serviceberry from seed is a rewarding journey that connects you deeply with nature’s rhythm — from cold stratification to sprouting, transplanting, and watching your own tree bear fruit. Though it takes time and patience, the result is worth it: a hardy, beautiful, and fruitful plant that attracts pollinators, wildlife, and admiration.
Whether you’re a beginner gardener or an experienced horticulturist, Serviceberries are an excellent choice for a multi-purpose landscape plant — offering beauty, shade, and nutrition all in one.
Start your Serviceberry growing adventure today, and within a few years, you’ll be enjoying your own homegrown “Juneberries” straight from the garden!
Leave A Comment