If you love adding a fiery touch to your dishes, Serrano peppers are an excellent choice to grow at home. These slender green peppers are not only spicier than jalapeños but also incredibly easy to cultivate — even if you don’t have a traditional garden. With just a few plastic bottles or small containers, you can enjoy a steady harvest of fresh, homegrown Serrano peppers right from your balcony or kitchen window.
In this guide, we’ll walk you through how to grow Serrano peppers in containers or plastic bottles, including everything from choosing seeds to harvesting. Let’s dive in!
Understanding Serrano Peppers
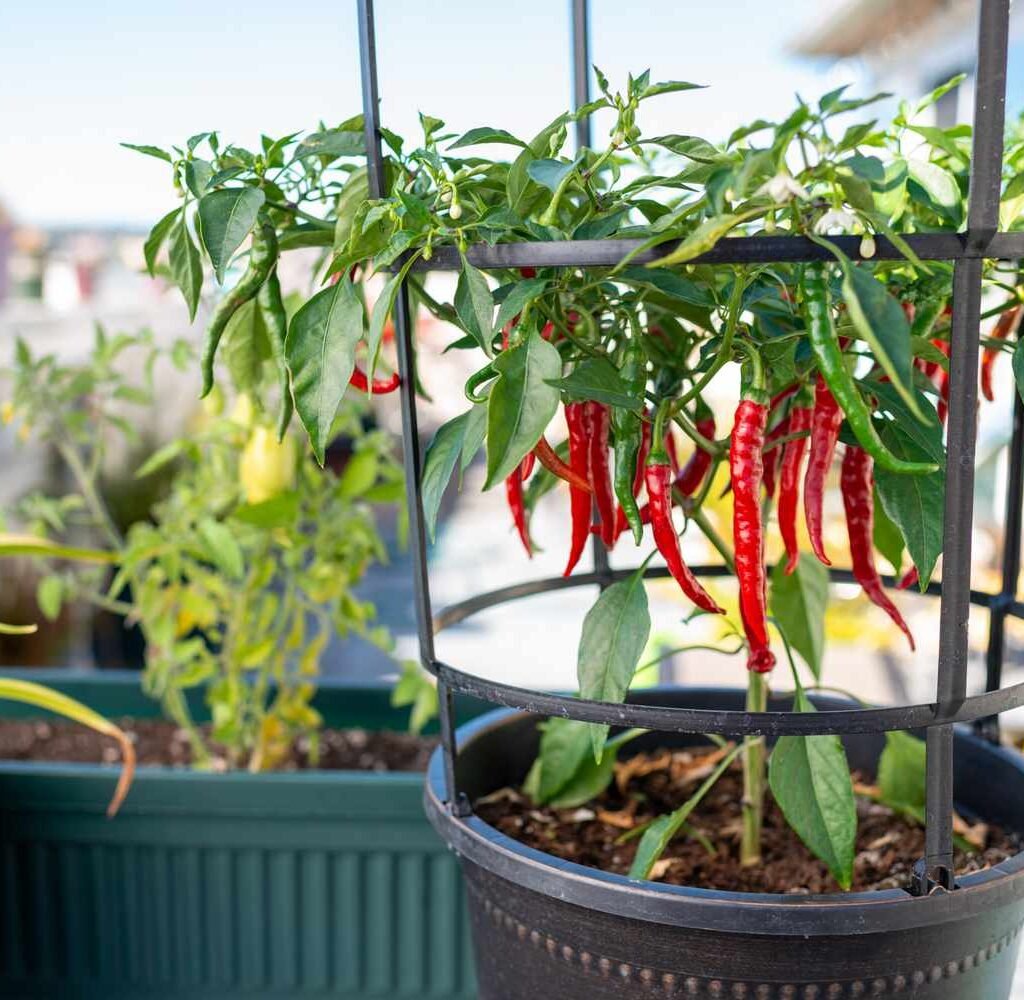
Serrano peppers (Capsicum annuum) are native to Mexico and are widely used in salsas, sauces, and pickles. They typically measure 2–3 inches long and range from 10,000 to 25,000 Scoville Heat Units, offering a moderate to hot spice level.
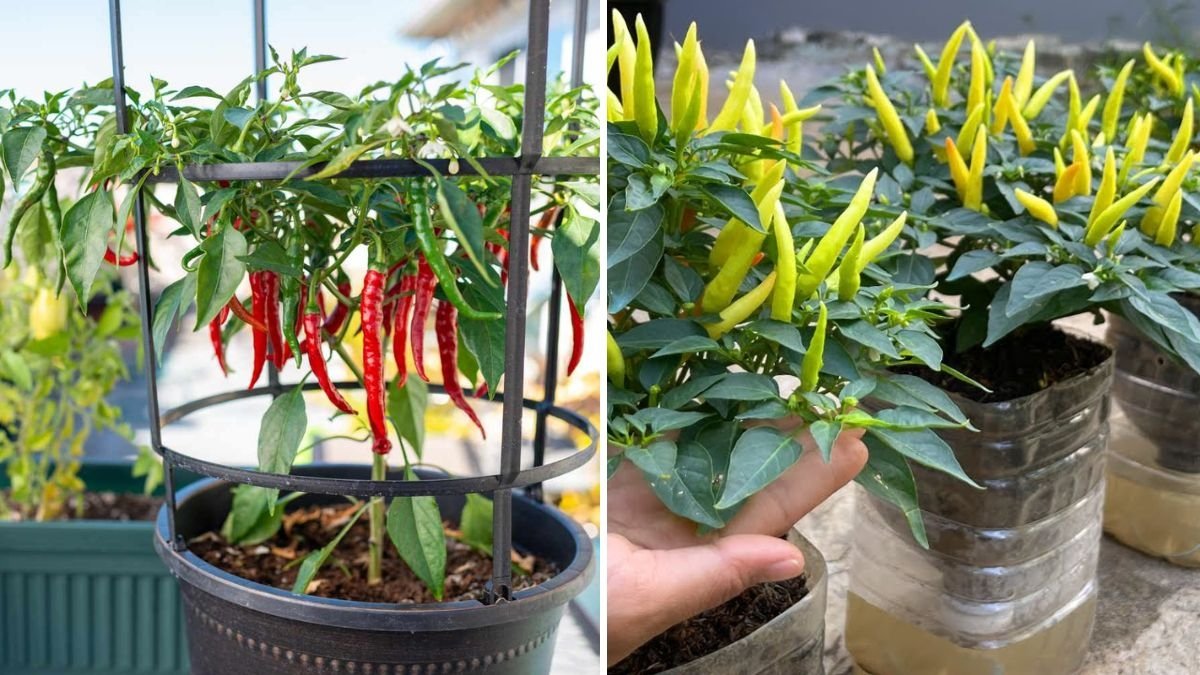
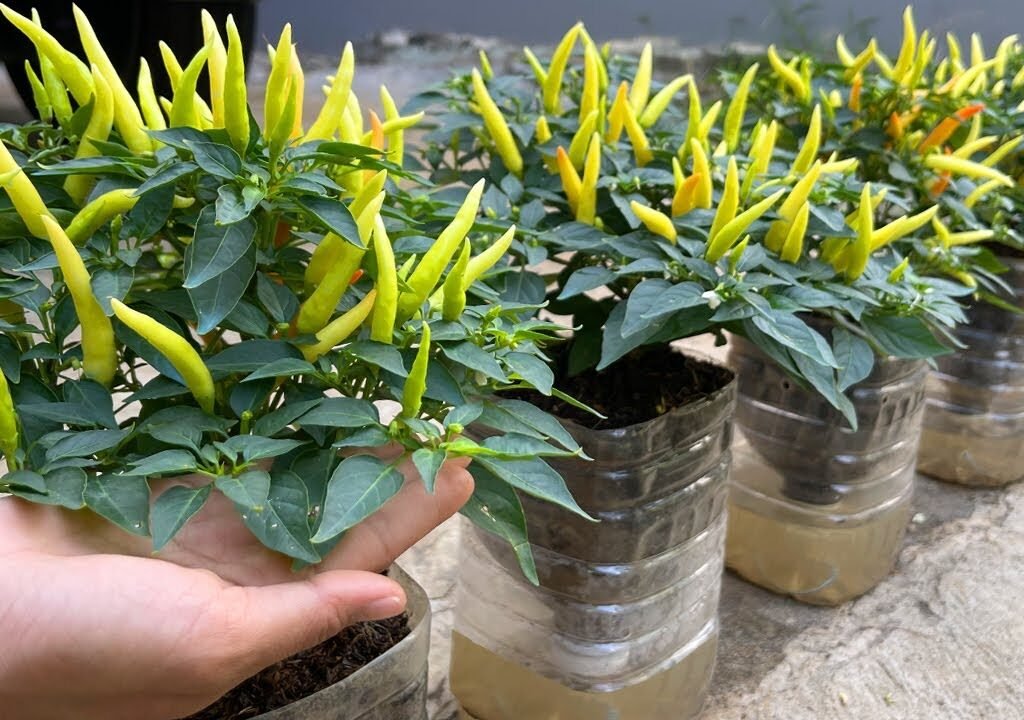
These plants thrive in warm climates and love sunlight, but they also adapt surprisingly well to container gardening. Growing them in plastic bottles or small pots makes it possible for anyone — even urban gardeners — to enjoy fresh peppers year-round.
Why Grow Serrano Peppers in Containers or Bottles?
Growing Serrano peppers in containers or bottles offers many advantages:

- Space-Saving Solution: Ideal for small balconies, patios, or rooftops.
- Better Soil Control: You can manage soil quality, drainage, and nutrients easily.
- Mobility: Move containers indoors during cold or rainy weather.
- Pest Management: Fewer soil-borne pests compared to ground planting.
- Recycling Option: Using old plastic bottles is eco-friendly and cost-effective.
With the right setup, even a recycled 2-liter bottle can support a thriving pepper plant.
Step 1: Preparing the Container or Bottle
You can use plastic bottles, old buckets, or small plant pots to grow Serrano peppers. Here’s how to prepare your container:
Materials Needed:
- 2L or 5L plastic bottle (depending on space)
- Sharp knife or scissors
- Drill or nail (for drainage holes)
- Potting mix
- Serrano pepper seeds or seedlings
Instructions:
- Cut the bottle about 4–5 inches from the bottom to create an open planter.
- Punch 4–5 drainage holes at the bottom to prevent waterlogging.
- Add small pebbles or gravel as the first layer for better drainage.
- Fill with potting mix up to 1–2 inches below the rim.
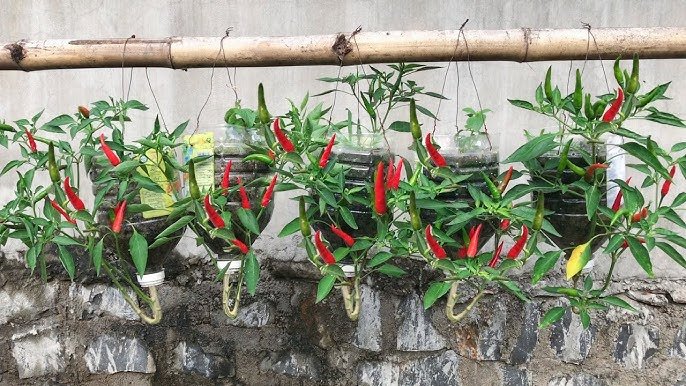
If you’re using multiple bottles, you can even hang them vertically on a wall or arrange them neatly on a shelf — perfect for a mini pepper garden!
Step 2: Choosing and Preparing Seeds
You can grow Serrano peppers from fresh seeds taken from ripe peppers or from store-bought seed packets. Here’s how to prepare them:
- Select mature Serrano peppers (red ones are best since they’re fully ripe).
- Remove seeds, rinse gently, and let them dry for 1–2 days.
- To boost germination, soak seeds in warm water for 6–8 hours before planting.
This pre-soaking step softens the seed coat and helps the seedlings sprout faster.

Step 3: Planting the Seeds
Now that your container and seeds are ready, it’s time to plant.
- Make small holes about ¼ inch deep in the soil.
- Drop 2–3 seeds into each hole.
- Cover lightly with soil and mist with water (avoid overwatering).
- Place the bottle in a warm, sunny area where it receives at least 6–8 hours of light daily.
Within 7–14 days, you should see tiny green seedlings emerging from the soil.
Step 4: Watering and Sunlight Care
Serrano peppers need consistent moisture, but soggy soil can damage their roots.
Here’s how to keep them healthy:
- Water every 2–3 days, ensuring the soil remains moist but not waterlogged.
- Use a spray bottle for seedlings to avoid displacing the soil.
- Once mature, water deeply once or twice a week.
- Place containers in full sunlight (6–8 hours daily) — this encourages more flowers and fruit.
If you live in an extremely hot region, provide partial shade during peak afternoon hours to prevent leaf burn.
Step 5: Fertilizing for Bigger and Sweeter Peppers
For robust growth and fruiting, your Serrano peppers need a steady supply of nutrients.
Here’s a simple feeding plan:

- At planting time: Mix compost or organic manure into the potting soil.
- After 3–4 weeks: Apply a balanced fertilizer (like 10-10-10 NPK).
- When flowering begins: Switch to a fertilizer with higher potassium and phosphorus (like 5-10-10) to boost fruit development.
- Every 2 weeks, add liquid seaweed or compost tea for extra micronutrients.
If you want sweeter and larger peppers, reduce nitrogen levels once the plant starts flowering — this directs more energy into fruit production rather than leaves.
Step 6: Pollination and Flower Care
Serrano pepper plants produce beautiful small white flowers before fruiting. These need to be pollinated to set fruit.
If growing indoors or in still air, help nature out by:
- Gently shaking the plant every morning to move pollen around.
- Or use a small paintbrush or cotton swab to transfer pollen from one flower to another.
Within a few weeks of pollination, you’ll notice tiny green peppers forming — a rewarding sight for any gardener!
Step 7: Pest and Disease Management
Even container-grown peppers can attract pests. The most common are aphids, whiteflies, and spider mites. Here’s how to control them naturally:
- Spray neem oil or insecticidal soap once a week.
- Wipe leaves with a damp cloth to remove pests.
- Avoid overwatering — it encourages fungal problems.
- Ensure good air circulation between containers.
Healthy plants grown in well-drained soil and full sunlight are naturally more resistant to pests.

Step 8: Pruning and Supporting the Plant
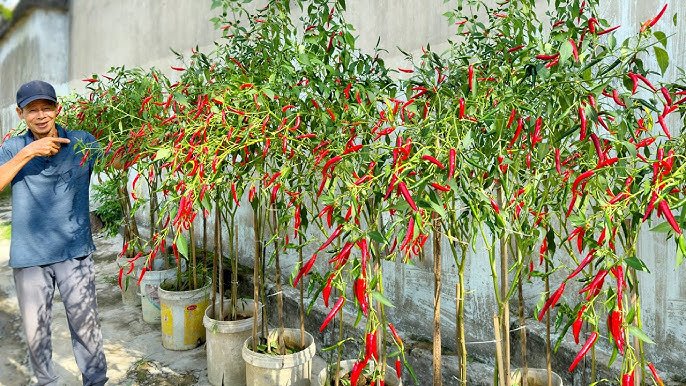
As your Serrano pepper plant grows, it may reach 2–3 feet tall in containers. Pruning helps it focus energy on fruit rather than excess leaves.
- Pinch off the top leaves when the plant reaches 8–10 inches tall to encourage branching.
- Remove any yellow or lower leaves touching the soil to prevent disease.
- If the plant becomes heavy with peppers, use a bamboo stick or stake for support.
Step 9: Harvesting Serrano Peppers
Your Serrano peppers are ready to harvest about 70–90 days after transplanting.
Here’s how to identify the right time:
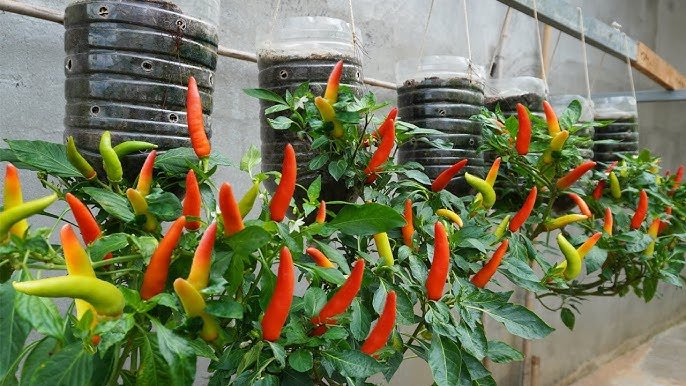
- Green Serranos: Have a sharp, fresh spice and are commonly used in cooking.
- Red Serranos: Sweeter and more aromatic — perfect for sauces or drying.
Use scissors or pruning shears to cut the peppers carefully without damaging the stem. Continuous harvesting encourages the plant to produce even more fruits.
Step 10: Storage and Uses
After harvesting, Serrano peppers can be used in many ways:
- Fresh: Add to salsas, curries, and stir-fries.
- Dried: String them and air-dry for weeks; then grind into chili powder.
- Pickled: Preserve them in vinegar, salt, and garlic for a tangy condiment.
- Frozen: Store whole or sliced Serranos in freezer-safe bags for up to 6 months.
Nothing beats the satisfaction of cooking with peppers you grew yourself — fresh, organic, and full of flavor.

Bonus Tips for Success
- Rotate containers every few days to ensure even sunlight exposure.
- Avoid overcrowding — one plant per container is ideal.
- Use organic mulch on the soil surface to retain moisture and prevent weeds.
- Re-use plastic bottles wisely — cut and shape them creatively for drainage and airflow.
Final Thoughts
Growing Serrano peppers in containers or recycled bottles is an easy, rewarding way to produce a constant supply of spicy, flavorful peppers at home. Whether you live in an apartment or a house with limited outdoor space, this method lets you turn small corners into productive mini-gardens.
With the right care — sunlight, proper watering, and a touch of patience — your Serrano pepper plants will reward you with lush growth and plenty of vibrant fruits. So grab a few bottles, some seeds, and start your DIY pepper garden today. You’ll soon enjoy the thrill of picking your own hot, fresh Serranos right from your home!
Leave A Comment