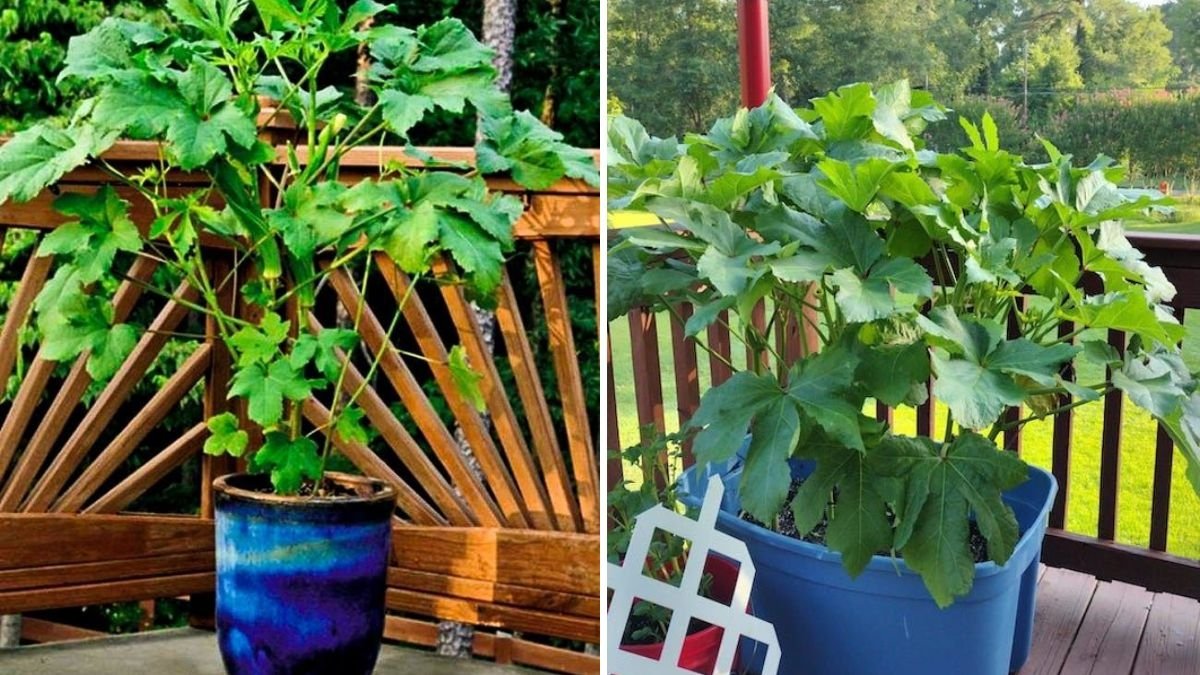
Okra, also known as lady’s finger or bhindi, is a warm-weather vegetable prized for its tender pods and distinctive flavor. Whether fried, stewed, or added to soups and curries, okra is a garden favorite around the world. The best part? You don’t need a large farm or garden to grow it successfully. With just a raised bed or a few containers, you can enjoy a bountiful harvest of fresh, homegrown okra right at your doorstep!
In this complete guide, we’ll walk you through every step of growing okra from seed to harvest—including soil preparation, planting tips, care, and harvesting. Let’s get started.
Why Grow Okra at Home?
Growing okra in raised beds or containers offers several advantages:
- Thrives in heat: Okra loves warm temperatures and sunny spots.
- Easy to grow: Once established, it’s low-maintenance and drought-tolerant.
- Space-efficient: Ideal for small gardens, balconies, or patios.
- Nutritious: Rich in fiber, vitamin C, magnesium, and antioxidants.
- Beautiful plants: Okra produces stunning hibiscus-like flowers that add beauty to your garden.
If you’ve been looking for a simple, rewarding crop that produces well all summer long, okra is a fantastic choice.
Step 1: Choose the Right Variety
There are many varieties of okra to choose from, depending on your region and growing space. For container or raised-bed gardening, pick compact or high-yielding types.
Popular varieties include:

- ‘Clemson Spineless’ – A classic, high-yielding variety with smooth pods.
- ‘Baby Bubba’ – Compact and perfect for containers; grows just 2–3 feet tall.
- ‘Emerald’ – Known for its tender, dark green pods and heat resistance.
- ‘Red Burgundy’ – Produces beautiful red pods with mild flavor and ornamental appeal.
Choose seeds from a reliable supplier or collect from a mature okra plant from the previous season.
Step 2: Prepare Your Raised Bed or Container
For Raised Beds:
- Ensure the bed is at least 12–18 inches deep to support okra’s long taproot.
- The soil should be loose, well-draining, and rich in organic matter.
- Mix in aged compost or well-rotted manure before planting.
- Maintain a soil pH between 6.0 and 6.8 for optimal growth.
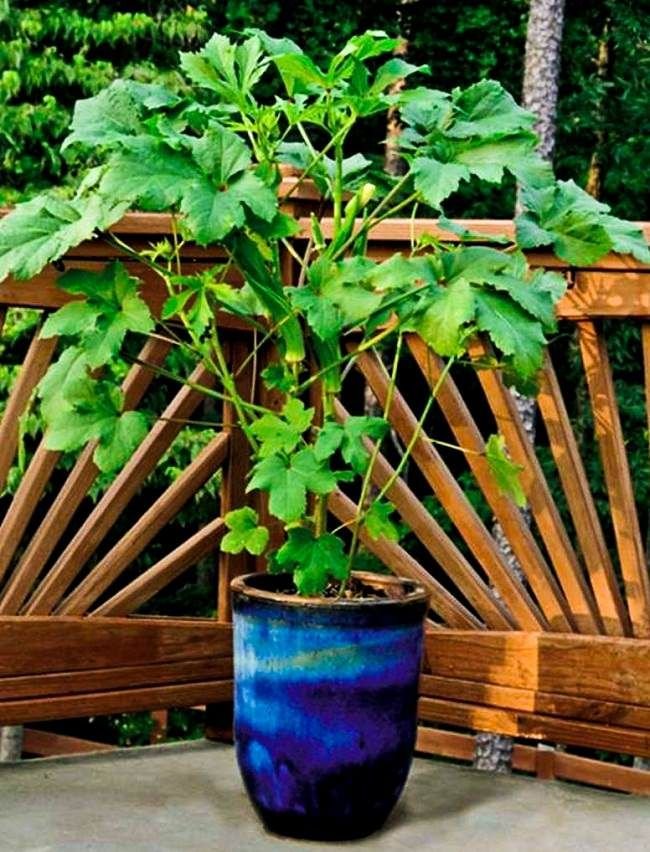
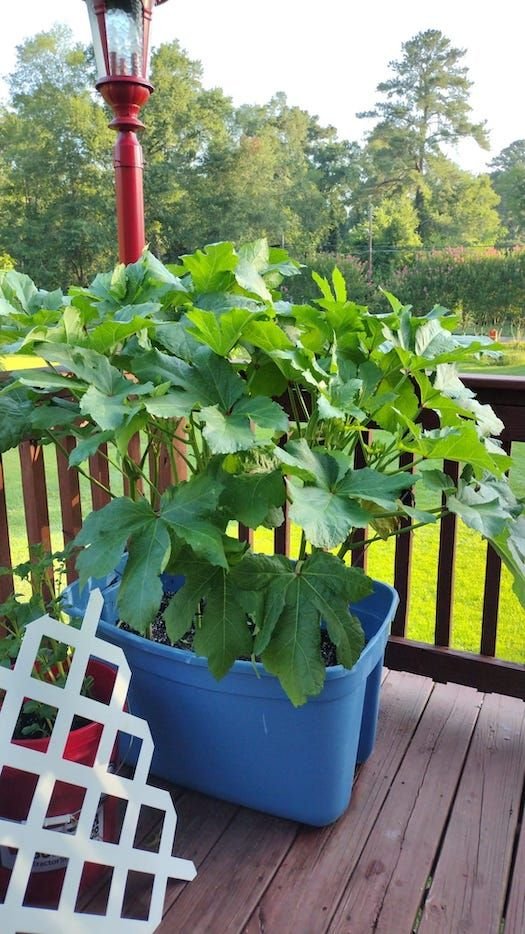
For Containers:
- Choose large containers—at least 12 inches deep and 12 inches wide per plant.
- Use pots made of terracotta, plastic, or fabric grow bags with good drainage.
- Fill with a high-quality potting mix combined with compost or coco peat.
- Avoid heavy clay soil as it retains too much water.
Okra thrives in full sun, so place containers or raised beds where they receive 6–8 hours of direct sunlight daily.
Step 3: Planting Okra Seeds
Okra seeds have a tough outer coat that benefits from pre-treatment for better germination.
Seed Preparation:
- Soak the seeds in warm water overnight (8–12 hours) before planting.
- Alternatively, lightly rub them with sandpaper to break the seed coat.
Sowing:
- Sow seeds directly into the soil after all danger of frost has passed and the soil temperature is above 70°F (21°C).
- Plant seeds ½ to 1 inch deep.
- Space them 12–18 inches apart in raised beds or one plant per large container.
- Water gently after sowing to settle the soil.
Seedlings will emerge in 7–10 days, depending on temperature.
Step 4: Thinning and Transplanting
If multiple seeds germinate too close together, thin them out to leave only the strongest plant in each space. Okra doesn’t like being transplanted once established, so handle seedlings gently.
If you started seeds indoors:

- Transplant when seedlings are 3–4 inches tall and outdoor temperatures are consistently warm.
- Harden them off for a few days before transplanting to reduce shock.
Step 5: Watering and Mulching
Okra loves warmth but needs consistent moisture for healthy pod production.
- Water deeply 2–3 times per week, depending on weather.
- Avoid waterlogging; soggy roots can cause rot.
- Apply organic mulch (like straw, dry leaves, or compost) around the base of the plants to retain moisture and suppress weeds.
During flowering and fruiting, slightly increase watering frequency to encourage steady pod development.
Step 6: Feeding and Fertilizing
Okra is a moderate feeder that benefits from nutrient-rich soil.
- Before planting, mix in compost or organic manure.
- Every 3–4 weeks, apply a balanced fertilizer (10-10-10 NPK) or compost tea.
- When plants begin flowering, side-dress with compost or a fertilizer rich in potassium and phosphorus for better pod production.
Avoid excessive nitrogen; it can cause lush foliage but fewer pods.
Step 7: Caring for Your Okra Plants
Sunlight:
- Okra loves full sun, so ensure plants receive at least 6 hours of sunlight daily.
Temperature:
- Ideal growing range: 75–95°F (24–35°C).
- Okra is very heat-tolerant but stops growing below 60°F (15°C).
Pruning:
- Remove yellowing or damaged leaves to promote airflow and prevent disease.
- Pinch off the top of tall plants (above 5 feet) to encourage more branching and pods.
Support:
In windy areas, provide a small stake to support tall okra plants and prevent them from falling over.
Step 8: Pests and Diseases
Okra is relatively hardy, but some common pests can appear.

Common pests:
- Aphids – Spray with neem oil or insecticidal soap.
- Whiteflies – Use sticky traps or neem oil spray.
- Spider mites – Rinse plants with water and apply organic pesticide if needed.
- Caterpillars or beetles – Handpick or use organic controls.
Common diseases:
- Powdery mildew – Avoid overhead watering and ensure good air circulation.
- Root rot – Prevent by using well-drained soil and proper watering.
Healthy, well-fed plants are more resistant to pests and diseases, so regular care pays off.
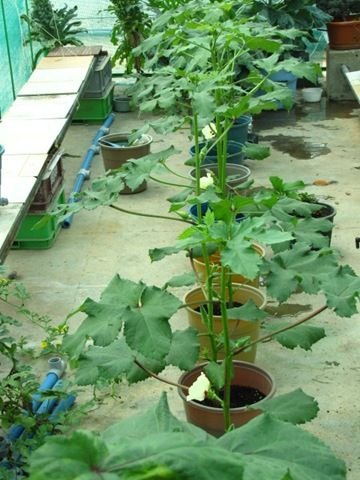
Step 9: Flowering and Pollination
Okra plants begin to flower around 45–60 days after planting. The large, cream-colored flowers resemble hibiscus blooms since both belong to the mallow family.
Each flower lasts just one day but produces a pod within a few days after pollination. Bees and insects usually handle pollination naturally, but if you’re growing indoors or in an enclosed space, you can gently tap the flowers to help distribute pollen.
Step 10: Harvesting Okra
When to Harvest:
- Okra pods are ready for harvest 50–70 days after sowing, depending on the variety and growing conditions.
- Pick pods when they are 3–5 inches long—young and tender.
- Older pods become fibrous and tough.
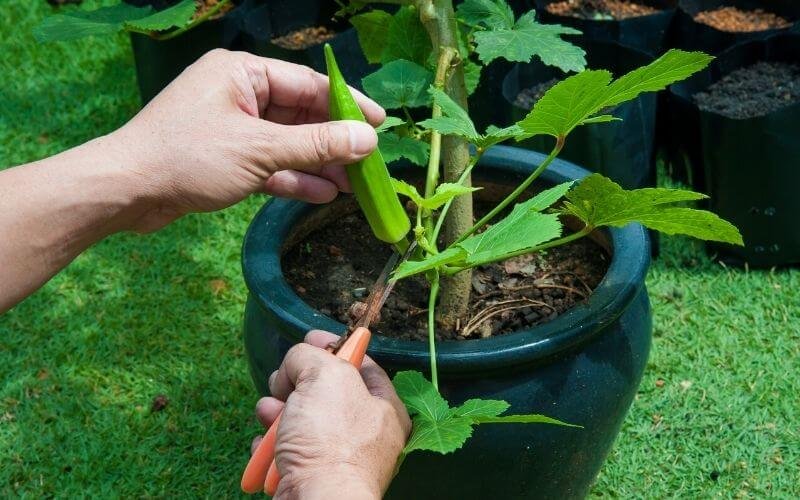
How to Harvest:
- Use a sharp knife or pruning shears to cut pods from the stem.
- Wear gloves, as some okra varieties have tiny spines that can irritate the skin.
- Harvest every 2–3 days to encourage continuous production.
Regular picking ensures the plant keeps producing new pods until the end of the season.

Step 11: Post-Harvest Care and Storage
- Store freshly harvested okra in a perforated plastic bag in the refrigerator.
- It stays fresh for 3–5 days.
- Avoid washing before storing, as excess moisture can cause decay.
For long-term storage, blanch and freeze the pods for use in soups or stews later.
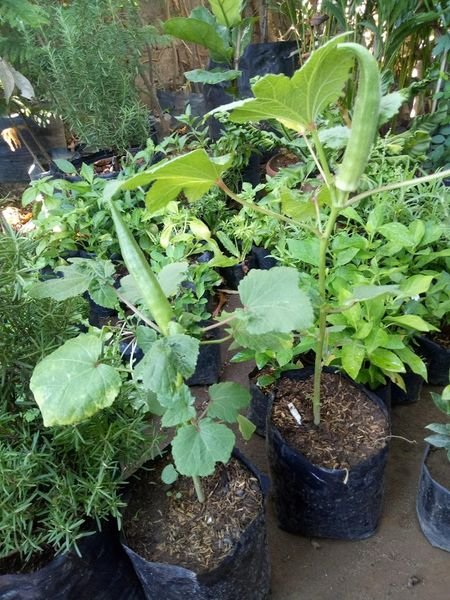
Step 12: Companion Planting for Okra
Companion planting helps boost yields and protect okra from pests.
Good companions:
- Basil and marigold – Deter aphids and beetles.
- Peppers and tomatoes – Thrive under similar conditions.
- Radishes and lettuce – Grow quickly and make use of space between okra plants.
Avoid planting with:
- Sweet potatoes or cucumbers, as they may compete for space and nutrients.
Step 13: Growing Okra Year-Round
In warm or tropical regions, okra can be grown nearly year-round.
- In spring and summer, it thrives naturally.
- In cooler climates, start seeds indoors and transplant after the last frost.
- In very hot regions, consider shading during peak afternoon heat.
By staggering plantings every 3–4 weeks, you can enjoy a continuous harvest throughout the growing season.

Common Problems and Solutions
| Problem | Likely Cause | Solution |
|---|---|---|
| Poor germination | Hard seed coat | Soak seeds overnight before planting |
| Stunted plants | Cold weather or poor soil | Plant in warmer soil and enrich with compost |
| Yellow leaves | Overwatering or nutrient deficiency | Water moderately and feed regularly |
| Few pods | Too much nitrogen or lack of pollinators | Use balanced fertilizer and encourage bees |
Final Thoughts
Learning how to grow okra in raised beds or containers is one of the easiest and most rewarding gardening experiences you can have. With the right setup, a bit of sunshine, and regular care, you can grow abundant, tender okra pods all summer long—right at home.
Okra’s resilience, heat tolerance, and high yield make it perfect for beginners and experienced gardeners alike. Whether you’re working with a sunny balcony, a patio, or a backyard raised bed, this tropical gem will reward you with a vibrant harvest and plenty of delicious meals.
Soak your seeds, prepare your soil, and start planting today—because your journey from seed to harvest with homegrown okra is just a few weeks away!
Leave A Comment