Growing your own mung bean sprouts at home is one of the simplest, healthiest, and most rewarding gardening projects you can do — even without soil or a garden! All you need are some mung beans, a few plastic cups, and water. In just a few days, you can enjoy fresh, crisp, and nutrient-packed sprouts that are perfect for salads, stir-fries, or snacking.
Inspired by the video “How To Grow Mung Bean Sprouts In Plastic Cups | Easy Way,” this guide will show you step-by-step how to grow mung bean sprouts easily in plastic cups, along with tips to ensure you get long, white, and crunchy sprouts every time.
Why Grow Mung Bean Sprouts at Home
Mung bean sprouts (also known as green gram sprouts) are a superfood packed with vitamins, minerals, and plant-based protein. They’re low in calories, high in fiber, and incredibly rich in antioxidants.
Health benefits include:
- Boosting immunity and metabolism
- Improving digestion
- Supporting heart health
- Enhancing skin and hair health
- Aiding in weight management
When you grow them yourself, you get chemical-free, fresh, and highly nutritious sprouts that taste much better than store-bought ones. Plus, it’s an eco-friendly way to reuse old plastic cups and reduce waste.
What You’ll Need
You don’t need any special equipment. Here’s what you’ll need to get started:
Materials:
- 2–3 tablespoons of mung beans (per cup)
- 2 or more clean plastic cups (medium or large size)
- A piece of cotton cloth or paper towel
- A rubber band or string
- A small bowl of water
Optional: A dark cabinet or corner for growing the sprouts

Tip: Choose good-quality mung beans meant for sprouting — they should be clean, whole, and untreated. Avoid beans that are split or have been stored for too long, as they may not sprout well.
Step 1: Soak the Mung Beans
Soaking is the most important step in sprouting because it “wakes up” the dormant seeds and triggers germination.
Instructions:
- Rinse the mung beans thoroughly in clean water to remove any dust or debris.
- Place them in a bowl and add enough clean, room-temperature water to cover the beans by about 2 inches.
- Let them soak for 8–12 hours or overnight.
By morning, the beans will have swollen and softened — a clear sign they’re ready for the next stage.
Pro tip: Avoid soaking them for more than 12 hours; over-soaking can cause them to ferment or develop an unpleasant odor.
Step 2: Prepare the Plastic Cups
While your beans are soaking, prepare the plastic cups for sprouting.
How to prepare:
- Take two cups per sprouting batch.
- In one cup, make 3–4 small holes at the bottom for drainage and airflow.
- Keep the second cup without holes — this will collect excess water.
- Place the cup with holes inside the cup without holes (like a double cup setup).
This simple method keeps your sprouts moist but prevents them from sitting in stagnant water, which could cause rot.

Step 3: Add the Beans to the Cup
After soaking, drain the beans and rinse them again with fresh water.
Steps:
- Place a damp paper towel or cotton cloth at the bottom of the inner cup.
- Spread the soaked mung beans evenly over it.
- Cover the top of the cup with another damp paper towel or cloth to maintain humidity.
- Secure it with a rubber band or string to hold it in place.
Keep the cup setup in a dark, warm location — like inside a cupboard or under the sink. Mung bean sprouts grow best in the dark because light makes them green and bitter.
Step 4: Watering and Care
Your sprouts need moisture but not too much water. The key is to keep them damp, not soggy.
Daily routine:
- Twice a day (morning and evening), remove the cover and rinse the beans gently with fresh water.
- Allow excess water to drain out through the holes.
- Replace the damp cloth and return the cup to its dark place.
This keeps your sprouts fresh, prevents mold, and encourages healthy growth.
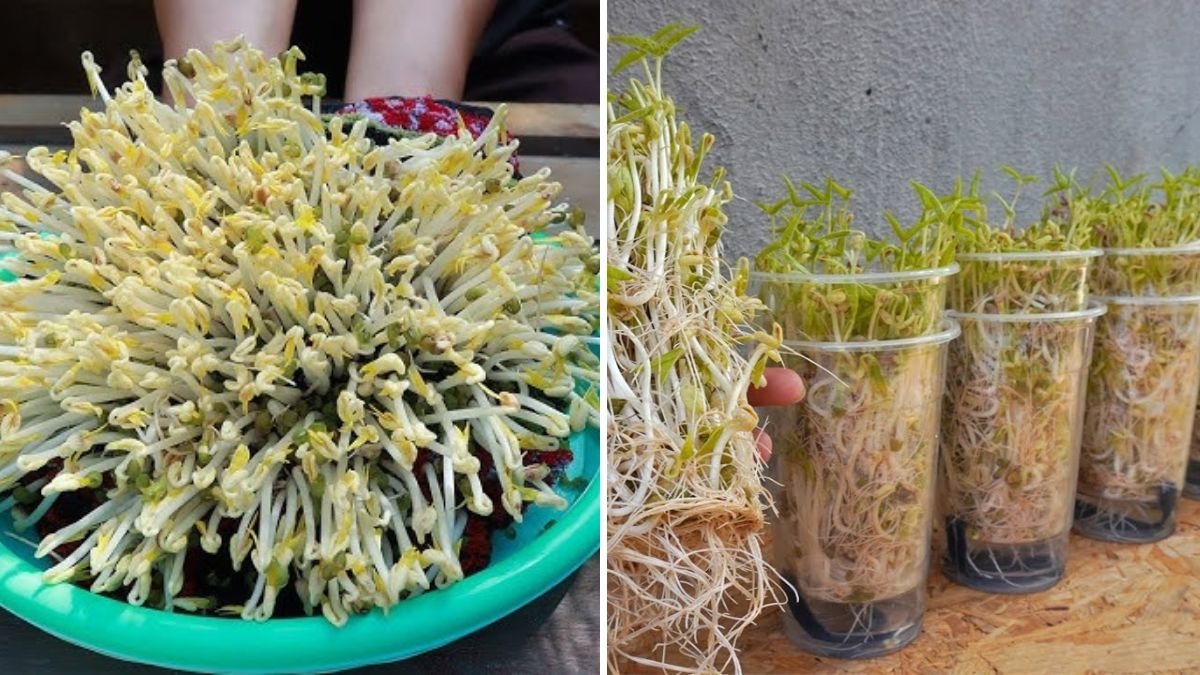
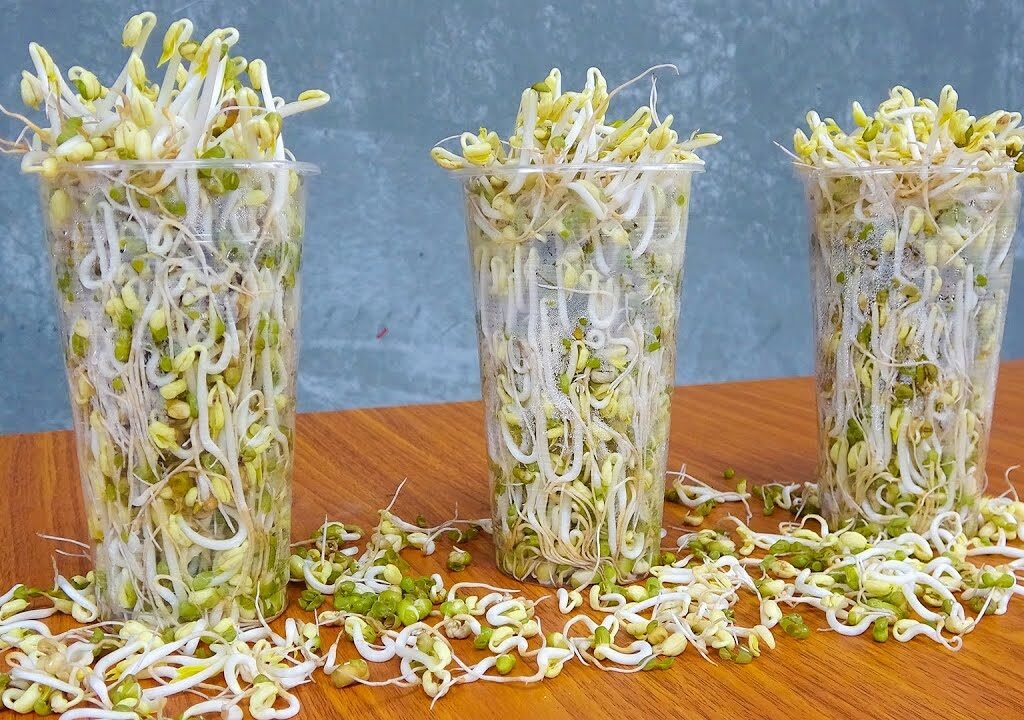
Step 5: Watching the Sprouts Grow
Within 24–36 hours, you’ll notice small white roots emerging from the mung beans. Over the next few days, they’ll continue to grow rapidly.
Growth timeline:

- Day 1: Tiny roots appear.
- Day 2: Sprouts begin to lengthen.
- Day 3: Fully grown, crunchy sprouts ready to harvest!
For best results, keep the environment warm (around 25–30°C or 77–86°F). Cooler temperatures may slow down the sprouting process.
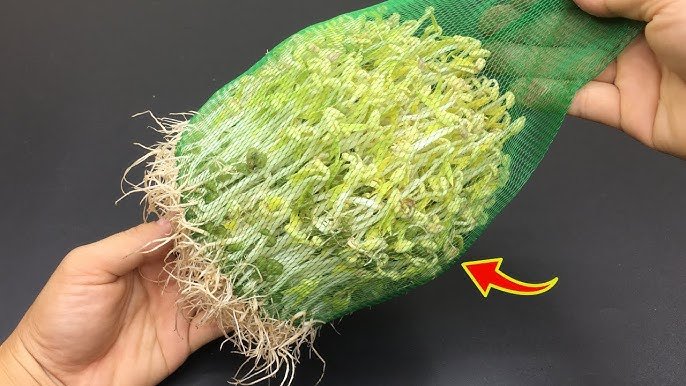
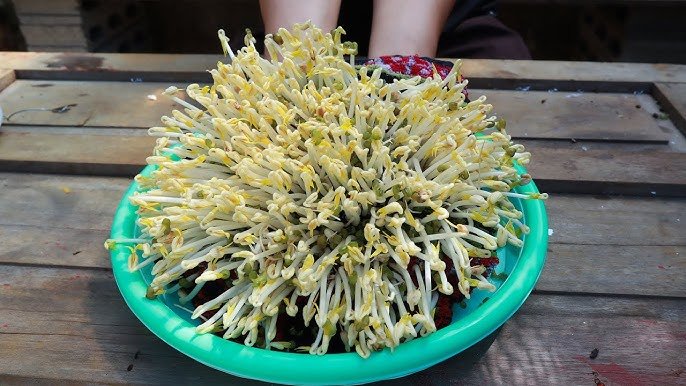
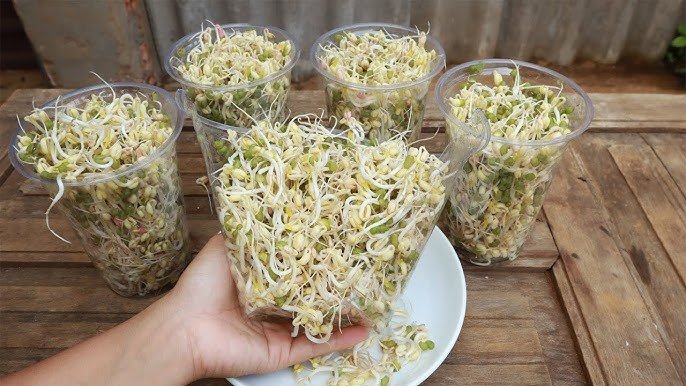
Step 6: Harvesting Your Mung Bean Sprouts
After 3–4 days, your mung bean sprouts should be long, white, and thick — perfect for eating!
How to harvest:
- Remove the cover and gently lift the sprouts from the cup.
- Rinse them under cool running water to remove any seed coats or leftover hulls.
- Drain thoroughly.
You can now enjoy your homegrown mung bean sprouts fresh or store them for later.
Storage tip: Keep them in an airtight container in the refrigerator for up to 3 days. For longer storage, wrap them in a paper towel before refrigerating to absorb excess moisture.
Step 7: How to Use Your Fresh Sprouts
Mung bean sprouts are incredibly versatile and can be added to a variety of dishes for a crunchy texture and nutritional boost. Here are a few ideas:
- Salads: Toss them with chopped veggies, olive oil, and lemon juice.
- Stir-fries: Add them at the end of cooking for a fresh crunch.
- Soups: Sprinkle raw sprouts over hot soups before serving.
- Sandwiches and wraps: Add them for a light, crispy bite.
- Smoothies: Blend a handful for an extra protein kick.
Lightly blanching them for 10–15 seconds can also make them safer to eat while keeping the crunch.
Step 8: Troubleshooting Common Problems
Even though growing mung bean sprouts is easy, a few issues can arise if conditions aren’t right. Here’s how to fix them:

1. Sprouts turning brown or mushy:
- Cause: Too much water or poor drainage.
- Fix: Make sure excess water drains out and reduce watering frequency.
2. Sprouts have a bad odor:
- Cause: Overcrowded beans or not rinsing often enough.
- Fix: Use fewer beans per cup and rinse twice daily.
3. Sprouts are short or thin:
- Cause: Low humidity or too much light.
- Fix: Keep the cup in a dark, humid environment.
4. Mold growth:
- Cause: Lack of airflow.
- Fix: Remove moldy beans immediately and ensure holes allow air circulation.
Remember, cleanliness is key. Always wash your hands, beans, and cups thoroughly before and during sprouting.
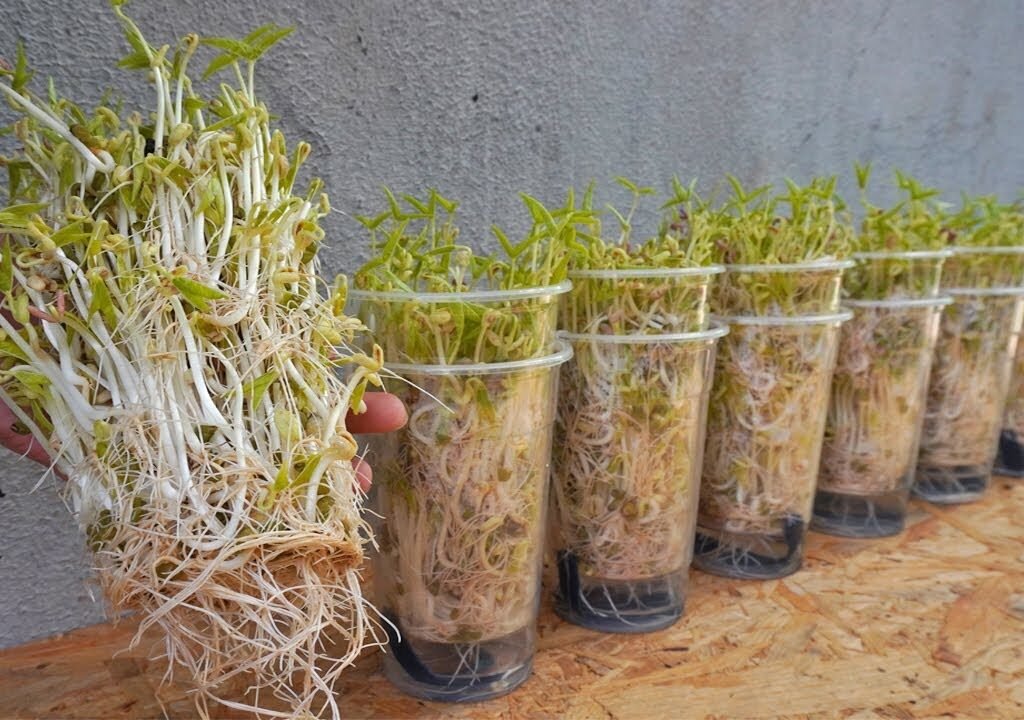
Step 9: Why the Plastic Cup Method Works So Well
This plastic cup sprouting method is simple, space-efficient, and highly effective — perfect for urban gardeners and small households.
Benefits include:
- Uses recycled materials
- Requires no soil
- Takes very little space (even fits on a kitchen shelf!)
- Easy to rinse and drain
- Produces clean, tangle-free sprouts
The dual-cup setup mimics professional sprouting jars but costs almost nothing to make. It’s an excellent DIY solution for anyone looking to grow fresh food indoors.

Step 10: Expanding Your Sprouting Adventure
Once you’ve mastered mung beans, you can try sprouting other seeds using the same method! Some easy and nutritious options include:
- Lentils
- Chickpeas
- Alfalfa
- Fenugreek
- Black beans
Each variety has a unique flavor, texture, and nutritional profile. Experiment and create your own mix of sprouts for salads or snacks!
Final Thoughts
Growing mung bean sprouts in plastic cups is one of the easiest, fastest, and most satisfying ways to produce healthy food at home. In less than a week, you can turn a handful of beans into a bowl of fresh, crunchy sprouts — all without soil, sunlight, or fancy equipment.
It’s a great beginner-friendly project for anyone looking to eat healthier, live more sustainably, or introduce kids to the joy of growing food.
So don’t throw away those old plastic cups — give them new life by growing your own mung bean sprouts! With just water, beans, and a little care, you’ll be amazed at how easy it is to harvest fresh, delicious, and nutrient-rich sprouts right in your kitchen.
Leave A Comment