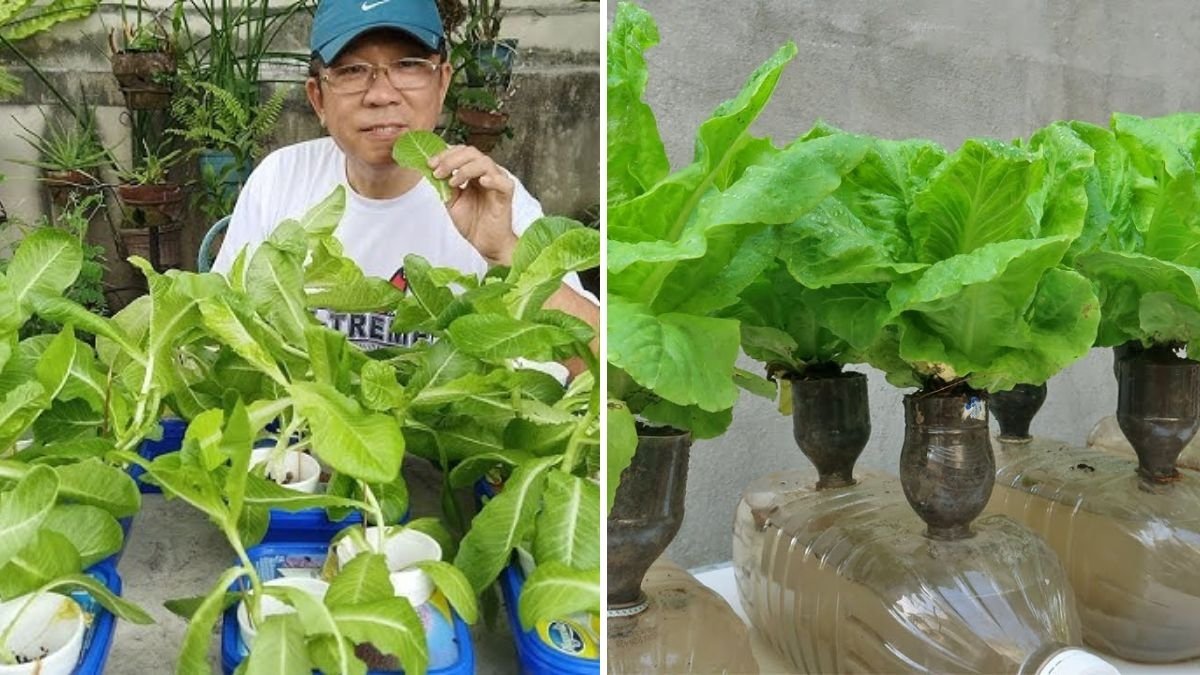
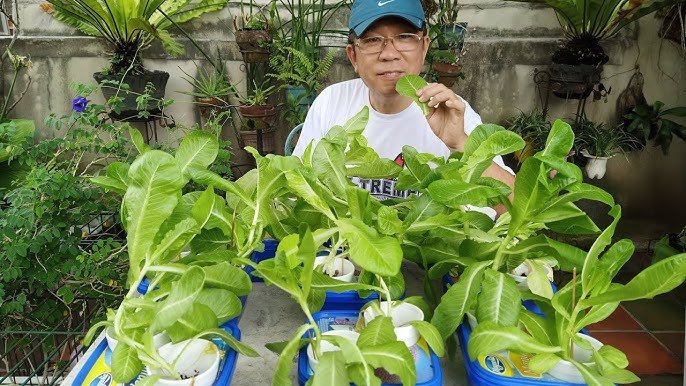
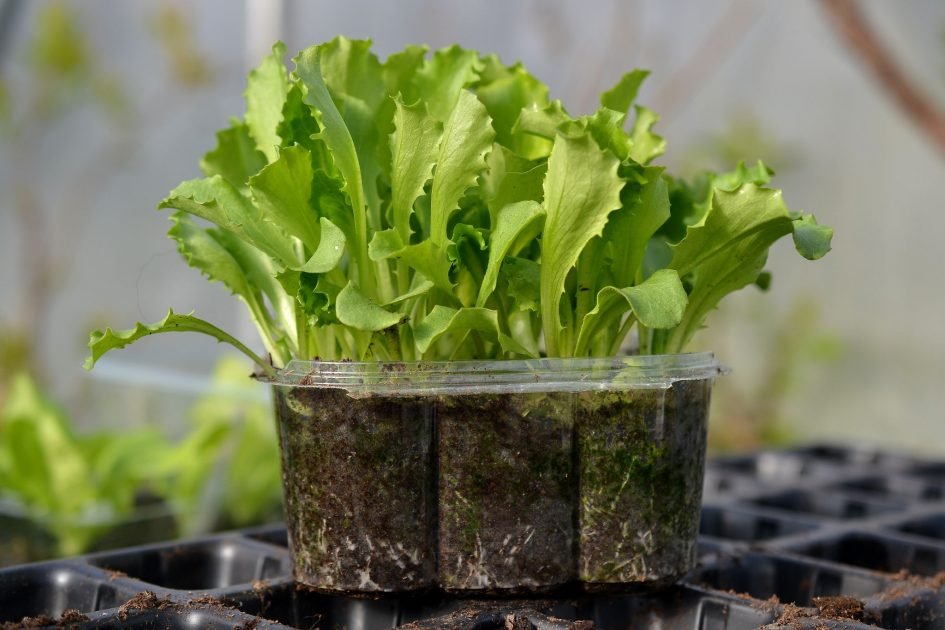
If you’ve ever wanted to grow your own fresh, crunchy lettuce at home but don’t have much space or soil, hydroponic gardening offers the perfect solution. Even better, you can grow lush, vibrant lettuce right in a simple plastic cup! Yes — you don’t need a fancy hydroponic setup or large containers. With just a few everyday items, you can create your own mini hydroponic garden that yields fresh, pesticide-free lettuce all year round.
In this guide, we’ll walk you through how to grow lettuce in plastic containers or cups using the hydroponic method — an easy, clean, and sustainable way to enjoy homegrown greens anytime.
1. Why Grow Lettuce Hydroponically in Plastic Cups?
Hydroponic gardening is the process of growing plants without soil, using nutrient-rich water instead. Lettuce is one of the best crops for this system because it grows quickly, has shallow roots, and thrives in a controlled water-based environment.
Here’s why this method is so effective:
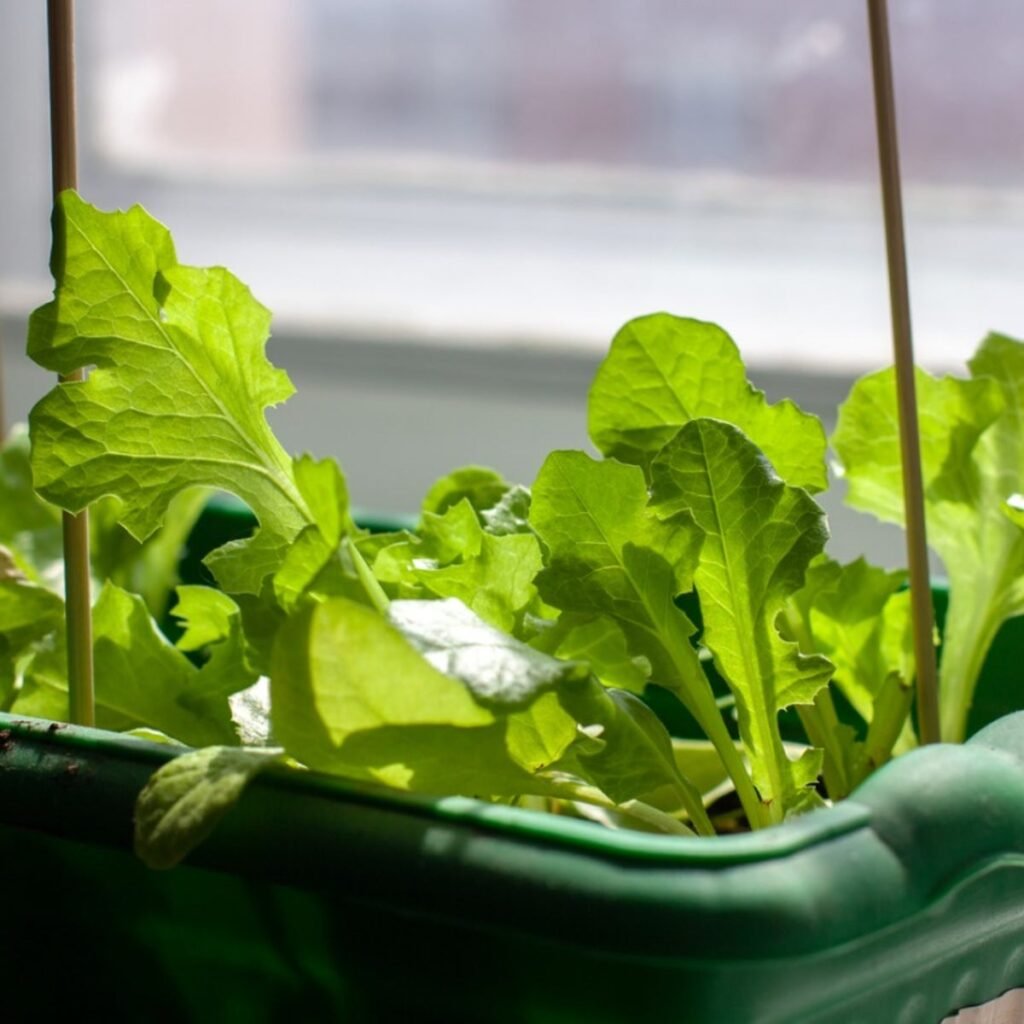
- Space-saving: You can grow lettuce in small containers or cups even on a windowsill or balcony.
- Faster growth: Hydroponic lettuce grows up to 30% faster than soil-grown varieties because nutrients are directly available to the roots.
- Cleaner produce: Since there’s no soil, the leaves stay clean and free of pests.
- Water-efficient: The system recycles water, reducing waste.
- Perfect for beginners: The setup is simple and requires little maintenance.
If you’ve been hesitant to start gardening, this method removes all the barriers — no digging, weeding, or worrying about soil quality!

2. Materials You’ll Need
Before starting, gather a few basic materials you likely already have at home:
- Plastic cups or small containers (preferably transparent so you can monitor water levels)
- Lettuce seeds (choose fast-growing varieties such as butterhead, romaine, or loose-leaf)
- Hydroponic nutrient solution (available online or at garden centers)
- Growing medium (like coco peat, perlite, or rockwool cubes)
- Small net pots or perforated cups (optional but helpful)
- Water (preferably clean, filtered, or rainwater)
- A tray or shallow container (to hold multiple cups and prevent spills)
Once you have your materials, you’re ready to set up your mini hydroponic lettuce garden!
3. Preparing the Plastic Cup Hydroponic System
The setup process is simple, fun, and eco-friendly. Here’s how to do it step-by-step:
- Cut or Drill Drain Holes:
If your plastic cup doesn’t already have holes, use a knife or drill to make small holes at the bottom. This allows roots to access the nutrient solution easily and prevents stagnation. - Add Growing Medium:
Fill the cup halfway with your chosen medium. Coco peat or perlite works great because they hold moisture well and allow air circulation around the roots. - Prepare the Nutrient Solution:
Mix your hydroponic nutrients with water according to the manufacturer’s instructions. The right nutrient balance ensures your lettuce grows strong and healthy. - Add the Nutrient Solution:
Pour the solution into the cup so it just touches the base of the growing medium — this helps the roots absorb moisture as they grow. - Sow the Lettuce Seeds:
Sprinkle 2–3 lettuce seeds into each cup. Cover them lightly with a thin layer of the growing medium or just press them gently into place. - Provide Light and Warmth:
Place your cups near a sunny window or under grow lights. Lettuce needs at least 4–6 hours of light daily to thrive.
4. The Growth Stages of Hydroponic Lettuce
Lettuce grows rapidly in hydroponic systems, and you’ll start seeing results in just a few days. Let’s break down the stages:
- Day 1–3: Germination
Keep the medium moist but not soaked. Within 2–3 days, tiny green shoots will start emerging. - Day 4–10: Seedling Stage
The roots begin to stretch downward, reaching for nutrients. At this stage, ensure the growing medium stays moist and the solution level is just touching the base. - Day 11–20: Rapid Growth
The seedlings will double in size every few days! Refill the nutrient solution as needed and maintain light exposure. - Day 21–30: Harvest Time
By the fourth week, you’ll have full-sized, crisp lettuce ready to harvest. You can pick outer leaves as needed or harvest the whole head.
5. Choosing the Right Nutrient Mix
The success of your hydroponic lettuce depends heavily on the nutrient solution. Lettuce needs a balanced mix of nitrogen (N), phosphorus (P), and potassium (K), as well as calcium, magnesium, and trace minerals.

You can:
- Buy ready-made hydroponic nutrient solutions labeled for leafy greens.
- Or make a DIY mix using water-soluble fertilizers and micronutrient supplements.
Keep the water’s pH between 5.5 and 6.5 — this range ensures optimal nutrient absorption. You can check it with inexpensive pH strips or meters.
6. Maintaining Your Lettuce Hydroponic Cups
This method is low-maintenance, but a little attention goes a long way:
- Refill the water: Check every few days and top up the nutrient solution when it drops below the medium level.
- Avoid direct heat: While lettuce needs light, too much heat can cause it to bolt (go to seed). Keep it in moderate temperatures around 18–24°C (65–75°F).
- Clean cups regularly: Rinse out your cups after each growing cycle to prevent algae or salt buildup.
- Trim excess roots: If roots become tangled or overly long, gently trim them back to encourage healthier growth.
7. Advantages of Growing Lettuce in Plastic Cups

This small-scale hydroponic system offers several impressive benefits:
- No soil mess: Clean and neat, perfect for indoor gardening.
- Quick harvest: Get fresh lettuce in 3–4 weeks.
- Minimal space: You can grow dozens of lettuce cups in a small tray or windowsill.
- Water-saving: Hydroponics uses up to 90% less water than soil gardening.
- Reusable: Plastic cups can be cleaned and reused for multiple cycles.
This method is especially great for apartment dwellers, busy people, or anyone who wants to eat healthier without much effort.

8. Common Problems and Solutions
Here’s how to fix a few typical issues you might encounter:
- Yellowing leaves: Usually caused by nutrient deficiency or incorrect pH. Adjust your nutrient solution and check pH levels.
- Wilting: Roots may not be in contact with water; refill the nutrient solution.
- Algae growth: Wrap your plastic cups in foil or paint them dark to block light exposure to the water.
- Slow growth: Ensure your plants get enough light and that the nutrient solution is fresh.
Once you get the hang of balancing water and nutrients, you’ll rarely face issues!
9. Harvesting Hydroponic Lettuce
Harvesting lettuce is simple and satisfying:
- For leaf lettuce: Begin cutting outer leaves when they reach 4–6 inches long, leaving inner leaves to grow for continuous harvest.
- For head lettuce: Wait until the head feels firm, then cut it at the base with a clean knife.
Rinse the leaves gently with cool water before eating, and enjoy the freshest salad imaginable — straight from your own DIY hydroponic garden!
10. Expanding Your Hydroponic Garden
Once you’ve mastered lettuce in plastic cups, you can scale up easily:

- Use larger containers or multi-cup trays to grow more lettuce.
- Try growing spinach, kale, basil, or arugula using the same method.
- Add a small air pump or bubbler for better oxygenation if you expand your setup.
Your small cup garden can grow into a productive indoor hydroponic system that provides year-round greens.
11. Environmental and Health Benefits
Hydroponic gardening isn’t just easy—it’s also sustainable and healthy:
- Reduces plastic waste by reusing bottles and cups.
- Conserves water and requires no pesticides.
- Encourages healthy eating with fresh, chemical-free produce.
- Perfect for urban living and small spaces.
By growing your own lettuce, you take a small but impactful step toward sustainable living and food independence.
12. Final Thoughts
Growing hydroponic lettuce in plastic containers or cups is one of the easiest and most rewarding gardening projects you can try. It’s low-cost, eco-friendly, and suitable for everyone — from beginners to experienced gardeners. With just water, light, and a few simple materials, you’ll be amazed at how quickly you can produce beautiful, crisp lettuce right on your kitchen counter or balcony.
So don’t wait — grab a few plastic cups, mix up a nutrient solution, and start your own hydroponic lettuce garden today. In just a few weeks, you’ll be enjoying fresh, homegrown greens with pride — all from your simple “lettuce in a cup” setup!

Leave A Comment