
Growing your own kiwi plants at home might sound challenging, but it’s actually a fun and rewarding project you can do using just a few household materials. You don’t need a big garden or expensive supplies — just a ripe kiwi fruit, some water, and a few plastic bottles. In this detailed guide, we’ll walk you through the entire process of how to grow kiwi plants from kiwi fruit in water, right from seed extraction to germination and seedling care.
If you’ve ever wanted to grow your own kiwi vine at home, this step-by-step guide will show you how to do it easily, even in small spaces.
1. Understanding Kiwi Plants
Kiwi (Actinidia deliciosa) is a fast-growing, deciduous vine that produces delicious, fuzzy brown fruits with bright green, tangy flesh. Native to China and popular worldwide, kiwi plants thrive in temperate climates and require full sunlight, good drainage, and patience — as it can take 3 to 5 years for the vines to start producing fruits.
There are two main types of kiwi plants:
- Fuzzy Kiwi (Actinidia deliciosa): The common supermarket kiwi.
- Hardy Kiwi (Actinidia arguta): A smaller, smooth-skinned variety that tolerates colder climates.
The good news is — both can be grown from seeds if you’re patient and give them the right care.

2. What You’ll Need
Before you begin, gather these simple materials:
- A ripe kiwi fruit
- A knife and spoon
- Water
- Paper towels or tissue
- A ziplock or small plastic container
- Two transparent plastic bottles
- Potting mix or soil (for transplanting later)
- Spray bottle (for misting)
- Sunlight or a bright window spot
All of these are inexpensive and easily available, making this an ideal DIY project for home gardeners.
3. Extracting Kiwi Seeds from the Fruit
- Cut the Kiwi: Slice your ripe kiwi fruit in half using a clean knife.
- Scoop Out the Pulp: Use a spoon to scoop out the seeds and pulp into a bowl.
- Separate the Seeds: Add some water to the bowl and swirl gently. The seeds will separate from the pulp.
- Rinse Thoroughly: Pour out the floating pulp and retain the seeds that sink to the bottom. Rinse them several times until they are clean and free from fruit residue.
- Dry the Seeds: Spread the clean seeds on a paper towel and allow them to dry for a few hours.
4. Germinating Kiwi Seeds in Water
Now comes the fun part — germinating the seeds using water bottles. This water propagation method is simple, efficient, and lets you watch the early stages of plant growth.
Step 1: Prepare the Plastic Bottle
- Cut a plastic bottle in half.
- Fill the bottom part with about 2 inches of clean water.
- Make small holes or slits near the top edge for ventilation.
Step 2: Place the Seeds on a Wet Paper Towel
- Wet a paper towel and squeeze out excess water.
- Spread the kiwi seeds evenly on it.
- Fold the towel gently so the seeds are sandwiched inside.
Step 3: Insert into the Bottle
- Place the folded towel inside the top half of the bottle (inverted like a lid) so it stays moist from the humidity inside.
- Cover loosely with the bottle cap or plastic wrap to maintain moisture.
Step 4: Keep Warm and Bright
- Place your setup in a warm area with indirect sunlight.
- Ideal temperature: 20–25°C (68–77°F).
Step 5: Wait for Germination
- Check daily to ensure the towel stays moist.
- In about 10–15 days, you’ll notice small white roots emerging.
- When the roots are about 1 cm long, the seedlings are ready for transplanting.
5. Transplanting Kiwi Seedlings
Once your kiwi seeds have sprouted, they need to move into soil to grow stronger roots.
Step 1: Prepare Containers
- Use the top portion of another plastic bottle or a small pot.
- Fill it with well-draining potting soil (a mix of garden soil, compost, and sand works great).
Step 2: Plant Carefully
- Use tweezers or your fingers to gently pick up each seedling.
- Plant them about 1 cm deep in the soil, with the root facing downward.
- Lightly cover and mist the soil.
Step 3: Water and Light
- Keep the soil moist but never soggy.
- Place the container in bright indirect sunlight or partial shade.
6. Caring for Young Kiwi Plants
Proper care at this stage ensures healthy vines later.

Watering:
- Keep the soil consistently moist.
- Water lightly once the top layer of soil starts drying.
- Avoid overwatering, as kiwi seedlings are prone to rot.
Sunlight:
- Kiwi seedlings need 6–8 hours of sunlight daily.
- Gradually expose them to direct sunlight as they grow stronger.
Fertilizing:
- After 4–6 weeks, feed the young plants with a diluted liquid fertilizer once every two weeks to promote healthy leaf growth.
Temperature:
- Kiwi plants prefer a mild, frost-free environment.
- Move them indoors if temperatures drop below 10°C (50°F).
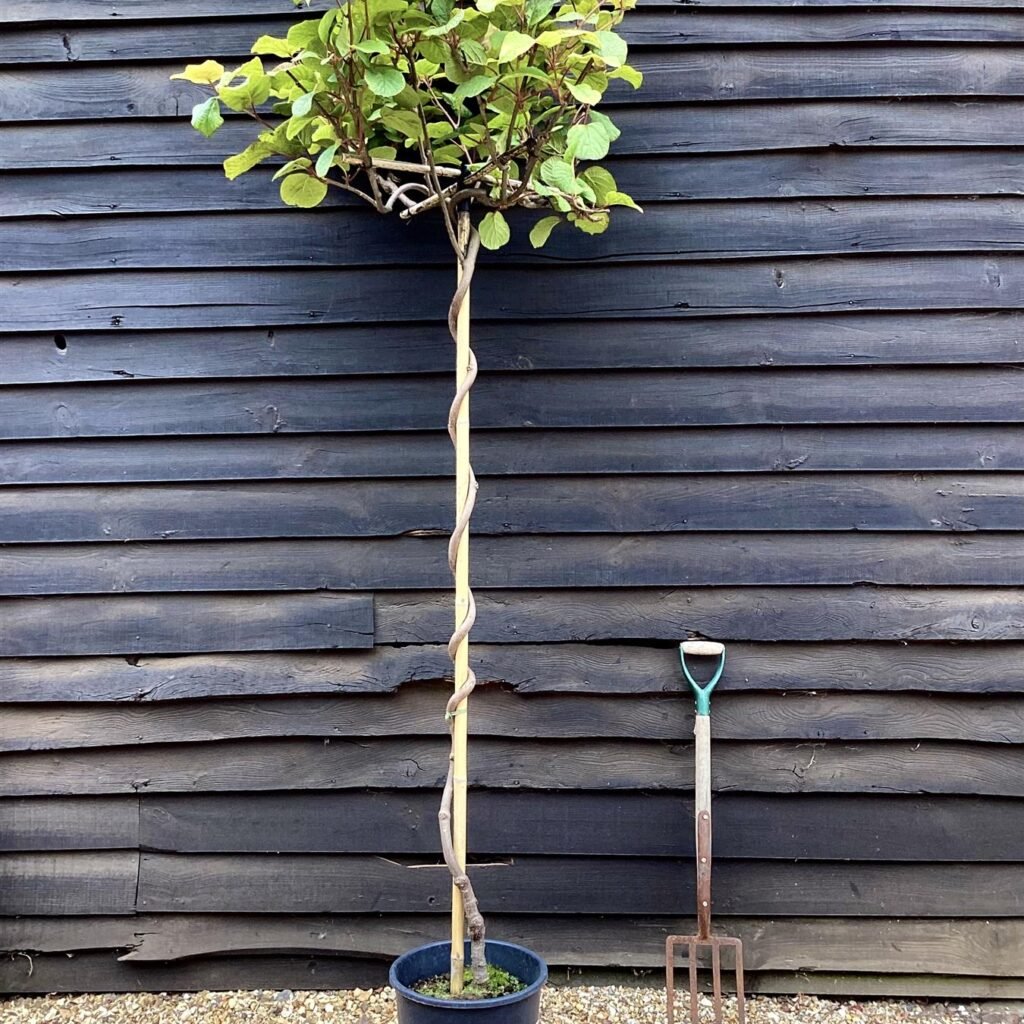
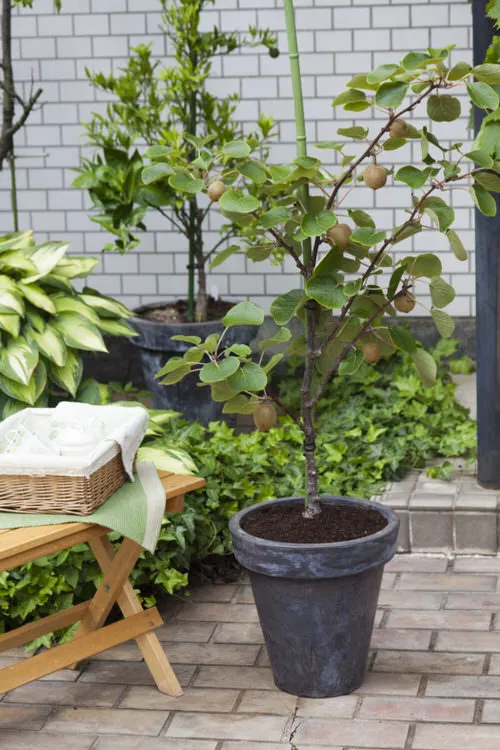
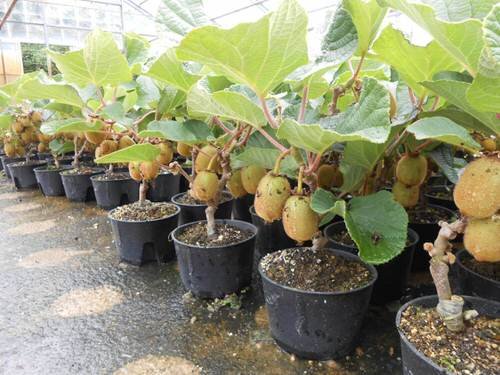
7. Transferring to Bigger Containers or Ground
When your kiwi seedlings grow about 6–8 inches tall, it’s time to transplant them to a larger pot or garden bed.

For Containers:
- Choose a large container (at least 18–24 inches deep).
- Use rich, loamy soil with compost for nutrients.
- Add a trellis or support pole since kiwi plants are climbers.
For Garden Planting:
- Select a sunny, sheltered area.
- Space plants about 10–12 feet apart.
- Ensure good drainage and protection from strong winds.
8. Training and Supporting the Kiwi Vine
Kiwi vines grow rapidly and can spread widely. Training them on trellises, fences, or pergolas helps manage their growth.
- Use garden twine or soft ties to guide stems upward.
- Prune regularly to remove weak or tangled growth.
- Encourage branching by pinching off the top of the main vine once it reaches the desired height.
9. Male and Female Kiwi Plants
Kiwi plants are usually dioecious, meaning male and female flowers grow on separate plants. To get fruit, you need at least:
- One male plant for every 5–6 female plants.
Seed-grown plants don’t always show their gender early, so patience is key. Once flowering begins (usually after 3–5 years), you can identify them:

- Female flowers: Have a central pistil.
- Male flowers: Produce abundant pollen but no pistil.
If you only want to grow kiwi vines for greenery, a single plant is fine. But for fruit, you’ll need both sexes.
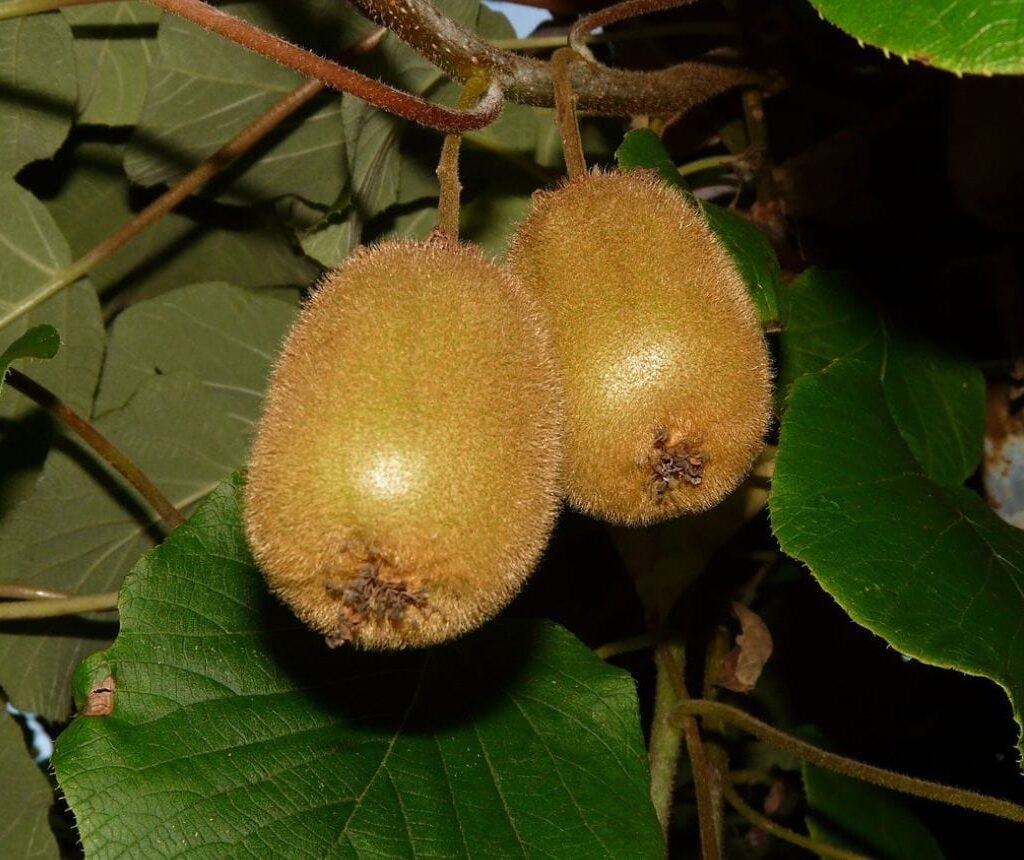
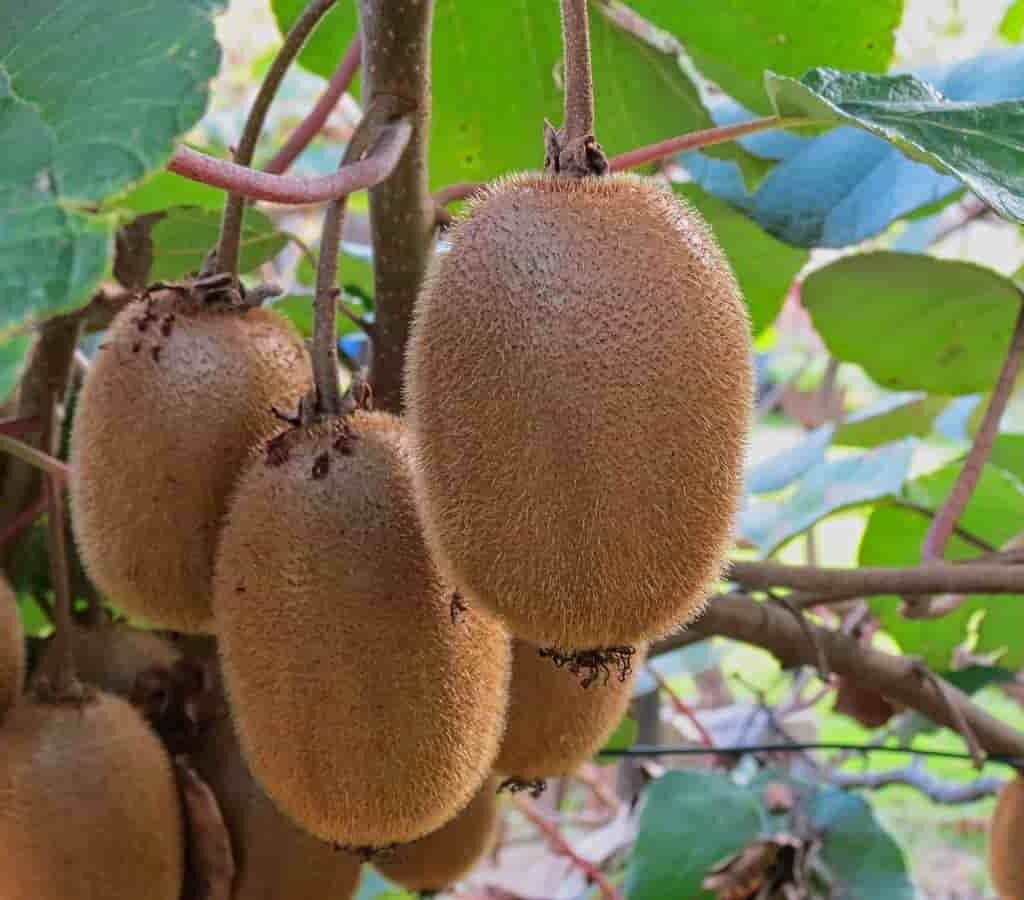
10. Harvesting Kiwi Fruits
If all goes well, your kiwi plants will begin flowering in about 3–5 years. The fruits usually ripen in late summer to early fall.
- Harvest when they’re plump and slightly soft to the touch.
- Store unripe fruits at room temperature; they’ll continue to ripen.
- Fresh homegrown kiwis are sweeter and more aromatic than store-bought ones!
11. Common Problems and Solutions
| Problem | Cause | Solution |
|---|---|---|
| Seeds not germinating | Low temperature or dryness | Keep warm and moist |
| Seedlings turning yellow | Overwatering or lack of nutrients | Improve drainage and use mild fertilizer |
| Fungal growth | Excess moisture or poor airflow | Sterilize containers and avoid overwatering |
| Slow growth | Insufficient light | Move to a sunnier location |
12. Final Thoughts
Growing kiwi plants from seeds in water using plastic bottles is an exciting way to bring life into your home gardening routine. It’s eco-friendly, inexpensive, and lets you witness every stage of plant growth — from tiny seeds to lush green vines.
While it takes patience and care to reach the fruiting stage, the joy of watching your own kiwi plant thrive is worth the wait. Whether you want to decorate your balcony with climbing greenery or eventually harvest your own homegrown kiwis, this simple propagation method is the perfect way to begin your journey.

Leave A Comment