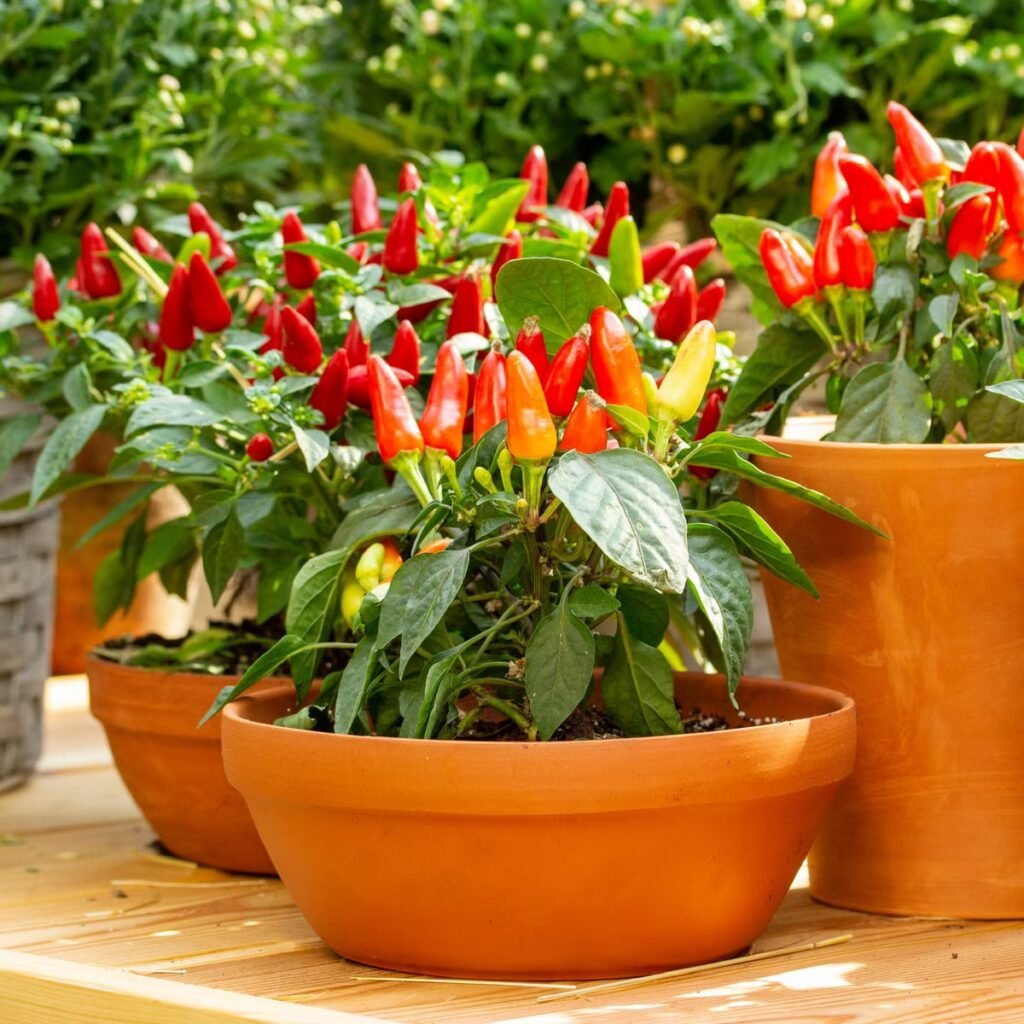
Jalapeño peppers are among the most popular chili varieties in the world — known for their mild to medium heat, vibrant green color, and delicious flavor that enhances everything from salsas to stir-fries. What’s even better is that growing jalapeños at home is surprisingly easy. With the right soil, sunlight, and care, you can enjoy a continuous harvest of fresh, spicy peppers right from your kitchen garden.
In this complete 1200-word guide, you’ll learn how to grow jalapeño peppers from seed to harvest, including soil preparation, watering tips, fertilizing routines, pest management, and harvesting techniques — all using simple, organic methods.
Why Grow Jalapeño Peppers at Home?
Before getting into the growing process, let’s see why jalapeños are perfect for home gardeners:
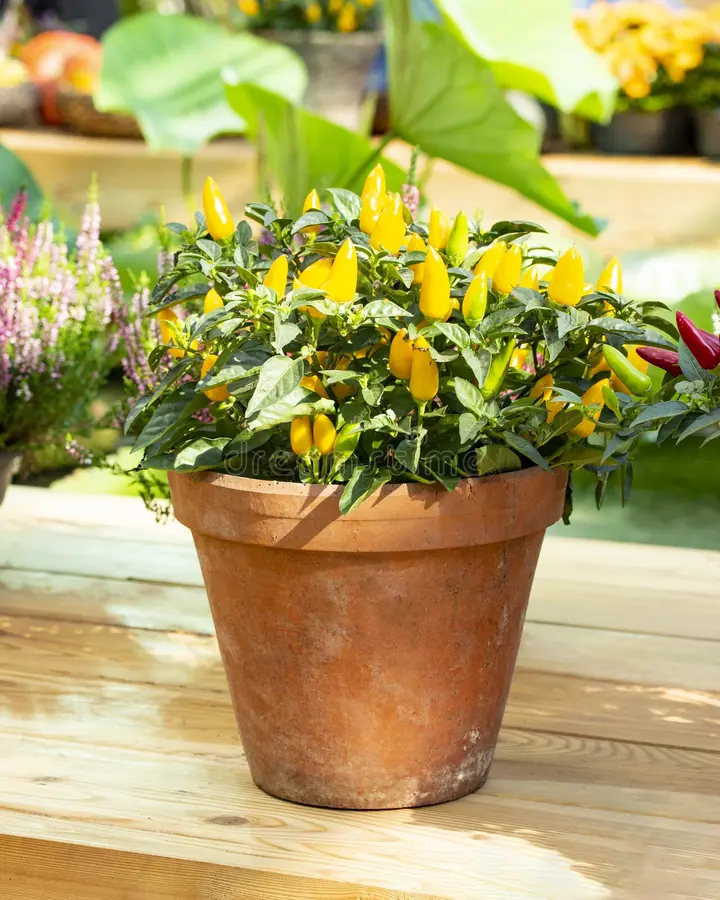
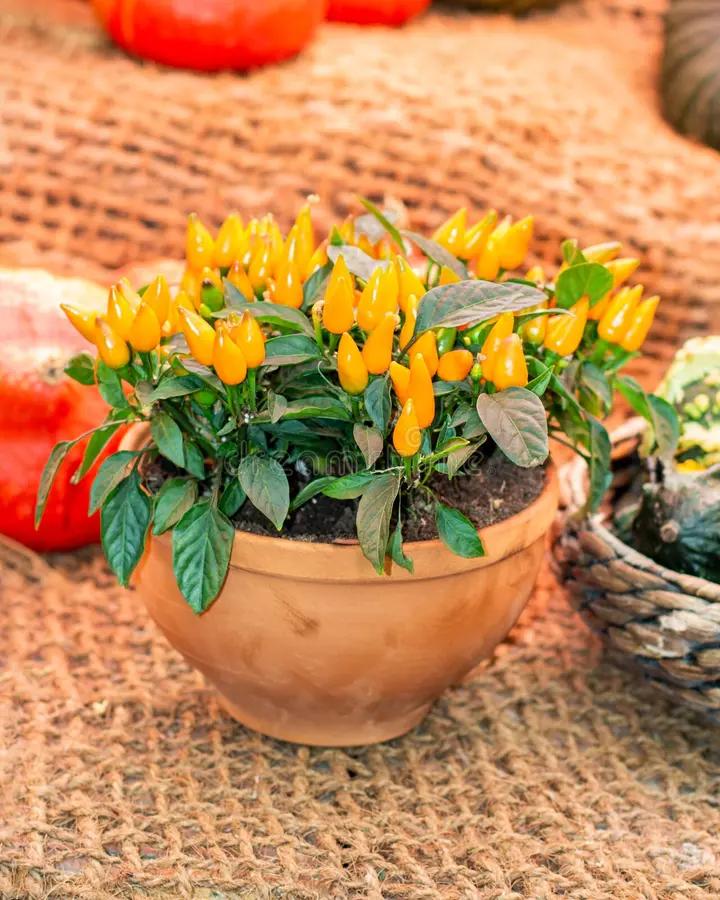
- Compact Plants: They grow beautifully in pots and small garden spaces.
- Long Harvest Season: A single plant can produce peppers for several months.
- Culinary Versatility: Jalapeños are great for fresh use, pickling, or drying.
- Nutritional Benefits: Packed with vitamin C, antioxidants, and capsaicin — great for immunity and metabolism.
- Attractive Plants: Their glossy green fruits and white flowers add beauty to your kitchen garden.
Step 1: Choosing the Right Jalapeño Variety
There are several types of jalapeños, each with a slightly different flavor and heat level. Popular varieties include:
- Early Jalapeño: Fast-growing, ideal for short growing seasons.
- Jalapeño M: The classic, medium-hot pepper often found in stores.
- Purple Jalapeño: Adds ornamental beauty with a colorful twist.
- Mucho Nacho Jalapeño: Larger, spicier, and perfect for stuffing.
For beginners, Early Jalapeño is a great choice because it matures quickly and performs well in containers.
Step 2: Preparing the Soil and Pot
Jalapeños thrive in well-drained, fertile soil rich in organic matter. Whether you’re growing in the ground or in pots, proper soil preparation is essential.

Container Requirements:
- Use a 12–14-inch-deep pot with drainage holes.
- Grow one plant per pot for best results.
Ideal Soil Mix:
Combine the following ingredients for an organic mix:
- 40% garden soil or coco peat
- 30% compost or well-rotted cow dung
- 20% vermicompost
- 10% sand or perlite for aeration
Add a handful of bone meal (for phosphorus) and neem cake powder (for pest prevention). Mix everything thoroughly before filling your pot.
Step 3: Starting Jalapeño Seeds
Seed Preparation:
You can start with either store-bought jalapeño seeds or seeds from a ripe, healthy pepper.
- Choose a fully ripe red jalapeño, as mature seeds germinate best.
- Slice the pepper open and remove the seeds carefully.
- Dry them for 1–2 days in shade.
- Soak the seeds in warm water for 8–12 hours before planting to improve germination.
Sowing Seeds:
- Fill small pots or seed trays with moist seed-starting mix.
- Plant seeds ¼ inch deep and cover lightly with soil.
- Mist with water to keep the soil moist.
- Place the tray in a warm, bright location (25°C–30°C / 77°F–86°F).
- Seeds germinate in 7–14 days, depending on temperature.
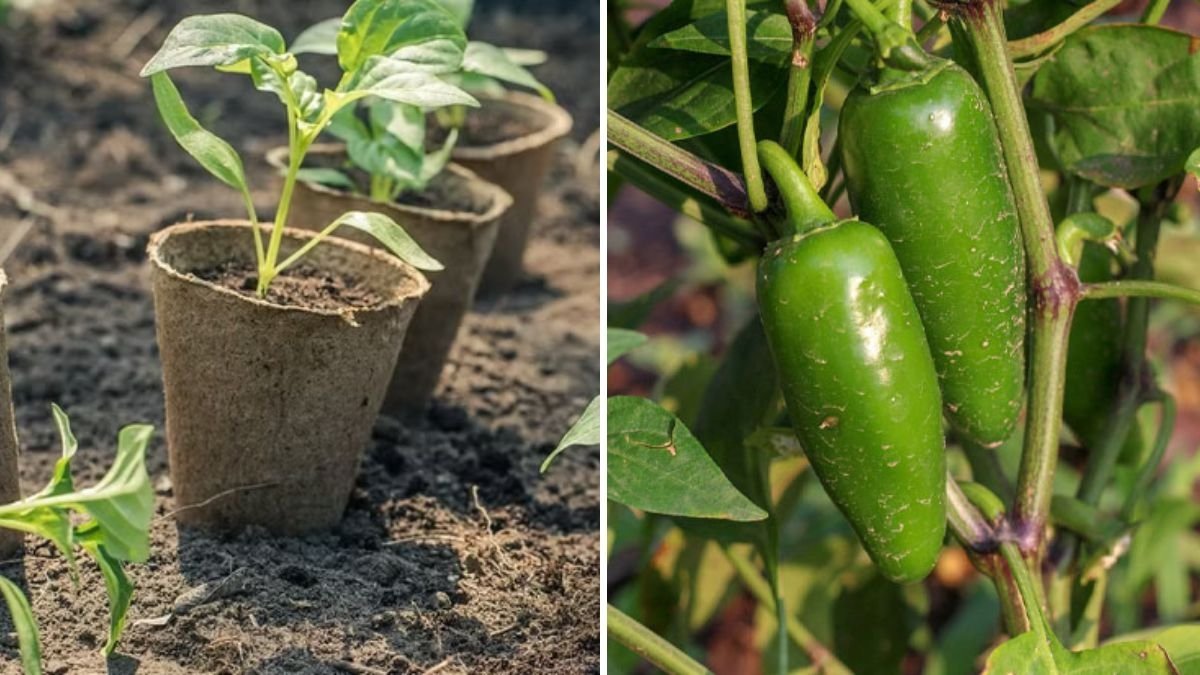
Once seedlings grow 4–6 inches tall and develop 4–5 true leaves, they are ready for transplanting.
Step 4: Transplanting Seedlings
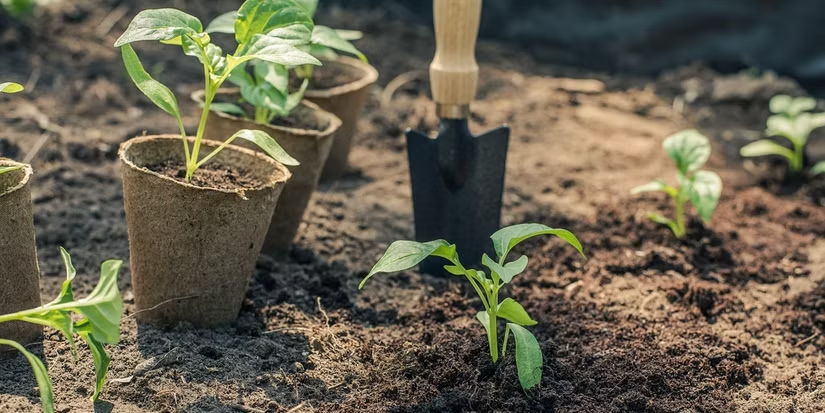
Transplanting Steps:
- Choose healthy seedlings with sturdy stems.
- Water them before transplanting to minimize shock.
- Dig a small hole in your prepared pot or bed.
- Gently remove the seedling with its root ball intact.
- Place it in the hole and firm the soil around the base.
- Water immediately after planting.
Keep the transplanted plants in partial shade for 2–3 days before moving them into full sunlight.
Step 5: Sunlight and Temperature
Jalapeños are warm-weather plants that thrive under bright sunlight.

- Provide 6–8 hours of direct sunlight daily.
- Ideal temperature range: 22°C–32°C (72°F–90°F).
- Avoid exposing them to frost or temperatures below 15°C (59°F).
- During very hot afternoons, offer light shade to prevent leaf burn.
The more sunlight your plants receive, the spicier and healthier your jalapeños will be.
Step 6: Watering Techniques
Consistent watering is key to growing healthy, productive plants.
Watering Tips:
- Water the plants deeply 2–3 times a week, depending on climate.
- Keep the soil evenly moist — neither dry nor soggy.
- Water at the base, not on leaves, to avoid fungal infections.
- Use mulch (dry leaves or straw) around the plant base to retain moisture and reduce weeds.
As the peppers begin to ripen, slightly reduce watering to enhance flavor and heat intensity.
Step 7: Feeding and Fertilizing Organically
Jalapeños are heavy feeders that need regular nutrition for strong growth and abundant fruiting.
Fertilizer Schedule:
- Every 15 days: Add compost or vermicompost to the soil surface.
- Every 2 weeks: Feed with organic liquid fertilizers such as:
- Compost tea or vermiwash – for overall plant health.
- Banana peel fertilizer – provides potassium for flowering and fruiting.
- Seaweed extract or fish emulsion – encourages vigorous root and fruit development.
- Wood ash – adds potassium and improves flavor.
Avoid over-fertilizing with nitrogen (too much compost or manure), as it leads to lush foliage but fewer peppers.
Step 8: Supporting and Pruning the Plants
Jalapeño plants can get bushy and heavy with fruits. Light pruning and staking help improve yield.

Support:
Use small bamboo sticks or plant supports to prevent the stems from bending under the weight of the fruits.
Pruning Tips:
- Pinch off the top growing tips when the plant is about 10–12 inches tall to encourage branching.
- Remove yellow or dead leaves regularly.
- Trim small side shoots that crowd the plant base.
Pruning promotes air circulation, prevents pests, and increases fruit production.
Step 9: Flowering and Pollination
Jalapeño plants start flowering about 45–60 days after transplanting.
Pollination Tips:
- Jalapeños are self-pollinating, but you can improve success by gently shaking the plant to spread pollen.
- Keep pollinator-friendly flowers like marigold or basil nearby to attract bees.
Once pollinated, the flowers will drop and small green peppers will begin forming.
Step 10: Pest and Disease Management
While generally hardy, jalapeño plants can face some common pests and diseases.
Common Pests:
- Aphids
- Whiteflies
- Spider mites
- Thrips
Organic Pest Control:
- Spray neem oil (5 ml per liter of water) once a week.
- Use garlic or chili spray to repel insects.
- Remove and destroy infested leaves.
- Ensure good air circulation and avoid overwatering.
For fungal issues like powdery mildew, spray a solution of 1 teaspoon baking soda + 1 liter of water once weekly.

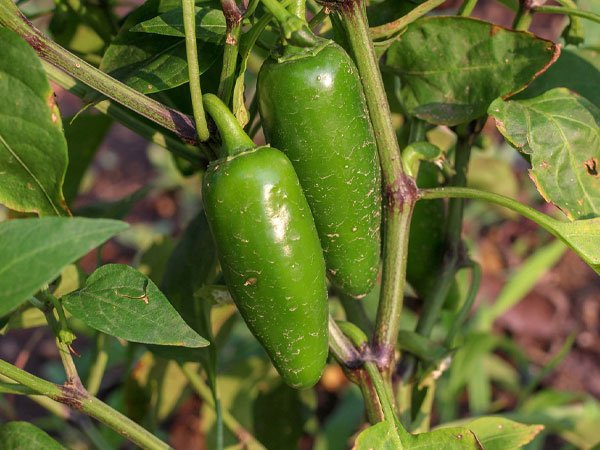
Step 11: Fruit Development and Ripening
After successful pollination, you’ll notice small green jalapeños growing rapidly.
- Early fruits are green and firm.
- Over time, they mature and turn red for a slightly sweeter flavor.
- Harvest regularly to encourage continuous fruiting.
Each plant can yield 30–50 peppers during a growing season.
Step 12: Harvesting Jalapeño Peppers
When to Harvest:
- Jalapeños are ready about 70–90 days after transplanting.
- You can harvest when they’re firm, glossy green, or let them ripen to red for a different flavor.
- Mature green jalapeños typically measure 2–3 inches long.
How to Harvest:
- Use scissors or pruning shears to cut the peppers with a small portion of stem attached.
- Handle the fruits carefully — avoid bruising them.
Regular harvesting encourages the plant to produce more peppers over time.
Step 13: Storing and Using Jalapeños
Once harvested, jalapeños can be used fresh or preserved for later.
- Refrigerate: Keeps fresh for up to 10 days.
- Freeze: Wash, dry, and freeze whole or sliced jalapeños.
- Dry: Air dry or sun dry for chili flakes.
- Pickle: Preserve in vinegar for long-term use.
Step 14: Saving Seeds for Next Season
To save seeds:
- Select the ripest red jalapeño from a healthy plant.
- Extract and dry the seeds on paper for 2–3 days.
- Store in an airtight container in a cool, dry place.
Seeds remain viable for up to 2 years if stored properly.

Step 15: Common Mistakes to Avoid
- Overwatering: Causes root rot and leaf drop.
- Too Much Shade: Leads to poor flowering and fewer fruits.
- Excess Nitrogen: Results in lush leaves but low yield.
- Skipping Pruning: Can cause pest buildup and poor air circulation.
- Harvesting Too Late: Overripe fruits reduce new flower production.
Step 16: Health Benefits of Jalapeño Peppers
Homegrown jalapeños are not just tasty — they’re packed with health benefits too:
- Boost Immunity: High in vitamin C and antioxidants.
- Support Weight Loss: Capsaicin increases metabolism.
- Improve Heart Health: Helps lower cholesterol and blood pressure.
- Aid Digestion: Stimulates stomach enzymes and gut health.
- Anti-inflammatory Properties: Reduce pain and swelling naturally.
Final Thoughts
Growing jalapeño peppers from seed to harvest is an easy and rewarding experience that brings fresh spice right to your kitchen. With proper soil, sunlight, and organic care, your plants will thrive and produce flavorful peppers for months.
Whether you love mild heat in your recipes or enjoy pickling spicy jalapeños, growing them at home ensures you always have the freshest, most flavorful peppers at your fingertips. Start with just a few seeds today — and soon, you’ll be harvesting your very own homegrown jalapeños, one delicious pepper at a time!
Leave A Comment