Brussels sprouts are among the most rewarding vegetables you can grow at home — compact, nutrient-rich, and perfect for cool-season gardens. Known for their small, cabbage-like heads packed with vitamins, Brussels sprouts are a must-have for home gardeners looking to expand their vegetable collection. If you’ve never grown them before, don’t worry — with the right approach, even beginners can produce a healthy, abundant crop.
In this detailed 1200-word guide, you’ll learn everything you need to know about how to grow Brussels sprouts from seeds to harvest — including soil preparation, watering, pest control, and harvesting tips.
Why Grow Brussels Sprouts at Home?
Before getting into the step-by-step process, let’s see why Brussels sprouts deserve a place in your garden:
- Nutritional Powerhouse: Brussels sprouts are packed with vitamins C, K, and A, as well as folate, fiber, and antioxidants.
- Cold-Tolerant Crop: They thrive in cooler temperatures, making them ideal for winter or early spring gardens.
- Long Harvest Period: Once mature, a single plant can produce dozens of small sprouts over several weeks.
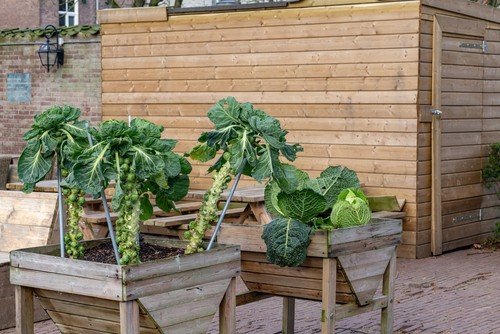
- Great for Small Gardens: They grow vertically, making efficient use of limited space.
Step 1: Choosing the Right Variety
There are several types of Brussels sprouts to choose from, each with different growing times and characteristics. Some popular beginner-friendly varieties include:
- Long Island Improved: A classic, reliable variety with excellent flavor.
- Diablo: Uniform and disease-resistant, perfect for new gardeners.
- Jade Cross: Compact and early-maturing hybrid ideal for small gardens.
- Churchill: Fast-growing and tolerant of variable weather conditions.
Choose a variety that suits your climate and the length of your growing season.
Step 2: Understanding the Growing Season
Brussels sprouts are cool-season vegetables. They perform best in temperatures between 10°C and 24°C (50°F to 75°F).
- In cooler regions: Start seeds indoors in early spring for a summer harvest.
- In warmer regions: Start seeds in late summer for a fall or winter harvest.
The plants take 90 to 120 days to mature, so plan accordingly.

Step 3: Starting Brussels Sprouts from Seeds
Seed Starting Indoors:
- Start seeds indoors 6 to 8 weeks before the last frost date.
- Sow seeds about ½ inch deep in seed trays or small pots filled with organic seed-starting mix.
- Keep the soil moist and maintain a temperature around 18°C–21°C (65°F–70°F).
- Seeds will germinate in 7 to 10 days.
- Once seedlings are about 4 inches tall and have 4–5 true leaves, they’re ready for transplanting.
Transplanting Outdoors:
- Harden off seedlings by placing them outdoors for a few hours daily for 5–7 days before planting.
- Choose a sunny location with well-drained, fertile soil.
- Plant seedlings 18 to 24 inches apart in rows spaced about 30 inches apart.
Step 4: Soil Preparation for Strong Growth
Brussels sprouts love rich, fertile soil packed with organic matter. Prepare the soil before transplanting:
- Add compost or well-rotted manure to improve fertility.
- Ensure the soil pH is between 6.5 and 7.5 for optimal nutrient absorption.
- Mix in some bone meal or organic fertilizer before planting for slow-release nutrients.
- If your soil is heavy or clay-like, add sand or coco peat to improve drainage.
Good soil preparation sets the foundation for fast, healthy growth.
Step 5: Sunlight and Watering Needs
Brussels sprouts require full sunlight — at least 6 to 8 hours daily. Insufficient sunlight can result in weak plants and loose sprouts.
For watering:
- Keep the soil consistently moist, but never soggy.
- Water deeply once or twice a week depending on weather conditions.
- Avoid overhead watering to prevent fungal diseases.
- Use mulch (dry leaves or straw) to retain soil moisture and regulate temperature.
Consistent watering is key, as fluctuations can cause the sprouts to become bitter or loose.

Step 6: Feeding the Plants Organically
Brussels sprouts are heavy feeders and benefit from regular organic fertilization.
Fertilizer Schedule:
- Apply compost or vermicompost every 2–3 weeks.
- Use liquid seaweed extract or fish emulsion every 15 days for better leaf growth.
- During head formation, side-dress with organic nitrogen fertilizer like composted cow dung or neem cake powder.
This steady nutrient supply promotes lush leaves and tightly packed sprouts.
Step 7: Supporting Plant Growth
As the plants grow tall (up to 2–3 feet), they may need staking to prevent toppling in windy weather.
You can use bamboo sticks or garden stakes to gently tie and support each plant.
Topping Tip:
Once sprouts begin to form along the stem, pinch off the top growing tip of the plant. This helps redirect energy into sprout formation and ensures a more uniform harvest.
Step 8: Pest and Disease Management
Brussels sprouts can attract a few common garden pests. Luckily, organic control methods work effectively.

Common Pests:
- Aphids
- Cabbage worms
- Whiteflies
- Slugs and snails
Natural Control Methods:
- Neem Oil Spray: Mix 5 ml neem oil with 1 liter of water and spray weekly.
- Garlic or Chili Spray: Repels most pests naturally.
- Handpicking: Inspect leaves and remove visible pests manually.
- Companion Planting: Grow marigolds, mint, or basil nearby to deter harmful insects.
Diseases to Watch:
- Downy mildew (caused by high humidity)
- Black rot (spread by contaminated soil or water)
To prevent diseases, ensure proper air circulation, avoid waterlogging, and rotate crops each season.
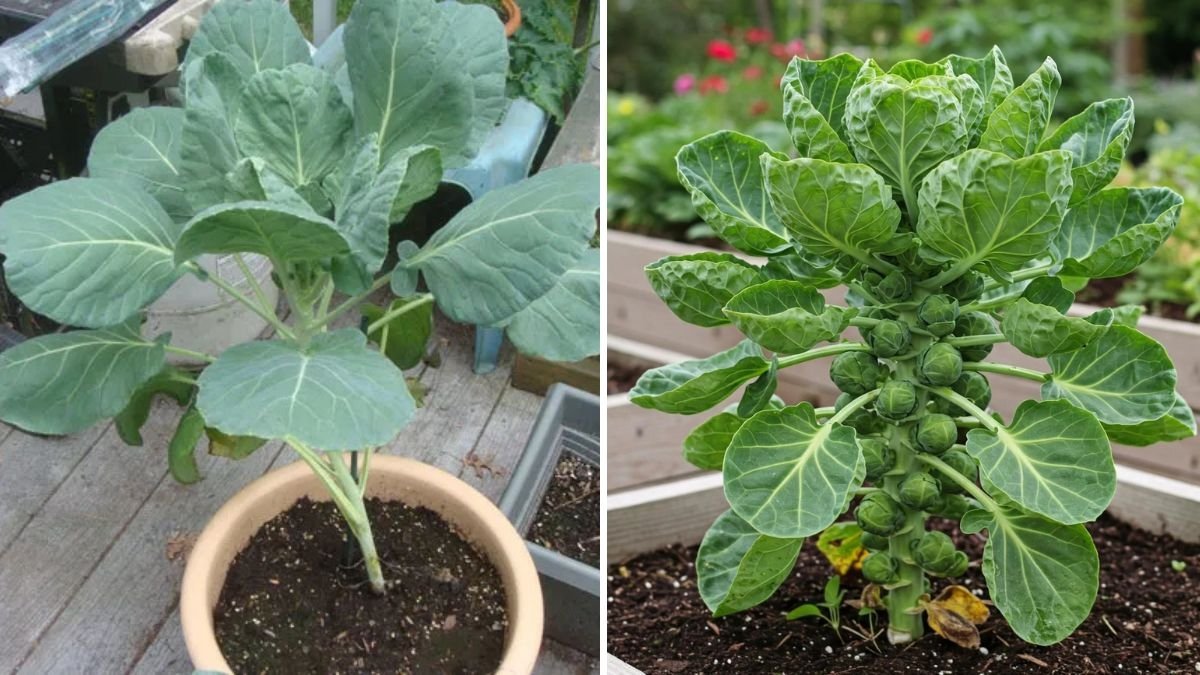
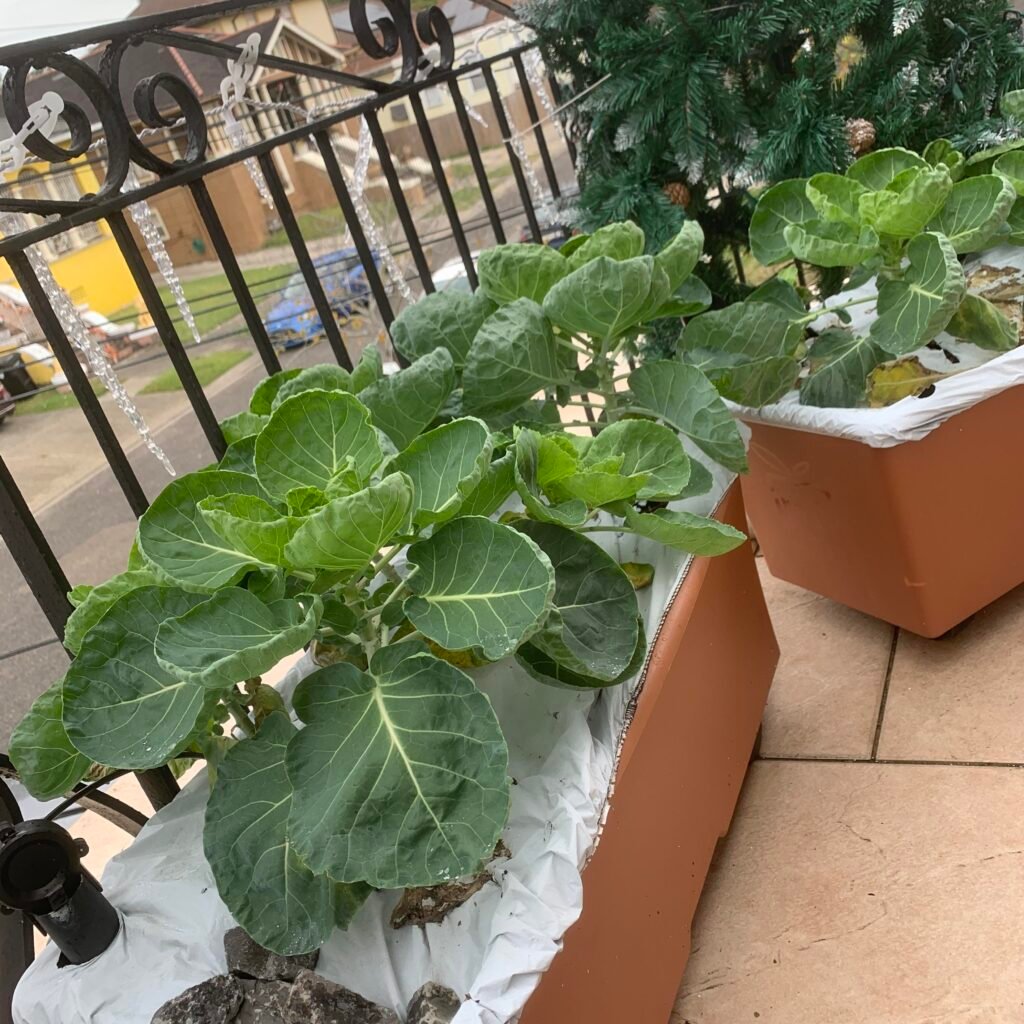
Step 9: Monitoring Growth and Sprout Development
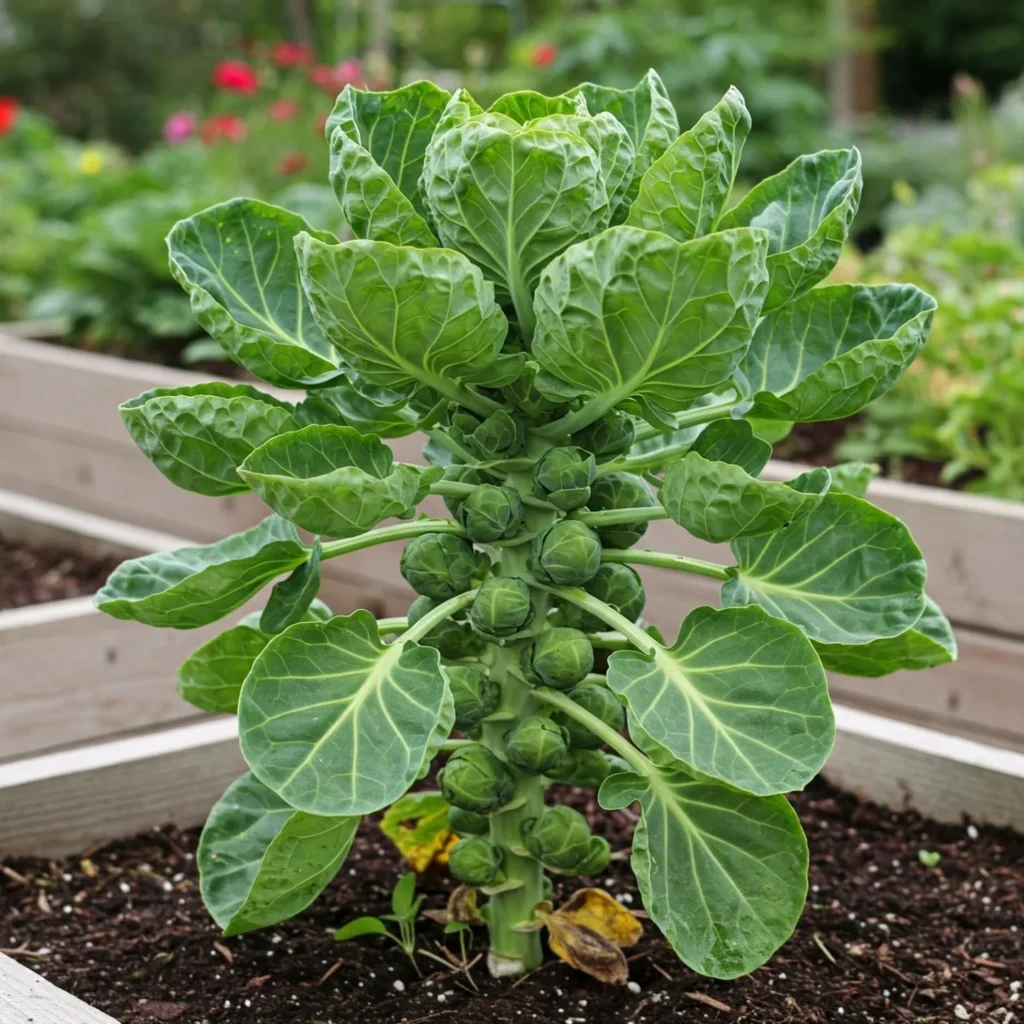
Brussels sprouts form small buds along the stem — these are the mini “sprouts” that will mature into edible vegetables.
Here’s what to expect during their development:
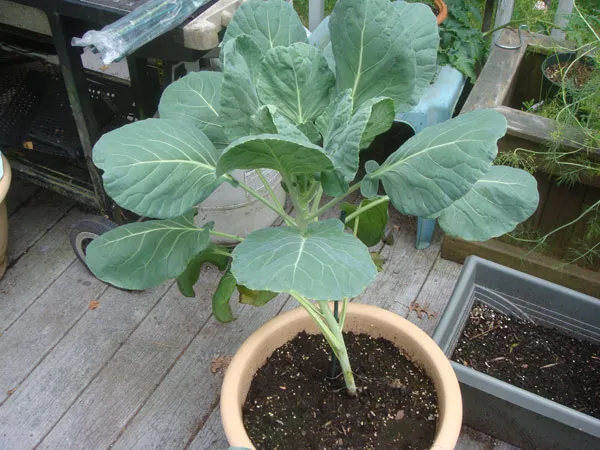
- Day 0–30: Plants establish roots and grow strong leafy stems.
- Day 30–60: Leaves expand, and the main stalk elongates.
- Day 60–90: Small buds start forming at the leaf bases.
- Day 90–120: Sprouts grow larger, firm, and ready for harvest.
Remove yellowing lower leaves as the plant matures to encourage air circulation and better sprout development.

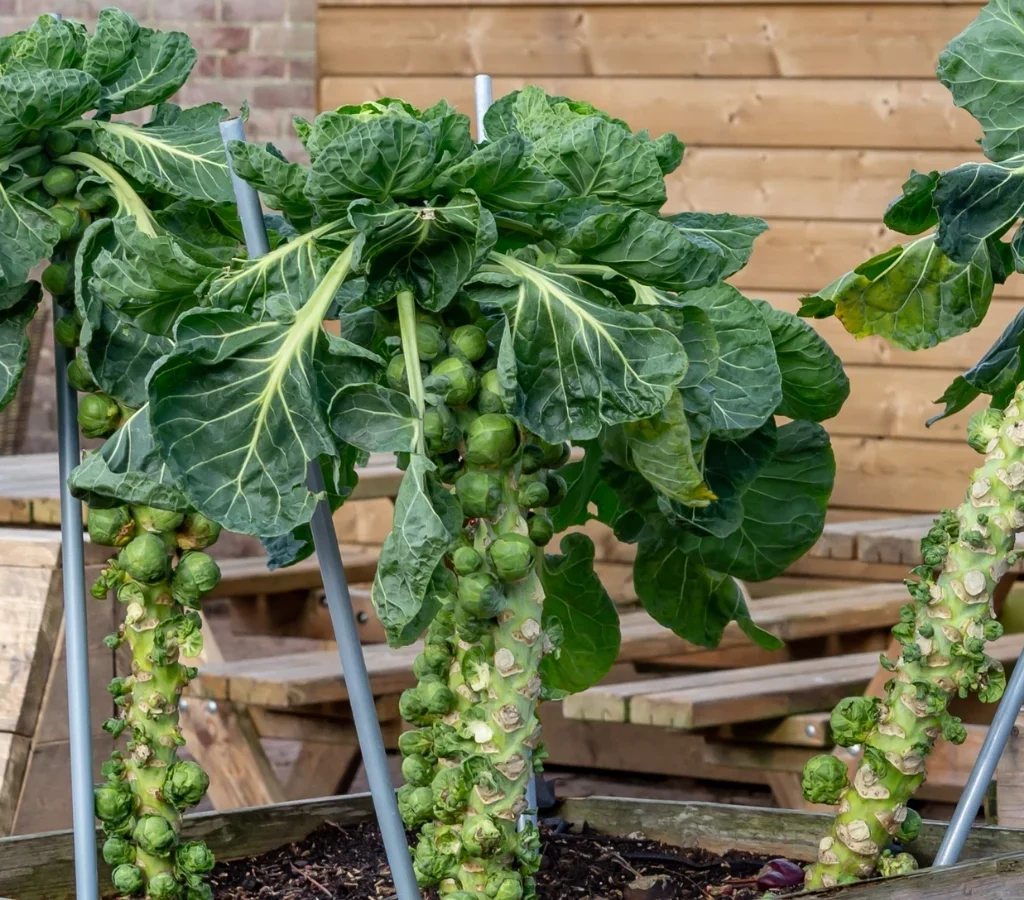
Step 10: Harvesting Brussels Sprouts
Brussels sprouts are ready to harvest 90 to 120 days after transplanting, depending on variety and growing conditions.
How to Know They’re Ready:
- The sprouts are firm, round, and about 1 to 2 inches in diameter.
- They start forming from the bottom of the stem upward.
How to Harvest:
- Start from the base and pick mature sprouts by twisting them gently or cutting them off.
- Continue harvesting every few days as upper sprouts mature.
- After the main harvest, leave the plant — smaller buds near the top may continue to grow.
Pro tip: Light frost can enhance the sweetness of Brussels sprouts, so harvesting after a cool spell can make them taste even better.
Step 11: Post-Harvest Care
After harvesting, you can extend the life of your Brussels sprout plants:
- Remove any remaining yellow leaves.
- Continue watering lightly for a few weeks.
- Compost the old plants once they finish producing.
Sprouts can be stored in the refrigerator for up to 2 weeks or blanched and frozen for long-term storage.
Common Growing Mistakes to Avoid
- Planting in hot weather: Causes premature bolting and bitter taste.
- Overcrowding: Leads to poor air circulation and fungal growth.
- Inconsistent watering: Produces loose, uneven sprouts.
- Ignoring pests: Early infestation can destroy the crop quickly.
- Neglecting soil preparation: Low fertility results in slow, stunted growth.
Health Benefits of Brussels Sprouts
Brussels sprouts aren’t just tasty — they’re incredibly healthy too.

- Rich in vitamin C, which boosts immunity.
- High in antioxidants that fight inflammation.
- Good source of fiber for digestive health.
- Contains compounds that may support heart and bone health.
- Low in calories, making them great for weight management.
Final Thoughts
Growing Brussels sprouts at home may take patience, but the results are absolutely worth it. With their rich flavor, long shelf life, and numerous health benefits, these little green gems are a gardener’s delight.
By following the steps in this beginner-friendly guide — from seed to harvest — you can enjoy fresh, organic Brussels sprouts straight from your garden. The key is to give them consistent care, maintain moisture, and keep pests away using natural methods.
Once you master the process, your kitchen garden will reward you with a steady supply of crisp, flavorful sprouts that elevate every meal.
Leave A Comment