Bell peppers, also known as sweet peppers or capsicums, are one of the most colorful and versatile vegetables you can grow right at home. Whether you prefer the crisp sweetness of red, yellow, or orange peppers or the earthy flavor of green ones, you can easily grow them from seed—even if you don’t have a garden!
Inspired by the video “How to Grow Bell Peppers from Seed in Containers | Easy Planting Guide”, this article will walk you through every step of the process. You’ll learn how to choose seeds, prepare soil, care for seedlings, and harvest juicy, vibrant bell peppers—all from the comfort of your balcony, terrace, or kitchen garden.
By the end of this guide, you’ll have everything you need to grow your own supply of fresh, chemical-free bell peppers in containers!
Why Grow Bell Peppers in Containers?
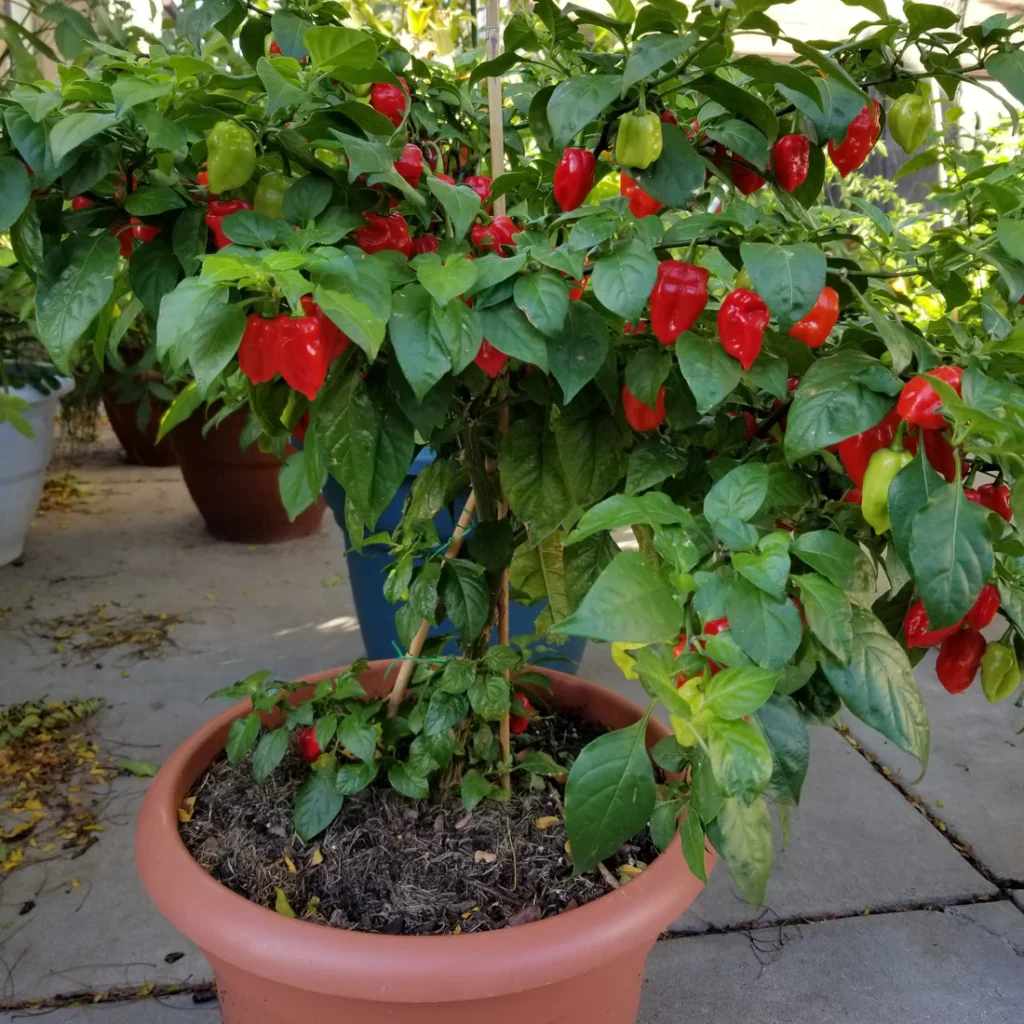
Growing bell peppers in containers is perfect for gardeners with limited space. Whether you live in an apartment or have a small backyard, container gardening gives you flexibility and control.
Here are some key advantages:
- Space-Saving: You can grow peppers on balconies, patios, or even windowsills.
- Soil Control: Container gardening lets you customize your soil mix for maximum growth.
- Fewer Pests: Growing in pots helps you reduce soil-borne diseases and manage pests easily.
- Easy Mobility: You can move containers to capture sunlight or protect plants from bad weather.
- Aesthetic Appeal: Colorful pepper plants look stunning in decorative pots and can double as ornamental plants.
Step 1: Choose the Right Bell Pepper Variety
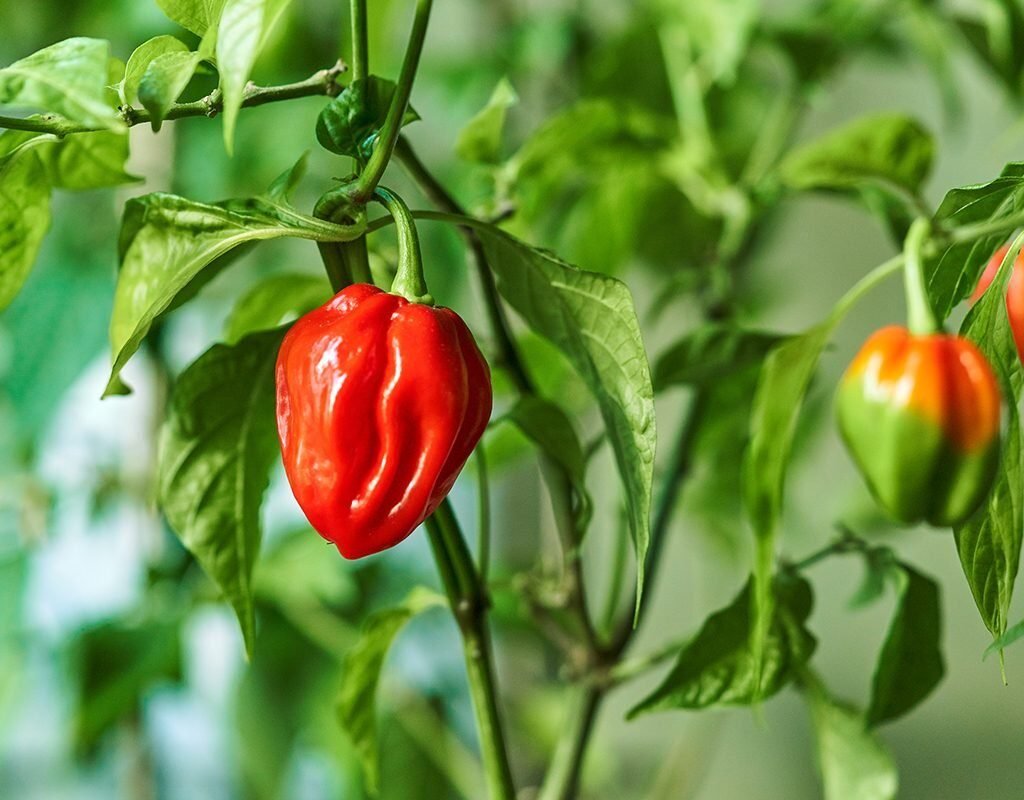
Before you start, decide what type of bell peppers you want to grow. There are many varieties, each with its own flavor and color:

- Green Bell Peppers: Mild and slightly bitter; harvested before they ripen fully.
- Red Bell Peppers: Sweeter and richer in vitamin C; they’re just mature green peppers.
- Yellow and Orange Bell Peppers: Beautifully bright and sweet, perfect for salads.
- Purple and Chocolate Bell Peppers: Unique varieties with mild, sweet flavor and great for ornamental growing.
If you’re a beginner, start with a compact or dwarf variety, as these grow well in containers.
Step 2: Gather Your Supplies
To start your bell pepper journey, you’ll need a few basic gardening supplies:
- Bell pepper seeds (choose organic or heirloom seeds)
- Seed trays or small pots for germination
- Large containers (12–14 inches deep) for transplanting
- Potting mix – a well-draining, nutrient-rich mix is ideal
- Compost or organic fertilizer
- Watering can or spray bottle
- Mulch (optional) – straw or dried leaves help retain moisture
Step 3: Preparing the Soil Mix

Bell peppers love loose, well-draining soil that’s rich in organic matter. The right soil mix will make a huge difference in plant health and yield.
Perfect container mix for peppers:
- 40% garden soil or cocopeat
- 40% compost or well-rotted manure
- 20% sand or perlite for drainage
Add a handful of bone meal or organic vegetable fertilizer to boost growth. Mix thoroughly and fill your containers, leaving about 2 inches from the top.
Step 4: Starting Bell Peppers from Seed
Growing bell peppers from seed requires a little patience, but it’s rewarding. Here’s how to do it right:

1. Soak the Seeds
Soak your seeds in warm water for 8–10 hours before sowing. This softens the outer shell and speeds up germination.
2. Sowing the Seeds
Fill small seed trays or nursery pots with moist potting mix. Place 2–3 seeds per cell about ¼ inch deep and lightly cover them with soil.
3. Provide Warmth and Moisture
Keep the soil moist but not soggy. Bell pepper seeds germinate best in warm temperatures (25–30°C / 77–86°F).
Cover the tray with plastic wrap or a lid to create a mini greenhouse effect.
4. Germination Time
Seeds usually germinate within 7–14 days, depending on temperature and humidity. Once seedlings emerge, remove the cover and place them in a sunny spot or under grow lights.
Step 5: Transplanting Seedlings to Containers
Once your seedlings have grown 4–6 true leaves (around 4–5 inches tall), it’s time to move them to larger containers.

1. Choose the Right Container
A 12–14-inch deep pot works best for one pepper plant. Make sure it has drainage holes to prevent waterlogging.
2. Transplanting Process
- Fill the pot with prepared potting mix.
- Gently remove the seedling from its tray, being careful not to damage the roots.
- Place it in the center and cover the roots with soil.
- Water thoroughly after planting.
3. Sunlight and Placement
Bell peppers love sunlight—place containers in a sunny location where they get at least 6–8 hours of direct sunlight daily.
Step 6: Watering and Care Tips
Proper watering is key to growing healthy peppers. Overwatering or underwatering can both stunt growth.
- Watering Frequency: Water when the top inch of soil feels dry. In summer, daily watering may be needed.
- Avoid Waterlogging: Ensure good drainage to prevent root rot.
- Mulch the Soil: A layer of mulch helps retain moisture and keeps the soil cool.
Regularly check leaves—if they wilt or turn yellow, it might be a sign of inconsistent watering or nutrient imbalance.
Step 7: Feeding and Fertilizing
Feed your bell pepper plants every 2–3 weeks with an organic liquid fertilizer or compost tea. This promotes strong roots and continuous flowering.
You can also mix slow-release organic fertilizers like vermicompost or bone meal into the soil every month.

A good balance of nutrients will ensure your peppers grow big, colorful, and full of flavor.
Step 8: Pollination and Flower Care
Bell peppers are self-pollinating, but a little help can increase fruit production—especially when grown indoors.
- Gently shake the flowers or use a soft brush to transfer pollen between blooms.
- Make sure there’s good airflow around the plants to prevent fungal infections.
- Remove any weak or yellowing leaves to promote healthy growth.
Step 9: Common Pests and Problems
Bell peppers are generally hardy, but they can still attract pests like aphids, whiteflies, and spider mites.
Natural pest control methods:
- Spray a mixture of neem oil and water weekly.
- Introduce beneficial insects like ladybugs.
- Avoid overwatering and overcrowding, which invite disease.
Watch out for blossom-end rot (a black patch at the bottom of peppers). This happens due to calcium deficiency or irregular watering—maintain consistent moisture and feed your plants regularly.
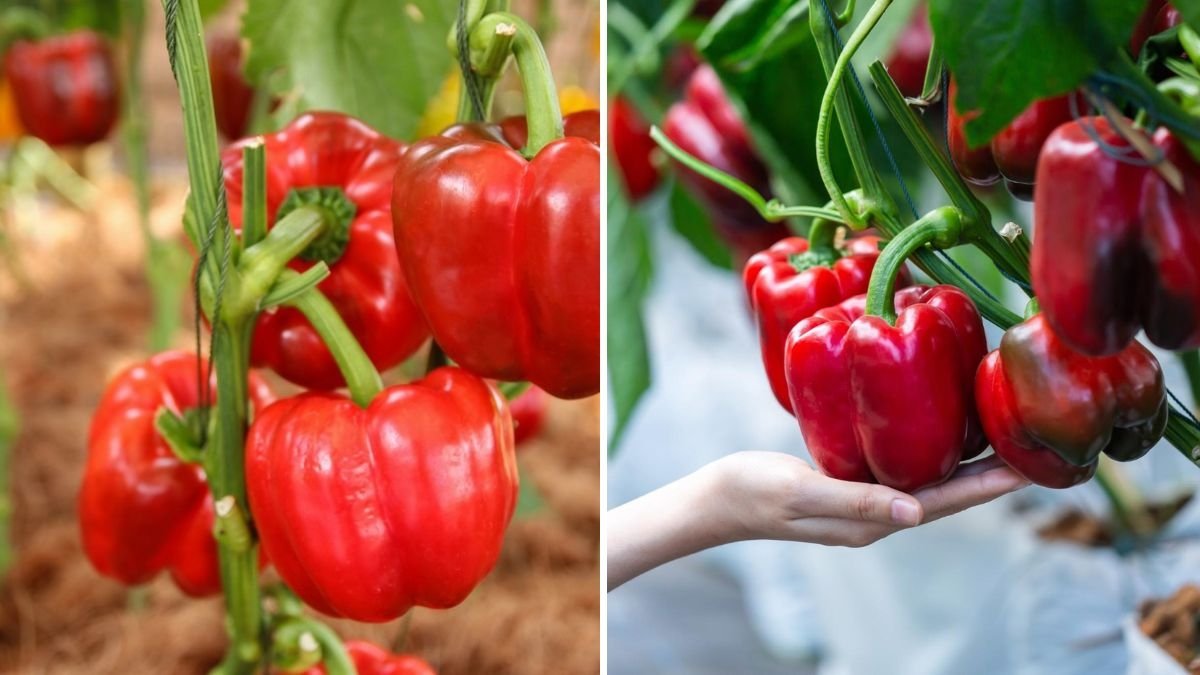
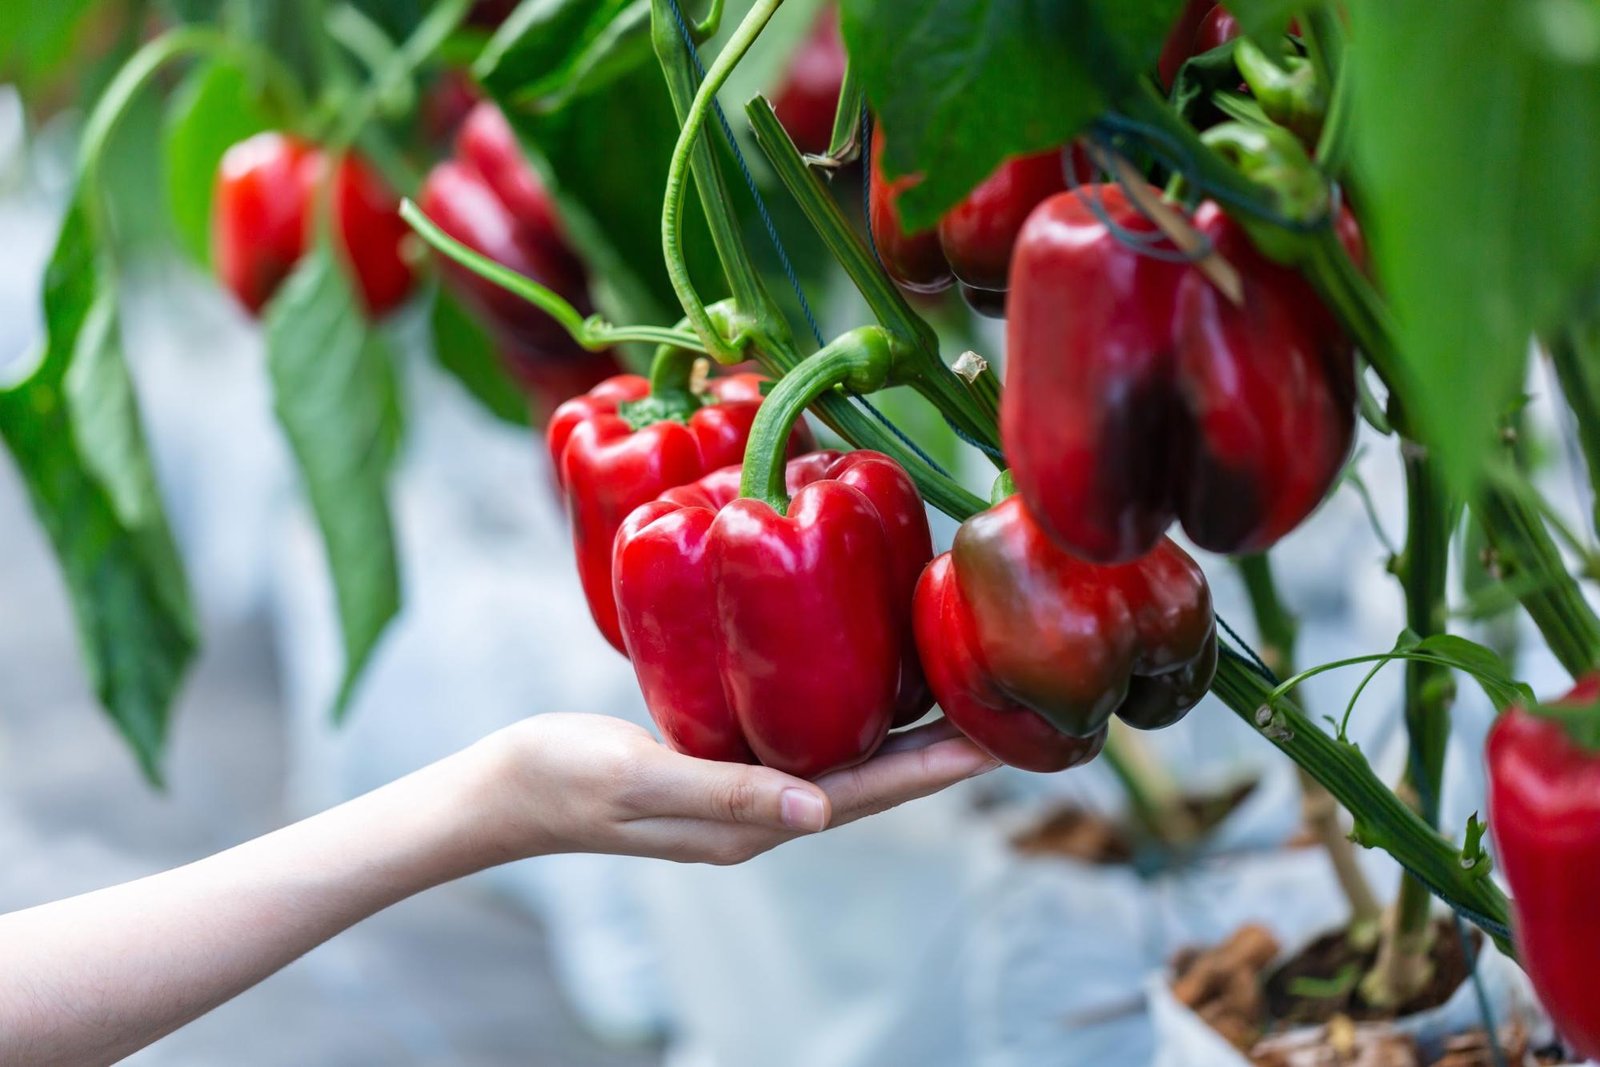
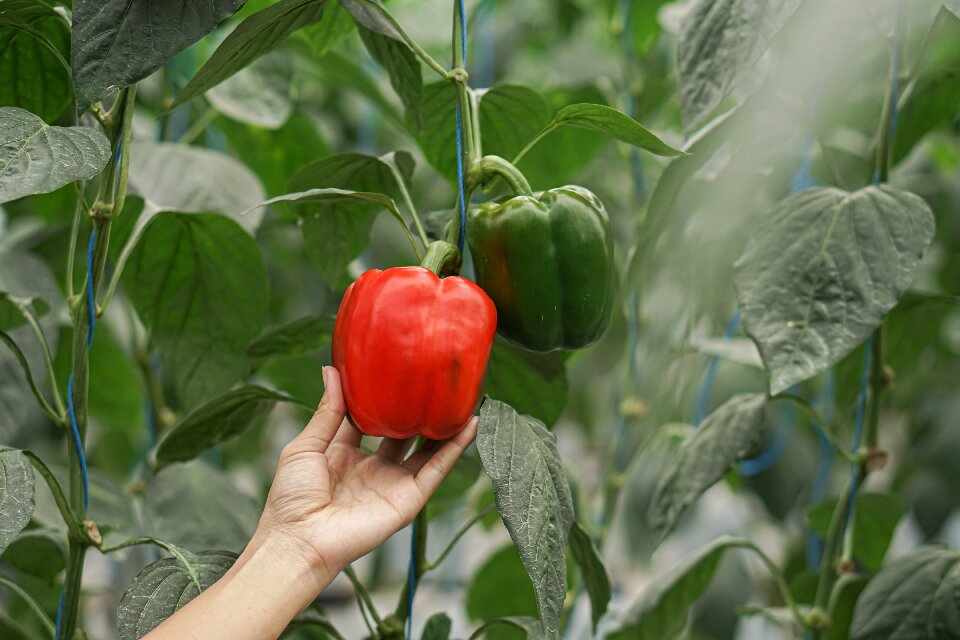
Step 10: Harvesting Bell Peppers
The most rewarding part—harvest time!

- Green peppers can be picked 60–80 days after transplanting.
- For red, yellow, or orange peppers, leave them on the plant longer to ripen fully.
Use a clean pair of scissors or pruners to cut the peppers, leaving a short stem attached. This helps the plant continue producing more fruits.
Bonus Tips for a Successful Bell Pepper Harvest
- Rotate Containers: If sunlight is uneven, rotate pots every few days.
- Prune Lower Leaves: This improves air circulation and prevents fungal issues.
- Support the Plant: As fruits grow, use stakes or small cages to keep stems upright.
- Regular Feeding: Peppers are heavy feeders—keep the soil nutrient-rich.
- Save Seeds: You can collect seeds from ripe peppers for your next growing season.
Health Benefits of Bell Peppers
Homegrown bell peppers aren’t just delicious—they’re a powerhouse of nutrition:
- High in Vitamin C: Boosts your immunity and skin health.
- Rich in Antioxidants: Helps fight inflammation and free radicals.
- Low in Calories: Ideal for weight-conscious diets.
- Supports Eye Health: Contains lutein and zeaxanthin.
- Improves Metabolism: Thanks to natural compounds like capsaicin.
Final Thoughts
Growing bell peppers from seed in containers is easier than you might think—and deeply satisfying. From the moment the seeds sprout to the day you harvest your first colorful peppers, the journey teaches patience, care, and connection to nature.
With just a few containers, a sunny spot, and regular attention, you can enjoy fresh, organic bell peppers year-round. Whether you use them in salads, stir-fries, or roasted dishes, nothing compares to the taste of homegrown produce!
So grab some seeds, prepare your pots, and start growing your own mini pepper garden today. Your kitchen—and your taste buds—will thank you for it!
Leave A Comment