Bell peppers — also known as capsicums — are one of the most colorful, versatile, and rewarding vegetables to grow at home. Whether you enjoy them crisp in salads, roasted in dishes, or stuffed for a hearty meal, growing your own peppers is surprisingly easy, even in limited space.
If you’ve ever wanted to learn how to grow bell peppers in pots from seed to harvest, this complete 1200-word guide walks you through every step of the process — from choosing seeds and preparing organic soil to caring for your plants and harvesting vibrant, juicy peppers. Let’s get started on your journey to homegrown success!
Why Grow Bell Peppers at Home?
Before diving into the growing process, let’s understand why bell peppers are perfect for container gardening:
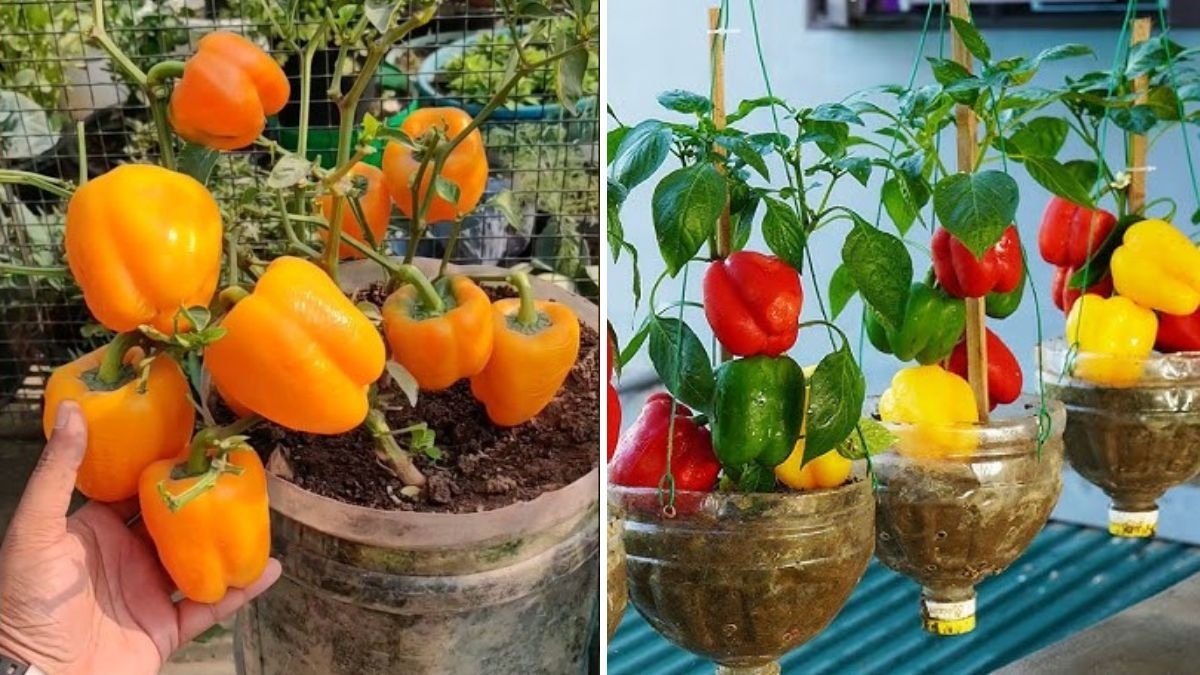
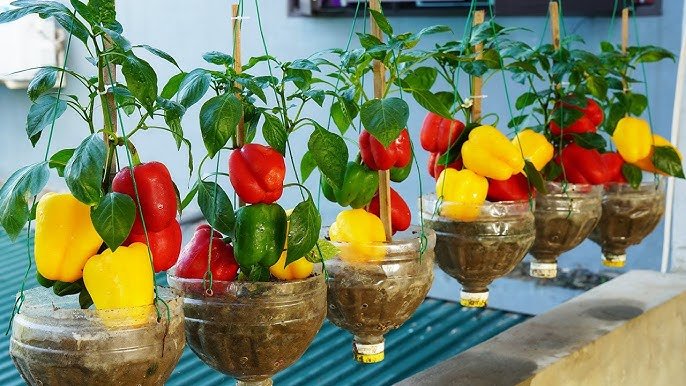
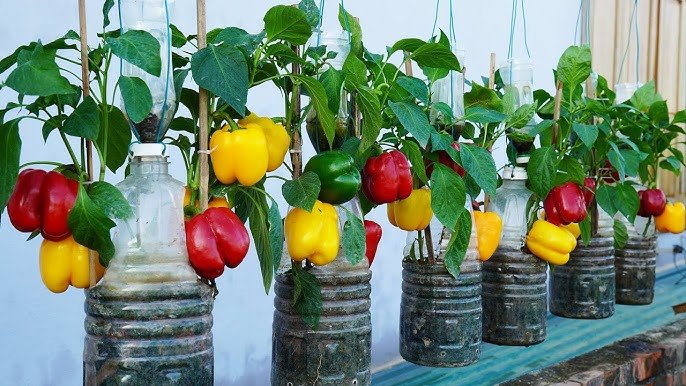
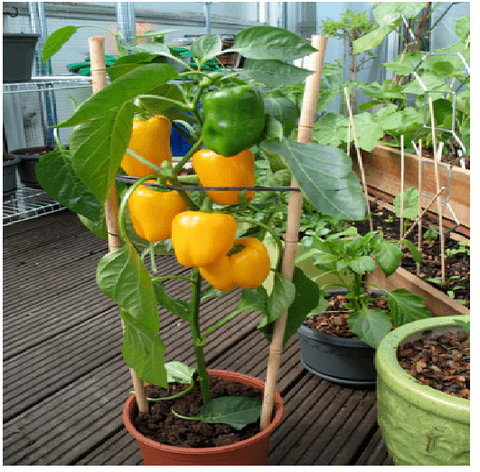
- Compact Growth: Bell pepper plants grow well in pots and small spaces, making them ideal for balconies, terraces, or kitchen gardens.
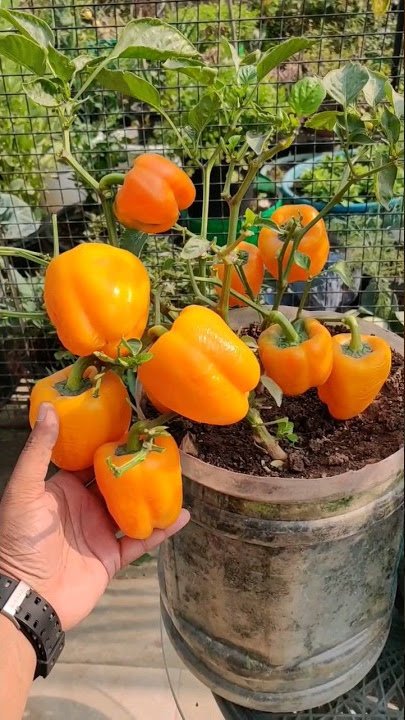
- Colorful Harvest: From green to red, yellow, and orange, bell peppers bring beauty and variety to your garden and plate.
- Nutritious and Delicious: Packed with vitamins A, C, and antioxidants, bell peppers support immune health and add flavor to your meals.
- Productive Plants: With proper care, a single plant can yield dozens of peppers over several months.
Step 1: Choosing the Right Variety
The first step in growing healthy bell peppers is choosing a variety that suits your climate and container size.
Popular Bell Pepper Varieties:
- California Wonder: A classic green-to-red variety, perfect for pots.
- Golden Bell: Produces bright yellow fruits with a sweet flavor.
- Purple Beauty: A striking deep-purple variety ideal for ornamental gardens.
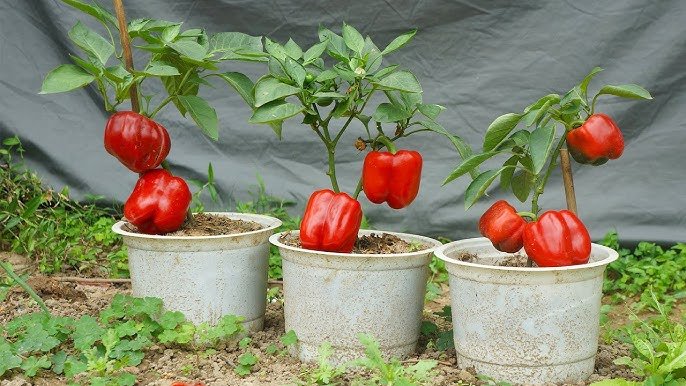
- Red Beauty: Sweet, vibrant, and great for salads or grilling.
If you’re a beginner, go with California Wonder or Red Beauty, as they’re reliable and easy to grow.

Step 2: Preparing the Pot and Soil
Bell peppers thrive in well-drained, nutrient-rich soil. They don’t like “wet feet,” but they do love consistent moisture and warmth.
Container Requirements:
- Choose a pot at least 12–14 inches deep and wide.
- Ensure good drainage holes at the bottom to prevent root rot.
- You can grow one healthy pepper plant per pot for best results.
Soil Preparation (Organic Mix):
Bell peppers love light, fertile soil. Create an organic mix using:
- 40% garden soil or coco peat
- 30% compost or well-rotted cow dung manure
- 20% vermicompost
- 10% sand or perlite for drainage
- Add a handful of neem cake powder to protect against soil pests.
Mix the ingredients thoroughly and fill your pot, leaving 2–3 inches of space at the top for watering.
Step 3: Starting Bell Peppers from Seeds
Starting bell peppers from seeds is simple if you give them warmth and patience.
Seed Preparation:
- Extract Seeds: You can use store-bought seeds or seeds from a ripe, healthy bell pepper.
- Pre-Soak: Soak seeds in warm water for 6–8 hours to speed up germination.
- Sow Shallowly: Place seeds ¼ inch deep in a seed tray or small pots filled with moist seed-starting mix.
- Cover Lightly: Gently cover with soil and mist water.
- Keep Warm: Maintain a temperature between 25°C and 30°C (77°F–86°F) for germination.
- Germination Time: Seeds sprout in 7–14 days, depending on temperature.
Once seedlings reach about 3–4 inches in height and develop 4–5 true leaves, they are ready for transplanting.
Step 4: Transplanting Seedlings into Pots
Steps for Transplanting:
- Choose healthy seedlings with sturdy stems.
- Water them well before transplanting to reduce shock.
- Make a small hole in the center of your prepared pot.
- Gently remove the seedling, keeping its root ball intact.
- Place it in the hole and firm the soil around the base.
- Water thoroughly to help roots settle.
Keep the pots in a partially shaded area for 2–3 days to let the seedlings adjust before moving them into full sun.

Step 5: Sunlight and Temperature Requirements
Bell peppers are sun-loving plants and grow best in warm conditions.
- Provide 6–8 hours of direct sunlight daily.
- Ideal temperature range: 21°C–30°C (70°F–86°F).
- If temperatures drop below 15°C (59°F), move pots to a sunny indoor spot or use a transparent cover.
- Avoid exposing plants to extreme afternoon heat by giving partial shade during very hot days.
Step 6: Watering and Mulching
Consistent watering is essential for healthy pepper plants.
- Water deeply 2–3 times a week, depending on weather.
- Keep the soil evenly moist, but never soggy.
- Use mulch (dry leaves, straw, or grass clippings) around the base to retain moisture and regulate soil temperature.
Avoid overhead watering to prevent fungal issues; instead, water at the base of the plant.
Step 7: Feeding the Plants Organically
Bell peppers are moderate feeders that benefit from regular organic fertilization.
Feeding Schedule:
- Every 15–20 days: Add a handful of compost or vermicompost.
- Every 2 weeks: Apply liquid organic fertilizer such as:
- Compost tea or vermiwash for balanced nutrients.
- Seaweed extract for strong root and fruit development.
- Banana peel fertilizer for potassium to support fruiting.
- Fish emulsion for nitrogen and trace minerals.
This feeding routine helps plants produce more flowers and healthy, thick-skinned peppers.
Step 8: Pollination
Bell peppers are self-pollinating, but you can improve fruit set through gentle assistance:

- When flowers bloom, gently shake the plant to help pollen transfer.
- You can also use a small brush or cotton swab to move pollen between flowers.
- Keep pollinator-friendly plants like basil or marigold nearby to attract bees and beneficial insects.
Step 9: Pest and Disease Control
Bell peppers are relatively low-maintenance but can face occasional pests like aphids, spider mites, and whiteflies.
Organic Pest Management:
- Spray neem oil weekly (5 ml per liter of water).
- Use garlic-chili spray to repel insects naturally.
- Introduce natural predators like ladybugs if you see aphid infestations.
- Remove any yellowing or damaged leaves to prevent disease spread.
For fungal issues like leaf spot or powdery mildew, use a spray made from 1 teaspoon baking soda in 1 liter of water once a week.
Step 10: Flowering and Fruit Development
Bell pepper plants usually start flowering 40–60 days after transplanting.
- The flowers will appear in clusters.
- Ensure consistent watering and organic feeding during this phase.
- Avoid over-fertilizing with nitrogen—it will cause excessive leaves and fewer fruits.
When flowers fall off naturally, small green peppers begin forming. Within a few weeks, they grow larger and start changing color depending on the variety.
Step 11: Harvesting Bell Peppers
Time to Harvest:
Bell peppers are ready for harvest about 70–90 days after transplanting.

How to Harvest:
- Pick when fruits are firm, glossy, and of full size.
- For colored varieties, wait until they turn red, yellow, or orange.
- Use scissors or a sharp knife to cut the fruit with a small stem attached.
Harvesting regularly encourages the plant to produce more fruits over time.
Step 12: Aftercare for Continuous Yield
- After the first harvest, continue watering and feeding the plant lightly every 2–3 weeks.
- Remove old or dried leaves to promote new growth.
- With good care, bell pepper plants can continue producing for 4–6 months.
If you’re growing in tropical regions, prune the plant after each flush to extend its lifespan.
Common Mistakes to Avoid
- Overwatering: Leads to root rot and yellowing leaves.
- Insufficient Sunlight: Causes weak stems and small fruits.
- Too Much Nitrogen: Encourages leafy growth but fewer peppers.
- Neglecting Pollination: Reduces fruit set.
- Poor Drainage: Creates fungal problems in roots.
Health Benefits of Homegrown Bell Peppers
Homegrown bell peppers are fresher, tastier, and more nutritious than store-bought ones.
- Rich in Vitamin C: Boosts immunity and skin health.
- High in Fiber: Supports digestion and weight control.
- Loaded with Antioxidants: Helps reduce inflammation and oxidative stress.
- Low in Calories: Ideal for a healthy diet.
- Contains Capsaicin (in some varieties): Improves metabolism and heart health.
Final Thoughts
Growing bell peppers in pots from seed to harvest is truly one of the easiest and most satisfying gardening projects. With just a little attention to soil preparation, regular watering, and organic feeding, your plants will reward you with a steady supply of colorful, crisp peppers for months.
Whether you live in a city apartment or have a small backyard, you can enjoy the beauty and flavor of fresh, organic bell peppers right from your garden. Follow these steps, stay patient, and soon you’ll be harvesting your own vibrant capsicums — the ultimate proof that home gardening is both simple and deliciously rewarding.

Leave A Comment