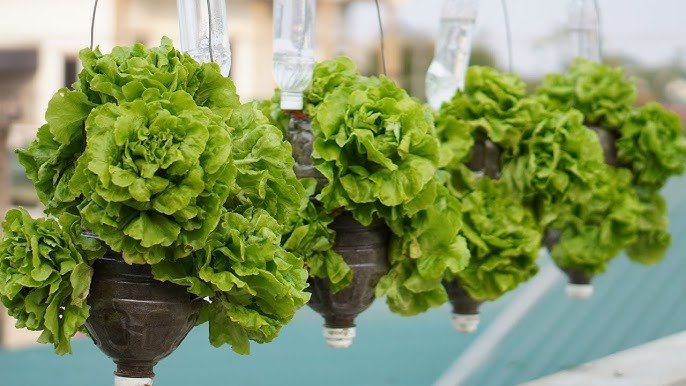
Growing your own fresh, crisp lettuce doesn’t have to mean constant watering, large garden beds, or complicated irrigation systems. With one clever DIY method using recycled plastic bottles, you can create a low-maintenance, self-watering setup that keeps your lettuce thriving with minimal effort. This simple approach is ideal for anyone—whether you’re a beginner gardener, live in an apartment, or just want to save time and water. Let’s dive into this surprising, sustainable, and highly effective gardening method!
1. Why Choose Plastic Bottles for Growing Lettuce?
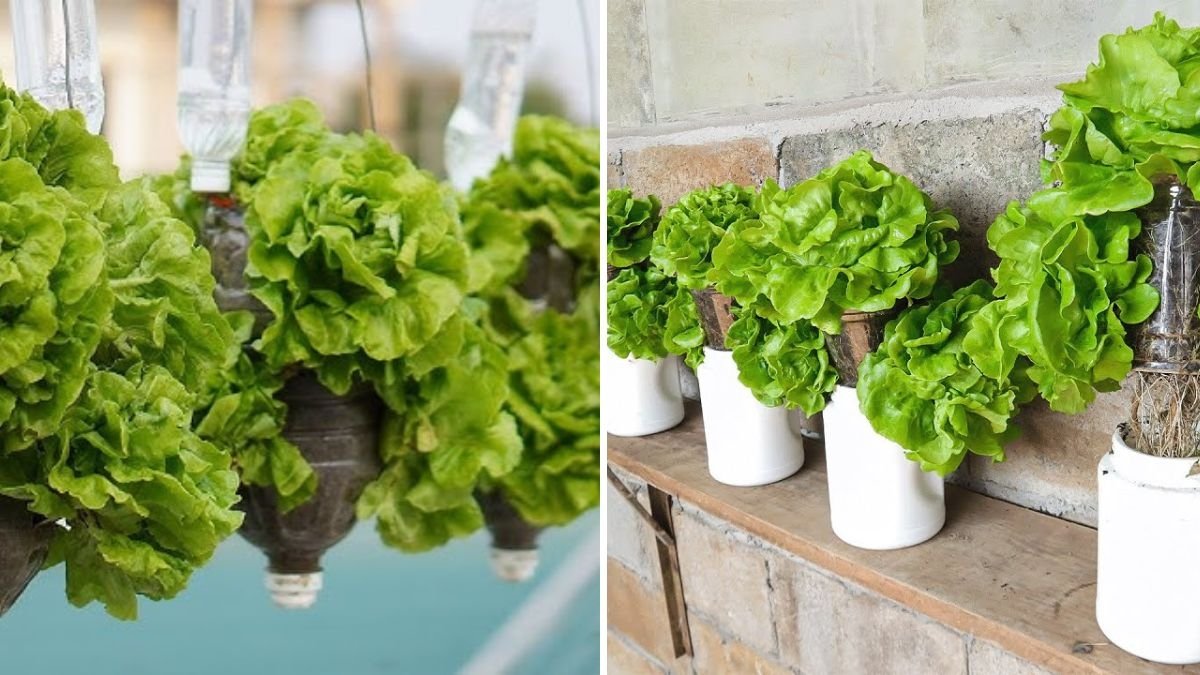
Plastic bottles might not seem like gardening tools, but they can become incredibly useful when repurposed correctly. Instead of throwing them away, you can turn them into mini greenhouses or self-watering containers that maintain moisture around your lettuce roots for days.
Here’s why plastic bottles are perfect for this purpose:
- Water Efficiency: The design allows water to stay in the soil longer, reducing the need for frequent watering.
- Portability: You can move your bottle planters easily, whether to a sunnier spot or a shaded area during hot days.
- Recycling Benefits: It’s an eco-friendly way to reuse plastic waste.
- Ideal for Small Spaces: Perfect for balconies, patios, or windowsills where space is limited.
This method proves that sustainable gardening can be simple and effective—even in tight spaces.
2. Materials You’ll Need
To start your plastic bottle lettuce garden, gather the following materials:

- 1 large plastic bottle (1.5 or 2 liters works best)
- A sharp knife or scissors for cutting the bottle
- A piece of cloth or cotton string for the wick system
- Potting mix rich in organic matter
- Lettuce seeds or seedlings (choose quick-growing varieties like romaine, butterhead, or loose-leaf)
- Water
That’s all you need! This minimalist setup makes it easy to start right away with items you likely already have at home.
3. Preparing the Plastic Bottle Planter
Follow these steps to turn your plastic bottle into a self-watering container:
- Cut the Bottle in Half:
Cut your plastic bottle horizontally about one-third from the top. You’ll use the top part as a funnel and the bottom part as a reservoir. - Create the Wick System:
Thread a piece of cloth or cotton string through the bottle cap. This wick will draw water from the bottom reservoir up into the soil as needed, keeping your lettuce roots consistently moist. - Assemble the Self-Watering Planter:
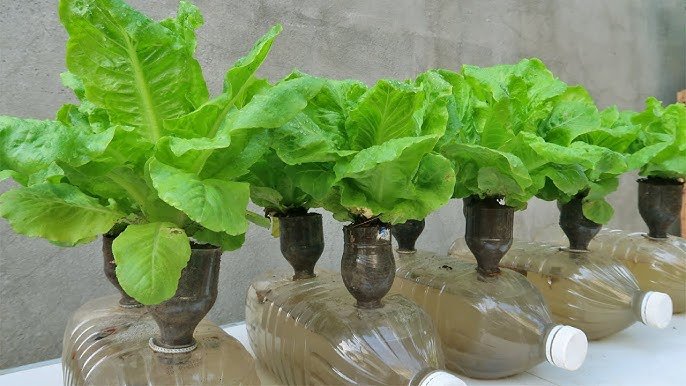
Invert the top half of the bottle (with the cap and wick) into the bottom half. The cap should hang slightly above the water in the lower section. - Add Potting Mix:
Fill the top section with your soil mix, making sure the wick is buried in the center. A loose, well-draining mix helps prevent soggy roots. - Plant Your Lettuce:
Sow seeds about half an inch deep or transplant young seedlings into the soil. Press gently and water lightly to help them settle in.
4. Setting Up the Water Reservoir
Pour water into the bottom half of the bottle until it reaches about one inch below the inverted top section. The wick will naturally draw water upward through capillary action, keeping the soil evenly moist without overwatering.
This setup eliminates the need for daily watering. Depending on your environment, you might only need to refill the reservoir once every few days or even once a week.
5. Choosing the Right Lettuce Variety
Not all lettuces grow the same way, so choose one that fits your climate and available sunlight:

- Loose-leaf lettuce: Fast-growing, perfect for continuous harvests.
- Butterhead (Bibb) lettuce: Tender leaves, great for cooler temperatures.
- Romaine lettuce: Crunchy and tall, ideal for moderate sunlight.
These varieties adapt well to confined containers and thrive with steady moisture from the self-watering system.
6. Light and Temperature Needs
Lettuce loves cool weather and moderate sunlight. Place your plastic bottle planters where they can receive 4–6 hours of sunlight per day, such as a balcony, windowsill, or garden edge.
If temperatures rise above 30°C (86°F), move the containers to a slightly shaded area or use a light cloth cover to protect the plants. Too much heat can cause lettuce to bolt (go to seed), resulting in bitter leaves.
7. Fertilizing and Maintenance
Even though this setup reduces watering needs, your lettuce still benefits from nutrients. You can feed your plants every two weeks with:
- A diluted organic liquid fertilizer, such as compost tea or seaweed extract.
- Or sprinkle a small amount of slow-release fertilizer into the soil when planting.
Keep an eye on water levels in the reservoir. If the soil looks dry at the top, it’s time to refill. Avoid letting the water level drop completely, as the wick won’t work properly without moisture contact.

8. Harvesting Your Lettuce
The best part of this DIY setup? Harvesting fresh, crisp lettuce leaves right from your window garden!
- Loose-leaf varieties: Start harvesting outer leaves once they reach 4–6 inches long, leaving the inner leaves to continue growing.
- Head lettuces: Wait until the heads are firm and full before cutting them at the base.
With consistent watering through your bottle system, you can enjoy multiple harvests from the same plant.
9. Advantages of the Plastic Bottle Lettuce System
This smart gardening method comes with a long list of benefits:
- Water Conservation: Uses up to 80% less water than traditional garden beds.
- Low Maintenance: Self-watering system reduces daily care.
- Eco-Friendly: Repurposes old bottles and minimizes plastic waste.
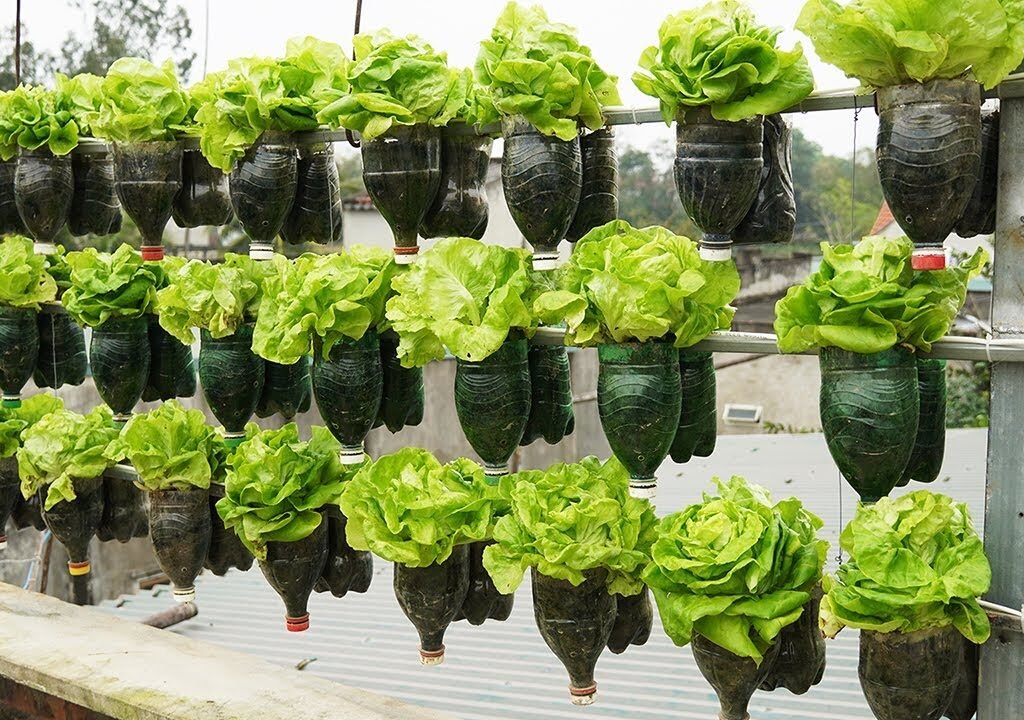
- Space Efficient: Perfect for small living areas or vertical gardens.
- Healthy and Fresh: Enjoy pesticide-free, homegrown greens any time.
It’s a win-win for both gardeners and the planet!
10. Tips for Even Better Results
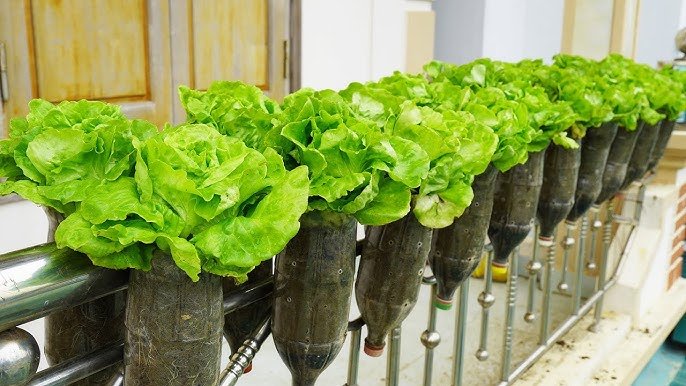
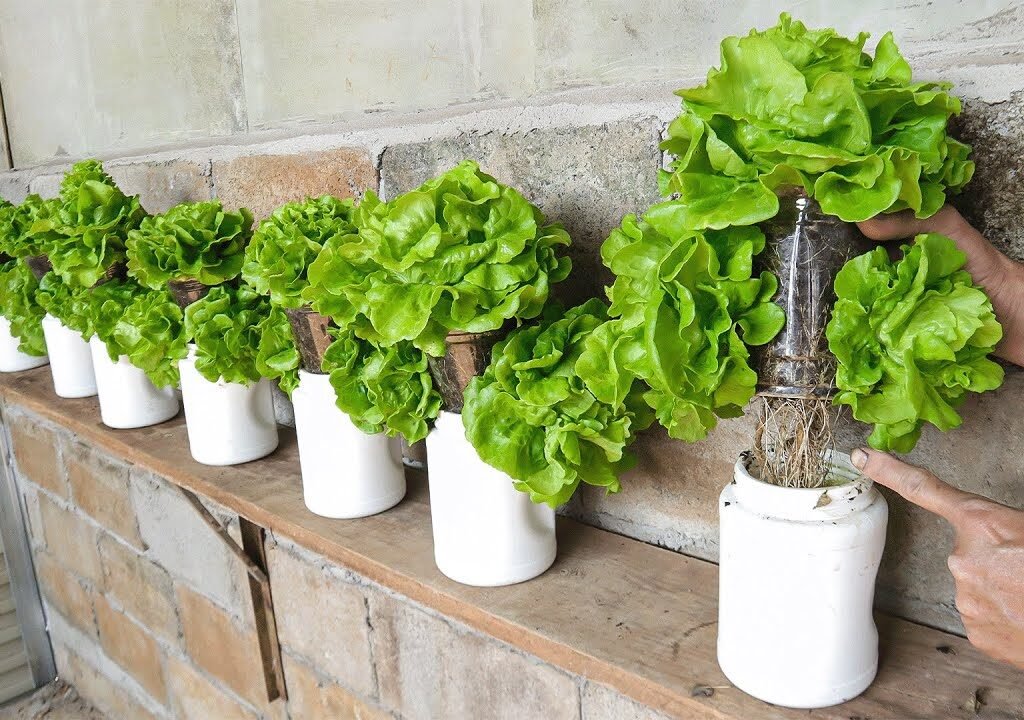
- Use clear bottles: You can easily monitor water levels and root health.
- Add mulch on top of the soil: Helps reduce evaporation and maintain moisture.
- Drill small air holes: Ensures proper airflow and prevents mold.
- Combine multiple bottles: Create a mini lettuce farm on your balcony or kitchen windowsill!
11. Troubleshooting Common Issues
Here are a few quick fixes for common challenges:

- Yellow leaves: Could mean too much water—ensure good drainage and reduce watering frequency.
- Slow growth: Add organic fertilizer or move to a sunnier location.
- Algae in the water reservoir: Wrap the bottle with paper or paint it to block sunlight.
With just a few adjustments, you can maintain a thriving and productive lettuce garden year-round.
12. Why This Method Works So Well
The secret behind this approach lies in moisture balance. Lettuce roots absorb water gradually through the wick, ensuring they never dry out or get waterlogged. This steady supply of moisture encourages consistent growth, crisp leaves, and larger yields—without the stress of constant watering.
Essentially, the bottle mimics nature’s irrigation system on a small scale. It’s sustainable, affordable, and ideal for anyone who loves fresh produce but doesn’t have much time for gardening upkeep.
Conclusion
With just a few plastic bottles and some creativity, you can grow lush, vibrant lettuce all year long—without the hassle of daily watering. This clever self-watering method saves water, space, and effort while producing fresh, healthy greens right at home.
Whether you’re a beginner gardener or a seasoned grower looking for sustainable ideas, this plastic bottle technique is a brilliant solution. Give it a try—you’ll be amazed at how easily you can enjoy homegrown lettuce that stays fresh, crisp, and delicious straight from your DIY mini garden!

Leave A Comment