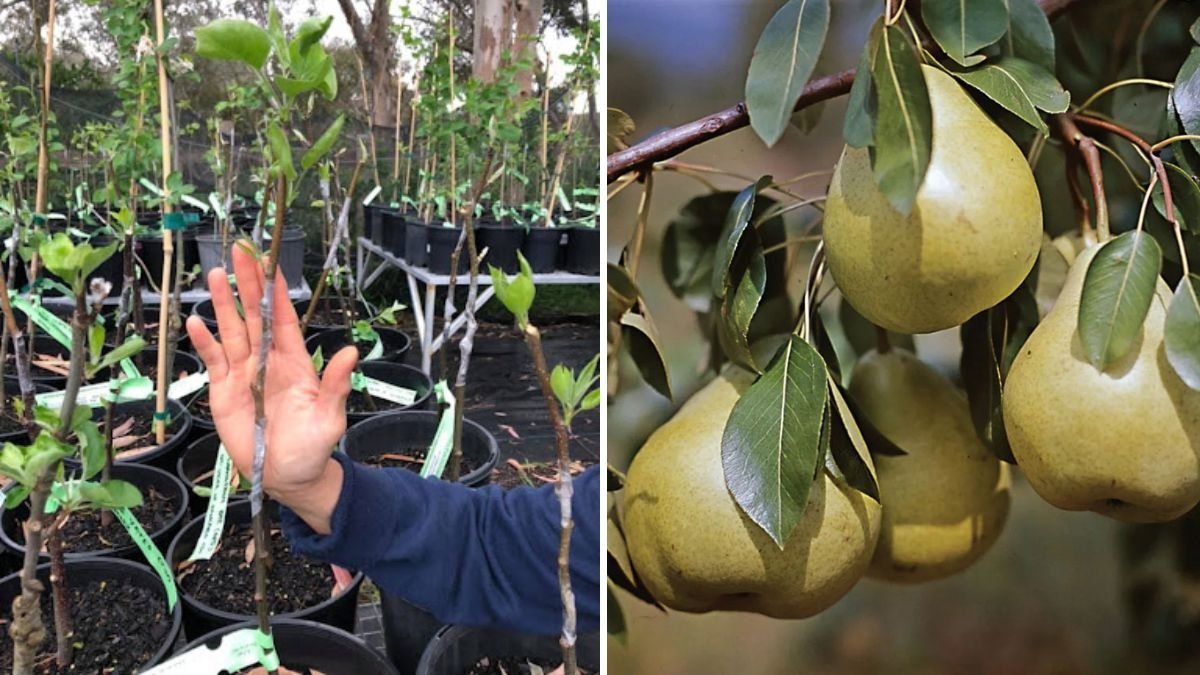
Grafting fruit trees is one of the most rewarding techniques in gardening. It allows you to combine the strengths of two plants—one providing a strong root system (rootstock) and the other offering desirable fruit qualities (scion). Apple and pear trees are among the most commonly grafted fruit trees because they share similar growth patterns and respond well to this propagation method.
If you’ve recently performed grafting and are now ready to unwrap your grafts, congratulations! You’ve reached one of the most exciting stages — checking whether your grafts have successfully bonded. In this detailed 1200-word guide, we’ll walk you through everything you need to know about unwrapping pear and apple grafts, understanding what successful grafting looks like, troubleshooting common problems, and ensuring healthy continued growth for your trees.
1. Understanding the Grafting Process
Before we dive into unwrapping, let’s quickly recap what grafting is and why it’s done.
Grafting is the process of joining two plant parts — the scion (a cutting from a desirable variety) and the rootstock (a young plant with a strong, disease-resistant root system). When done properly, the two parts fuse and grow as one.
For fruit trees like pears and apples, grafting helps gardeners:
- Produce fruit faster than from seed-grown trees
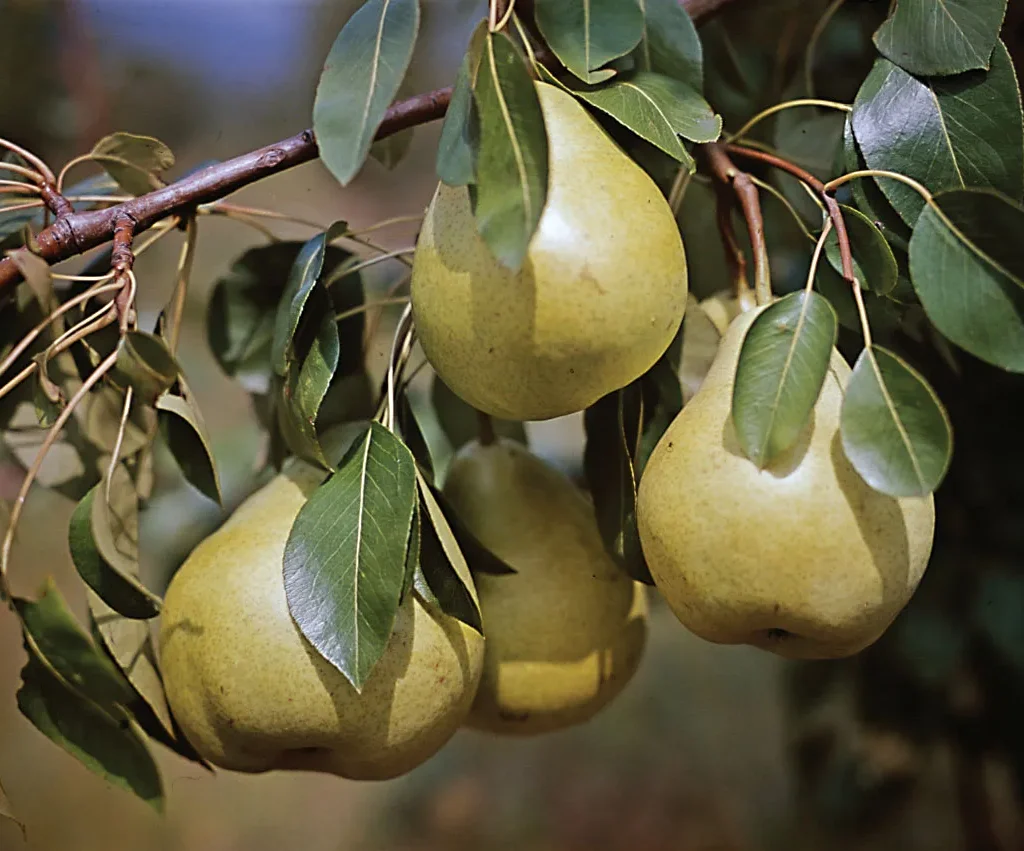
- Maintain desirable fruit qualities (taste, size, yield)
- Combine disease resistance from the rootstock with the fruiting ability of the scion
- Grow multiple varieties on a single tree (multi-graft trees)
Once you’ve completed grafting, you typically wrap the union point with grafting tape or a similar material to hold the scion and rootstock tightly together while the tissues bond.

2. The Importance of the Unwrapping Stage
Unwrapping is one of the most crucial steps after grafting because it determines the long-term success of your graft. After several weeks (usually 4–8 weeks, depending on temperature and humidity), the grafted area begins to heal. During this period, new tissues form at the joining point, connecting the vascular systems of both parts.
When the union is strong and stable, it’s time to remove the wrapping material. However, timing and technique are critical — unwrap too early, and the graft may separate; unwrap too late, and the wrapping may constrict growth, damaging the young tissue.
3. When to Unwrap Your Pear and Apple Grafts
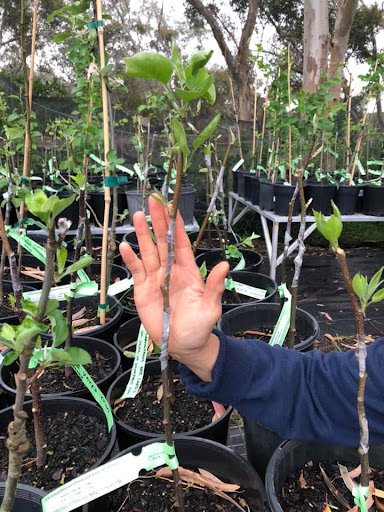
The best time to unwrap grafts depends on several factors, including the type of graft, weather conditions, and growth rate. In general, most grafts can be unwrapped 6–8 weeks after grafting, or when you observe these signs:
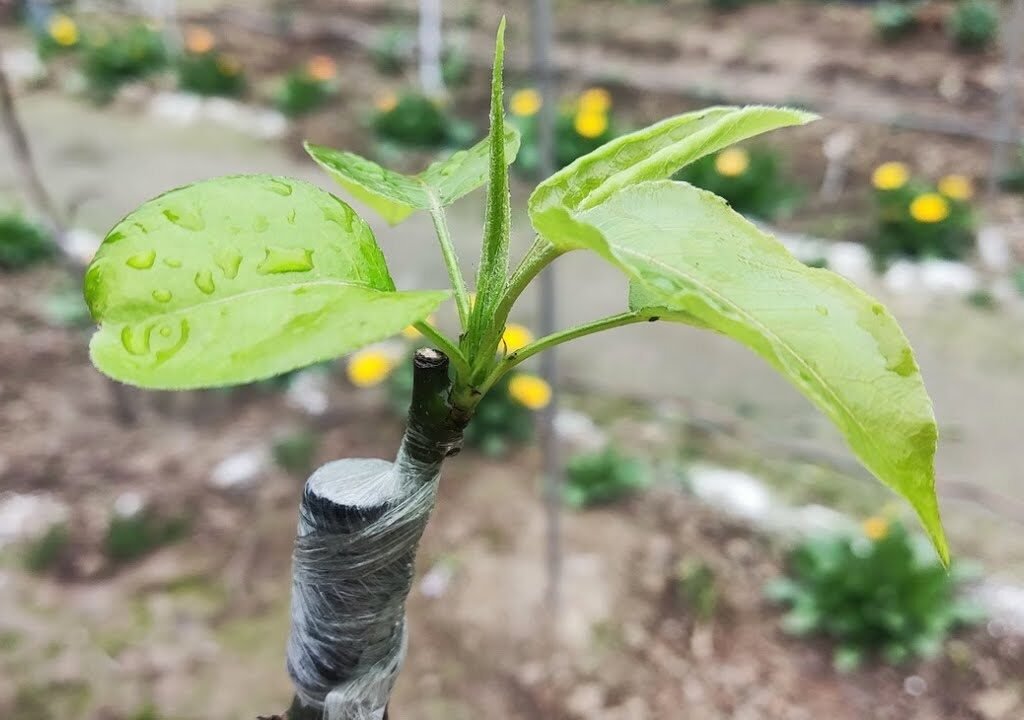
- New growth from the scion: Buds have started sprouting healthy leaves or shoots.
- Swelling at the graft union: Indicates active tissue healing and fusion.
- Firm attachment: When you gently press the scion, it feels secure and stable on the rootstock.
- No signs of dieback: The scion wood remains green and alive.
For both apple and pear grafts, unwrapping is often done in late spring to early summer, depending on your climate. Avoid unwrapping during extremely hot or windy days, as this can cause the young graft to lose moisture quickly.
4. Step-by-Step Guide to Unwrapping Grafts
Unwrapping your grafts requires a gentle touch. Follow these careful steps to ensure success:
- Prepare your tools: Use clean, sharp scissors or a small blade to cut the grafting tape or rubber bands. Disinfect tools beforehand to prevent contamination.
- Inspect before cutting: Check for signs of growth and ensure the graft looks healthy. If the union is still soft or the scion appears loose, wait another week before unwrapping.
- Begin cutting gently: Start from the top of the graft and work your way down, carefully slicing through the wrapping without damaging the bark or the new tissues.
- Peel away slowly: Remove the wrapping material in small sections. If the tape sticks, moisten it slightly with water to loosen it.
- Inspect the union area: Once unwrapped, observe the graft closely. The joined area should appear slightly swollen, with smooth, calloused tissue forming around the union.
- Support if necessary: If the graft still seems weak or flexible, rewrap it loosely with biodegradable grafting tape to give it more time to strengthen.
5. Signs of a Successful Graft
After unwrapping, it’s important to assess whether your graft has taken successfully. Here are the key indicators:

- Healthy new shoots: The scion is producing vigorous, green shoots and leaves.
- Firmly joined union: The graft junction feels solid and stable when gently pressed.
- Callus formation: A light, swollen ridge or callus tissue surrounds the graft area, sealing the joint.
- No discoloration: The graft area remains green and fresh, with no signs of rot or dryness.
A successful graft indicates that the scion and rootstock are now sharing nutrients and water — essentially functioning as one plant.
6. What to Do If the Graft Has Failed
Not every graft will succeed, and that’s perfectly normal — even experienced gardeners see some grafts fail. Common reasons include poor alignment, temperature fluctuations, or insufficient humidity.
Signs of failure include:
- The scion turns brown or shriveled.
- No new growth after several weeks.
- Graft area appears dry or cracked.
- Scion easily detaches from the rootstock.
If a graft fails, remove the dead scion and clean the rootstock area. You can attempt re-grafting during the next growing season, ensuring better alignment and protection.
7. Aftercare Tips for Unwrapped Grafts
Once you’ve unwrapped your grafts, your young tree still needs attention to ensure continued success. Here’s how to care for your grafted pear and apple trees:
a. Provide Support
New grafts are still tender and can be damaged by wind or heavy rain. Use a small stake or support stick to stabilize the scion. Tie it gently with soft string or nursery tape.

b. Protect from Sunburn
The graft union and new growth can be sensitive to direct sunlight. If your area gets intense sun, provide partial shade for a few days after unwrapping.
c. Keep the Soil Moist
Maintain consistent soil moisture without overwatering. A layer of mulch around the base helps retain moisture and regulate soil temperature.
d. Watch for Suckers
Rootstocks often send out suckers (unwanted shoots from below the graft). Remove them immediately, as they divert nutrients from the scion.
e. Encourage Growth
Once the graft is strong, you can lightly fertilize with a balanced liquid fertilizer to encourage healthy foliage and root development.
8. Common Problems After Unwrapping and Their Solutions
Even after a successful graft, you may encounter a few challenges. Here’s how to handle them:
- Cracking or splitting at the union: Rewrap gently for additional support and keep the area moist.
- Excessive sap flow: This can happen in hot weather. Apply gentle shade or reduce watering slightly.
- Weak new shoots: Pinch off weaker shoots to allow the main one to strengthen.
- Pest attack (aphids, ants, or caterpillars): Spray neem oil or insecticidal soap to protect young growth.
Early observation and timely action can prevent long-term damage.

9. Differences Between Pear and Apple Graft Growth
While both pear and apple trees respond similarly to grafting, there are a few subtle differences in their behavior:
- Pear grafts tend to grow more slowly initially but establish stronger unions. They prefer slightly warmer conditions during healing.
- Apple grafts often sprout faster, producing new leaves sooner, but may require more careful handling during unwrapping as their new tissues are delicate.
For both, the success largely depends on matching compatible varieties and ensuring good cambium contact during grafting.
10. Long-Term Graft Maintenance
After your grafts have healed and started growing, ongoing maintenance will ensure a healthy, productive tree:
- Prune regularly: Remove weak or crossing branches to shape the tree and promote airflow.
- Fertilize annually: Apply compost or a balanced organic fertilizer in early spring.
- Water deeply: Keep roots hydrated during dry periods, but avoid waterlogging.
- Monitor for diseases: Watch for common fruit tree diseases like blight or mildew and treat promptly.
With proper care, your grafted pear and apple trees can start producing fruit within 2–4 years, depending on the variety and growing conditions.
11. Why Unwrapping Is a Milestone Moment
Unwrapping a graft is more than just removing tape — it’s a celebration of your plant’s resilience and your skill as a gardener. You’ve successfully guided two separate plant parts to grow as one, which is an incredible accomplishment.
This step also marks the beginning of a new growth phase. From here, the grafted scion can focus on expanding branches, producing leaves, and eventually setting fruit.

12. Final Thoughts
Unwrapping pear and apple grafts is a delicate but exciting process that reveals the success of your grafting work. When done carefully and at the right time, it sets the stage for strong, vigorous trees that will reward you with abundant fruit in the years ahead.
Remember — patience and observation are your best tools. If your grafts are alive, growing, and showing healthy new shoots, you’ve done an excellent job. Continue to nurture them, provide proper aftercare, and watch as your grafted apple and pear trees flourish into beautiful, fruit-bearing plants that stand as proof of your gardening skill and dedication.
Leave A Comment