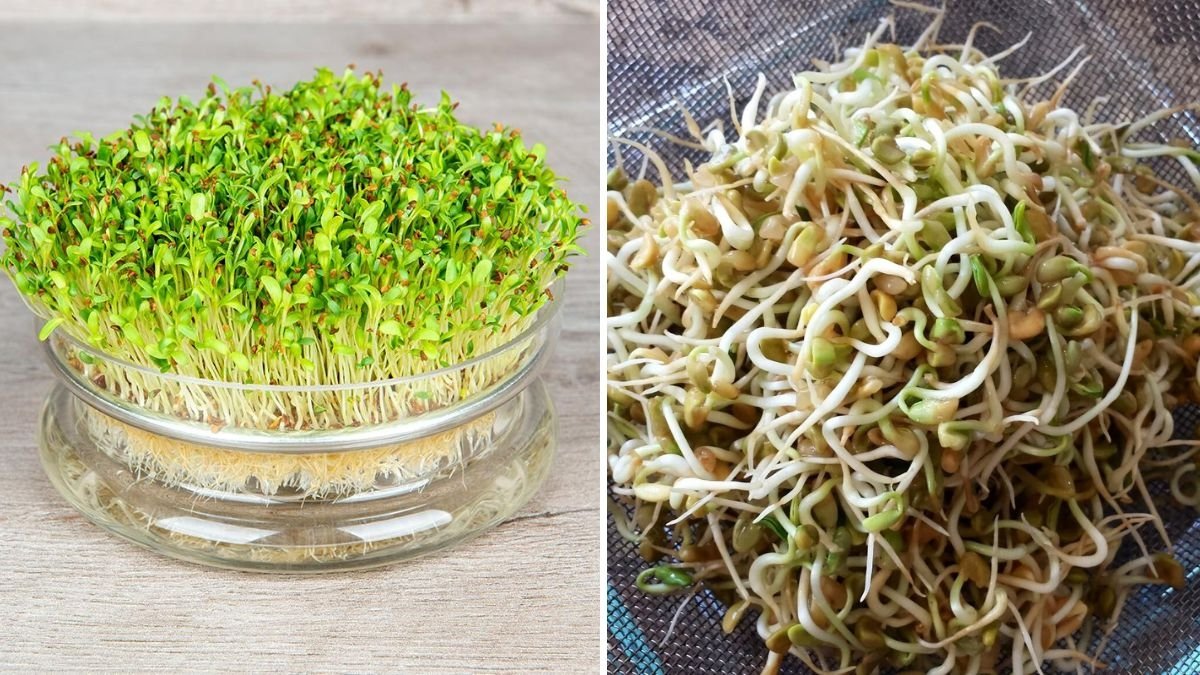
Growing your own food doesn’t always require a big garden or even soil. One of the easiest and most rewarding ways to enjoy homegrown nutrition is by sprouting seeds right in your kitchen. Alfalfa sprouts, in particular, are one of the simplest and fastest to grow—ready in just a few days and loaded with nutrients that can boost your health in incredible ways.
In this blog post, inspired by the video “How To Grow Alfalfa Sprouts – 3 EASY Steps!”, we’ll walk you through the complete process of growing fresh, crunchy alfalfa sprouts at home using nothing more than a few basic supplies. You’ll learn how to choose the right seeds, the proper soaking and rinsing method, and how to harvest them safely for delicious, nutrient-rich meals.
Let’s dive into the easy, three-step method to grow perfect alfalfa sprouts!
Why Grow Alfalfa Sprouts?
Before we jump into the growing steps, it’s worth understanding why alfalfa sprouts are so popular among home gardeners and health enthusiasts.

Alfalfa (Medicago sativa) is a legume that’s been cultivated for thousands of years as both livestock feed and a human superfood. When sprouted, its seeds transform into delicate, crunchy shoots packed with vitamins, minerals, and antioxidants.
Here are a few reasons you’ll love growing alfalfa sprouts:
- Nutrient-Rich: Alfalfa sprouts contain vitamin A, C, E, and K, along with folate, calcium, magnesium, and iron.
- Low-Calorie Superfood: They add nutrients and crunch without extra calories—perfect for salads, sandwiches, or smoothies.
- Fast Growth: You can harvest alfalfa sprouts in as little as 4–6 days.
- Space-Saving: No soil, no garden—just a jar, some seeds, and water.
- Affordable & Fresh: A small packet of seeds can yield several batches of sprouts at a fraction of store-bought prices.
Step 1: Soaking the Alfalfa Seeds
The first and most important step to successful sprouting is soaking the seeds. This helps soften their hard outer shell and activates the germination process.
What You’ll Need:
- 2 tablespoons of organic alfalfa seeds
- A wide-mouth glass jar (quart-sized works best)
- A sprouting lid or cheesecloth and a rubber band
- Filtered or clean water
Step-by-Step Soaking Process:
- Measure and Add Seeds:
Start with about two tablespoons of alfalfa seeds. This may not seem like much, but they’ll expand significantly as they sprout. - Add Water:
Pour about two cups of cool, clean water into the jar. Swirl the seeds gently to rinse away any dust or debris. - Soak Overnight:
Let the seeds soak for about 8–12 hours at room temperature. This overnight soak gives them enough time to absorb water and begin sprouting. - Drain and Rinse:
After soaking, drain the water using your sprouting lid or cheesecloth. Rinse the seeds again with fresh water and drain thoroughly. Make sure no standing water remains—too much moisture can lead to mold growth.
Tip: Place your jar upside down at an angle in a bowl or dish rack to ensure excess water drains completely.

Step 2: Rinse and Drain Daily
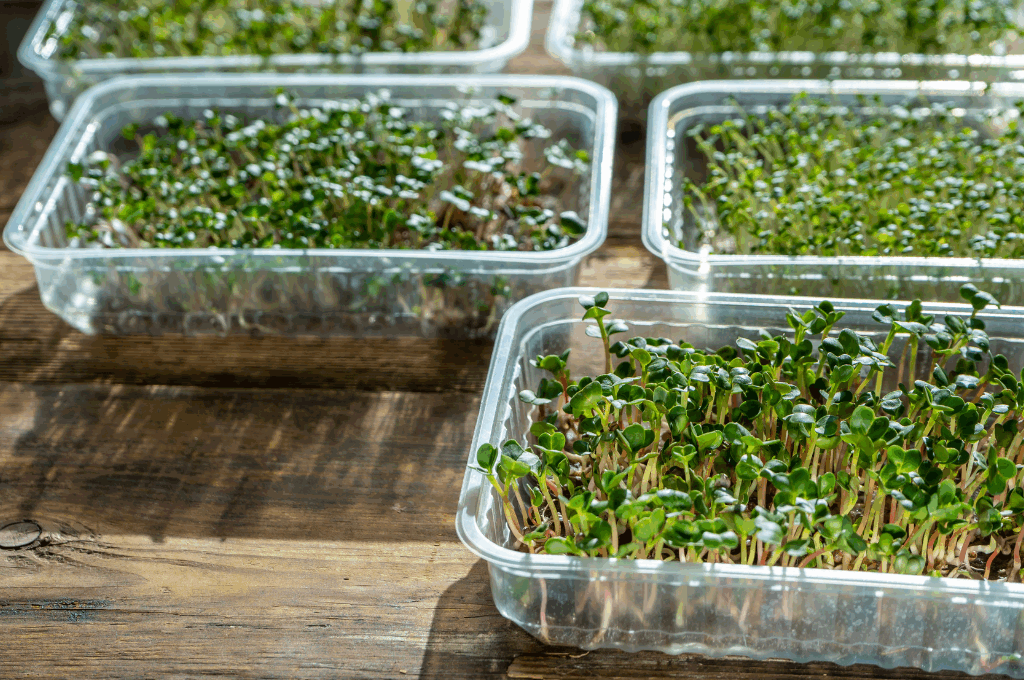
Now comes the exciting part—watching your alfalfa seeds come to life! Over the next few days, your seeds will sprout and grow tiny white shoots.
Daily Care Routine:
- Rinse Twice a Day:
Rinse your seeds every 8–12 hours with cool water. Swirl them around gently to ensure all seeds get moistened, then drain thoroughly. - Keep Them Aerated:
Store the jar upside down at a slight angle to allow good airflow and drainage. This prevents mold and ensures even sprouting. - Avoid Direct Sunlight:
Place your sprouting jar in a warm, bright location but out of direct sunlight. Indirect light is perfect for steady growth. - Observe Growth:
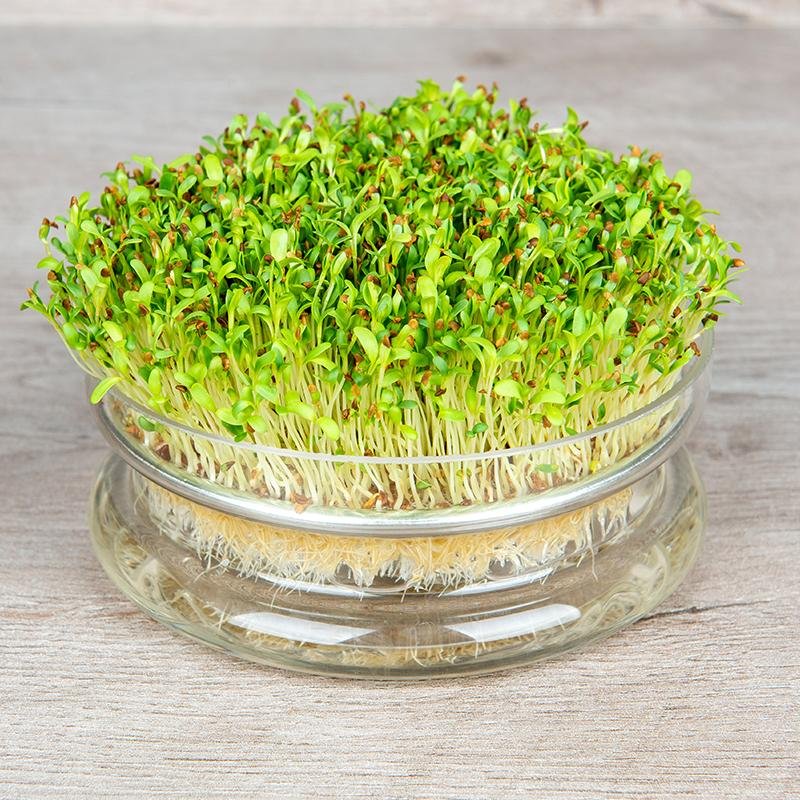
Within 2–3 days, you’ll notice tiny white tails emerging. By day 4 or 5, the sprouts will start greening up and filling the jar beautifully.
Pro Tip: The key to healthy sprouts is keeping them moist but not waterlogged. Excess moisture is the most common reason sprouts fail or develop odor.
Step 3: Green and Harvest Your Sprouts
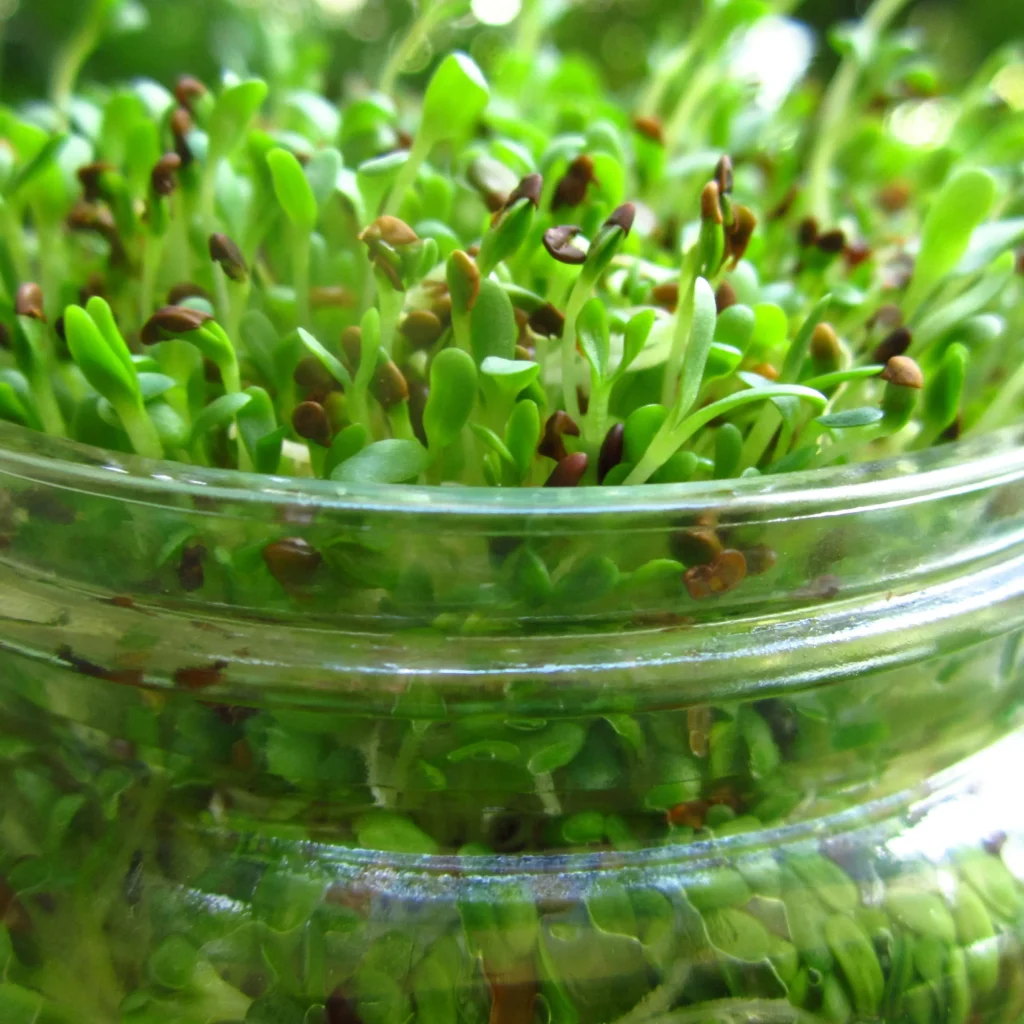
When your alfalfa sprouts are about 1–2 inches long, they’re almost ready to eat. The final step is “greening” them—exposing them to indirect sunlight so they develop chlorophyll and that vibrant green color.
How to Green and Harvest:
- Expose to Light:
Place the jar near a bright window (no direct sun) for about half a day to encourage the sprouts to turn green. - Final Rinse:
Give them one last rinse to remove seed hulls and ensure they’re fresh and crisp. - Drain Well:
Shake off as much water as possible and let them sit for about an hour to dry slightly before storing. - Transfer to a Container:
Once dry, move your sprouts into an airtight container or zip-lock bag. Store them in the refrigerator, where they’ll stay fresh for up to 5–7 days.
Tip for Cleaning Hulls:
Fill a bowl with water and gently swirl your sprouts. The lighter seed hulls will float to the surface and can be skimmed off easily.

How to Use Alfalfa Sprouts
One of the best things about alfalfa sprouts is their versatility. Their light, nutty flavor and crisp texture make them perfect for all kinds of dishes. Here are a few delicious ways to enjoy them:
- Salads: Add them fresh for a crunchy texture and nutrition boost.
- Sandwiches and Wraps: Layer them with veggies or meats for added freshness.
- Smoothies: Blend a handful into your green smoothie for an extra nutrient punch.
- Soups: Use as a garnish to add a fresh, raw element to hot soups.
- Stir-Fries: Toss them in at the end for a light, crisp addition.
Health Benefits of Alfalfa Sprouts
These tiny greens are more than just a garnish—they’re a powerhouse of nutrition. Here’s what makes them so good for you:
- Rich in Antioxidants:
Help fight free radicals and support cellular health. - Excellent Source of Vitamins:
Especially vitamins C and K, which boost immunity and bone strength. - Digestive Support:
High enzyme content aids digestion and nutrient absorption. - Heart Health:
Alfalfa sprouts contain compounds that may help lower cholesterol levels. - Weight Management:
Low in calories but high in nutrients, they make an ideal addition to any weight-loss-friendly diet.
Safety Tips for Sprouting
While sprouting is easy and rewarding, it’s important to follow good hygiene practices to keep your sprouts safe to eat:
- Always use clean jars and utensils.
- Rinse with clean, filtered water—avoid contaminated sources.
- Store sprouts in the fridge and consume within a week.
- Avoid slimy or foul-smelling sprouts, as they may indicate spoilage.
- If you have a weakened immune system, consider lightly steaming the sprouts before eating.
Troubleshooting Common Sprouting Issues
Even though growing alfalfa sprouts is simple, a few problems can occur if conditions aren’t ideal. Here’s how to fix them:

- Mold Growth:
Usually caused by poor drainage or lack of airflow. Rinse more frequently and ensure your jar drains fully. - Unpleasant Odor:
This indicates bacterial growth. Discard the batch, clean your jar, and start over with fresh seeds. - Uneven Sprouting:
Shake the jar gently after each rinse to distribute seeds evenly. - Dry Seeds:
If sprouts look dry or slow-growing, increase rinsing frequency or move to a slightly warmer area.
Final Thoughts
Growing alfalfa sprouts at home truly couldn’t be easier. With just three simple steps—soak, rinse, and harvest—you can enjoy a continuous supply of fresh, nutrient-packed greens right from your countertop. They’re quick to grow, delicious to eat, and bring a sense of self-sufficiency and freshness to your kitchen.
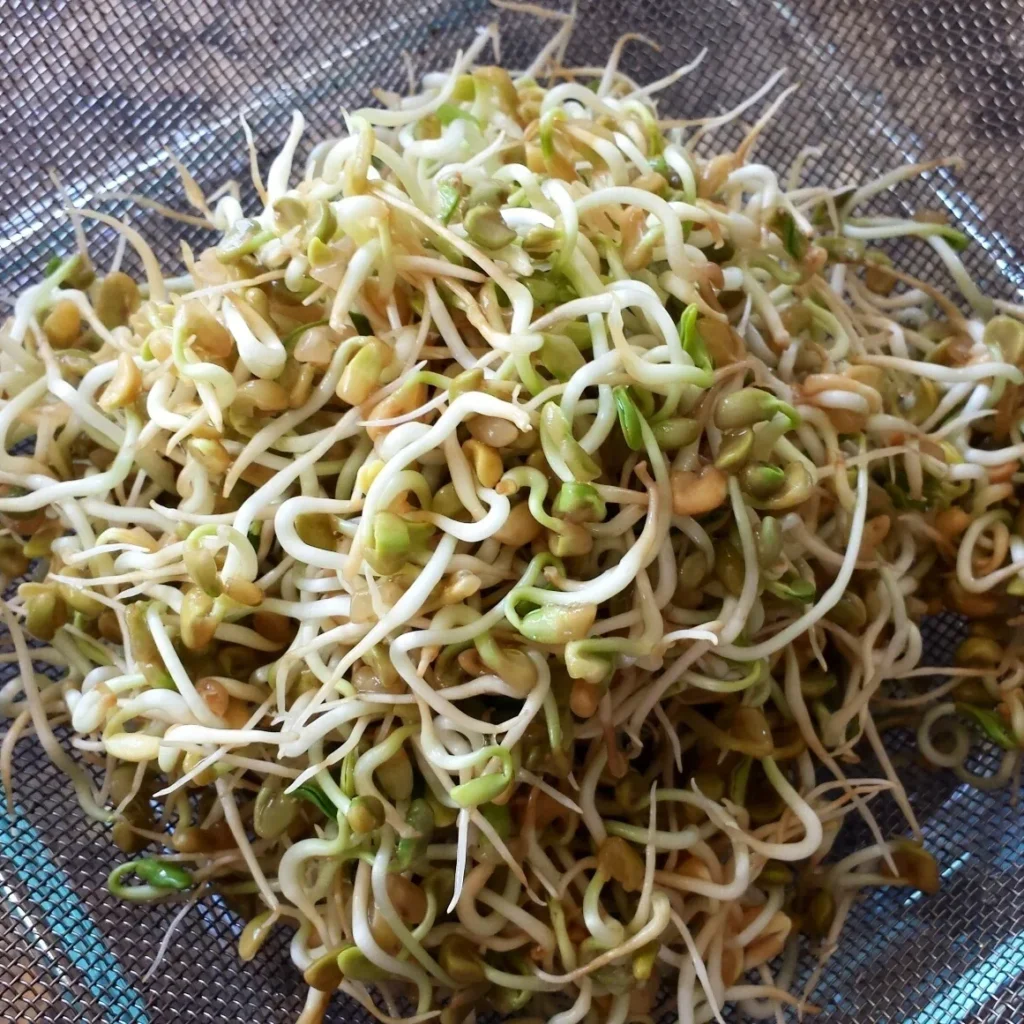
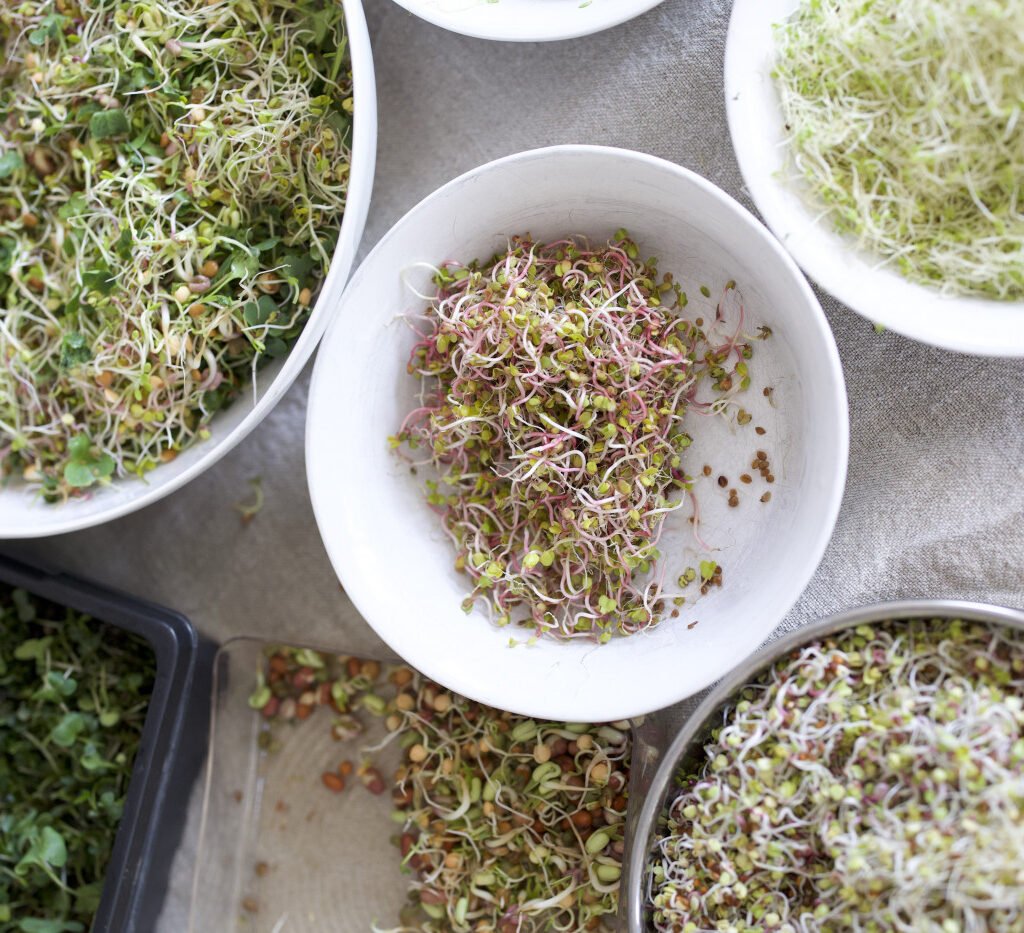
Once you’ve mastered alfalfa sprouts, you can experiment with other varieties like mung beans, broccoli sprouts, or lentil sprouts. Each brings its own flavor, texture, and health benefits.
So grab a jar, some seeds, and a bit of patience—you’ll be enjoying your very first batch of homegrown alfalfa sprouts in less than a week!

Leave A Comment