Growing your own berries at home can be one of the most rewarding gardening experiences. Among the many berries you can cultivate, bilberries and strawberries stand out for their delicious taste, nutritional benefits, and beauty in the garden. While many gardeners prefer buying young plants, growing these fruits from seeds offers the joy of nurturing them right from the start. In this guide, we’ll walk through the process of sowing bilberry and strawberry seeds, how to care for the seedlings, and the best conditions for ensuring a successful harvest.
Understanding Bilberry and Strawberry Plants
Before diving into sowing techniques, it’s essential to understand what makes these two plants unique:
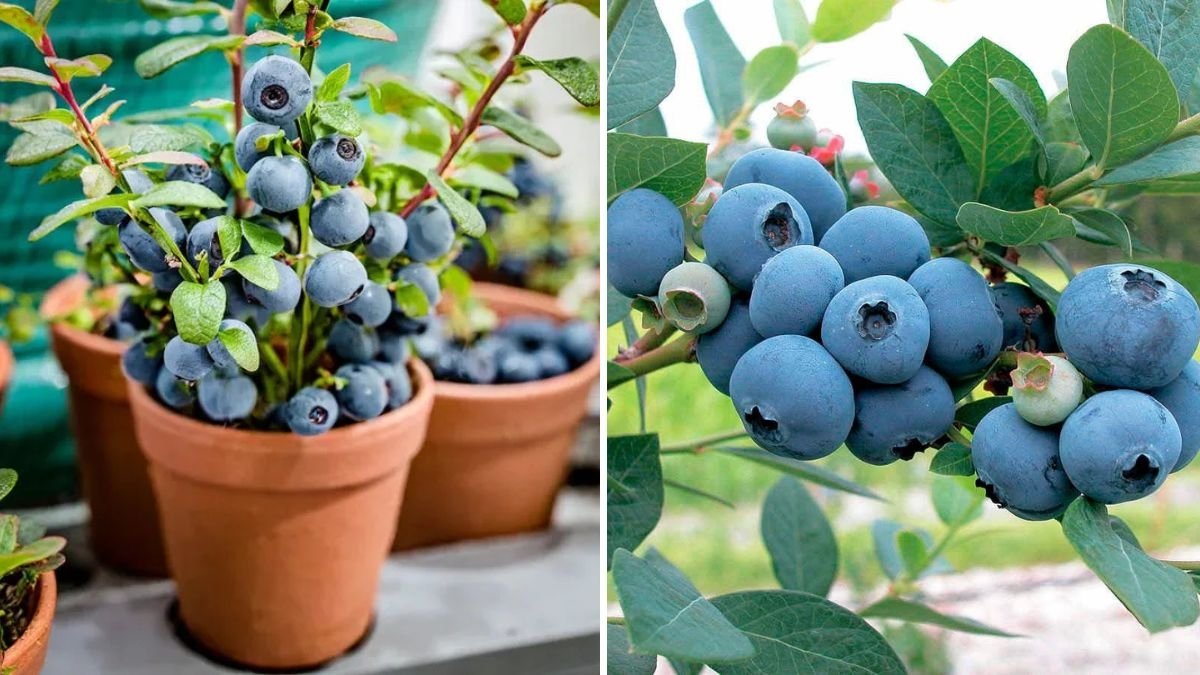
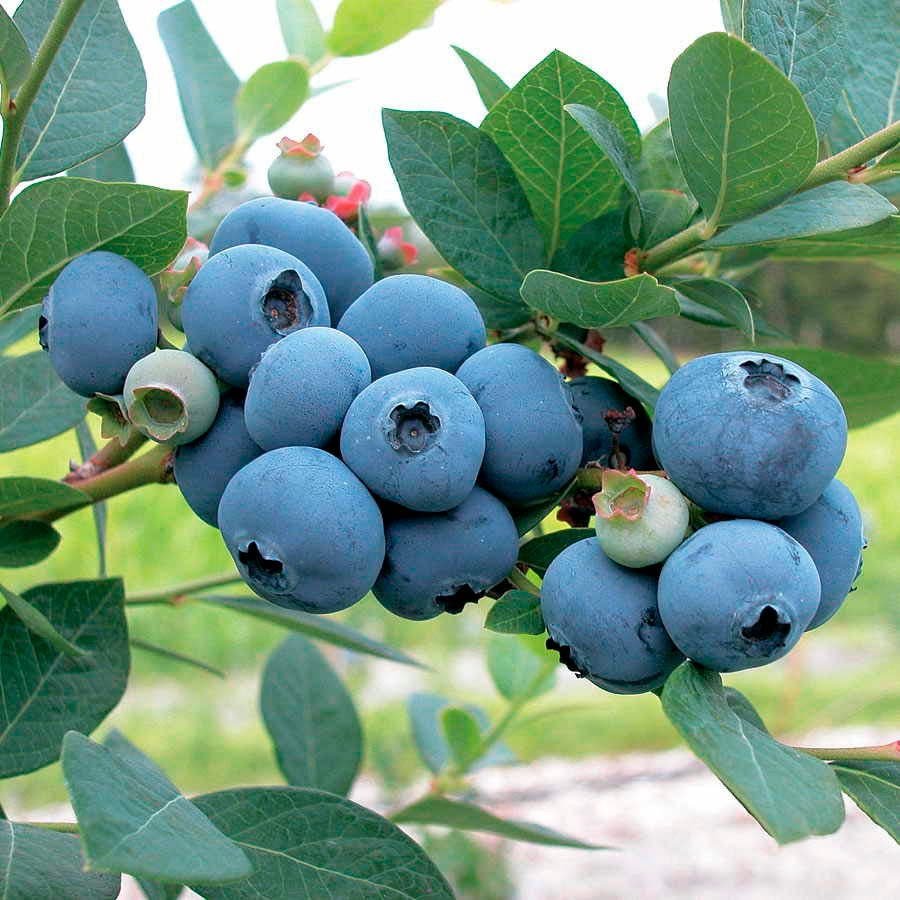
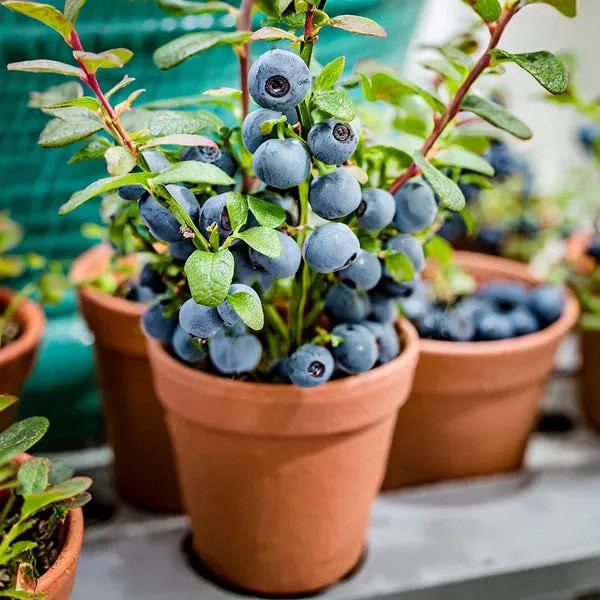
- Bilberry (Vaccinium myrtillus):
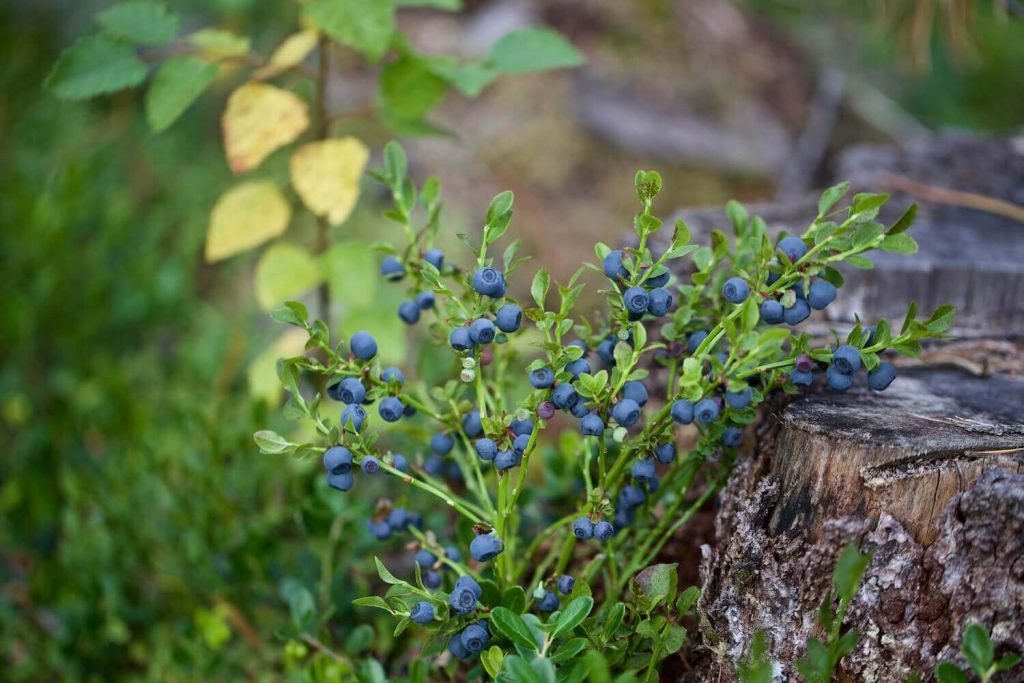
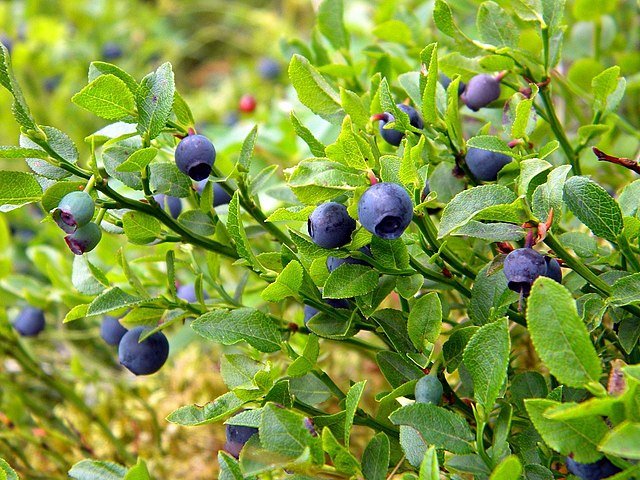
A close relative of the blueberry, bilberries are small, dark-blue berries native to Europe. They are rich in antioxidants, vitamin C, and anthocyanins, making them great for improving eye health and reducing inflammation. Bilberries grow on small shrubs that prefer acidic, well-draining soil and cool climates. - Strawberry (Fragaria × ananassa):
Strawberries are among the most popular fruits worldwide, known for their sweet, juicy flavor and versatility in desserts and beverages. They grow low to the ground and produce runners that spread easily, making them excellent for pots, raised beds, or garden borders.
Growing both these berries from seeds requires patience and the right technique, but with proper care, you can enjoy fresh, homegrown fruit right from your balcony or backyard.
Step 1: Collecting and Preparing the Seeds
For Bilberries:
You can extract bilberry seeds from fresh or frozen fruits. Mash the berries gently in water and allow the pulp to separate from the tiny seeds. The seeds will sink to the bottom—collect and rinse them well.

For Strawberries:
Cut a ripe strawberry and gently scrape off the outer layer containing seeds. Soak the seeds in water for 24 hours to separate viable ones (which will sink). Dry them on a paper towel before planting.
Both bilberry and strawberry seeds benefit from a cold stratification process—a period of simulated winter that helps break seed dormancy and improves germination rates.
Step 2: Cold Stratification
This step mimics natural winter conditions, signaling the seeds that it’s time to sprout when temperatures rise.
- Mix the seeds with a small amount of moist peat moss or sand.
- Place this mixture in a sealed plastic bag or container.
- Keep it in the refrigerator (not freezer) at 3–5°C (37–41°F).
- Bilberry seeds: 2 to 3 months
- Strawberry seeds: 3 to 4 weeks
- Check the mixture every couple of weeks to ensure it remains moist, not soggy.
After stratification, the seeds are ready for sowing.

Step 3: Sowing the Seeds
Prepare shallow seed trays or small pots with a light, acidic soil mix—a combination of peat moss, perlite, and sand works well for both plants.
How to Sow Bilberry Seeds:
- Sprinkle the seeds evenly on the soil surface.
- Lightly press them into the soil but do not cover them completely; bilberry seeds need light to germinate.
- Mist the soil gently with water.
How to Sow Strawberry Seeds:
- Scatter the seeds evenly over the soil.
- Lightly press them into the surface or cover them with a very thin layer of soil.
- Mist with water and cover the tray with clear plastic wrap or a humidity dome.
Keep the trays in a warm, bright spot (around 20–25°C / 68–77°F). Germination can take anywhere from 2 to 6 weeks, depending on seed quality and environmental conditions.
Step 4: Providing the Right Conditions
Seedlings of both bilberries and strawberries need light, moisture, and gentle warmth to grow strong and healthy.
- Light: Place the trays under grow lights or near a sunny window. At least 12–14 hours of light daily helps prevent leggy growth.
- Watering: Keep the soil consistently moist but never soggy. Mist or bottom-water the trays to avoid disturbing the seeds.
- Temperature: Maintain a stable temperature between 18–24°C (65–75°F). Avoid cold drafts or excessive heat.
Once the seedlings appear, remove the plastic cover to allow airflow and prevent fungal growth.

Step 5: Transplanting the Seedlings
When the seedlings have 2–3 true leaves, it’s time to transplant them into individual pots.
- Use small containers (4–6 inches) with good drainage holes.
- Fill with acidic potting mix (for bilberries) or a balanced mix with compost (for strawberries).
- Gently lift the seedlings from the tray using a spoon or small stick, taking care not to damage their roots.
- Water lightly after transplanting.
Keep the young plants in partial shade for the first week to help them adjust to their new environment.
Step 6: Caring for Your Young Plants
Once the seedlings are established, they’ll need consistent care to develop into productive fruit-bearing plants.
For Bilberry Plants:
- Soil: Keep it acidic (pH 4.5–5.5). Use peat moss or pine needle mulch to maintain acidity.
- Watering: Bilberries prefer slightly moist soil but not waterlogged.
- Feeding: Use an acid-loving plant fertilizer once a month during the growing season.
- Light: Provide partial shade; they don’t thrive in harsh, direct sunlight.
For Strawberry Plants:
- Soil: Slightly acidic to neutral (pH 5.5–6.8).
- Watering: Strawberries need regular watering, especially during flowering and fruiting.
- Fertilizing: Use a balanced organic fertilizer every 3–4 weeks.
- Light: Full sun for at least 6–8 hours daily encourages better fruiting.
Mulching around the plants helps retain moisture and keeps fruits clean.

Step 7: Encouraging Flowering and Fruiting
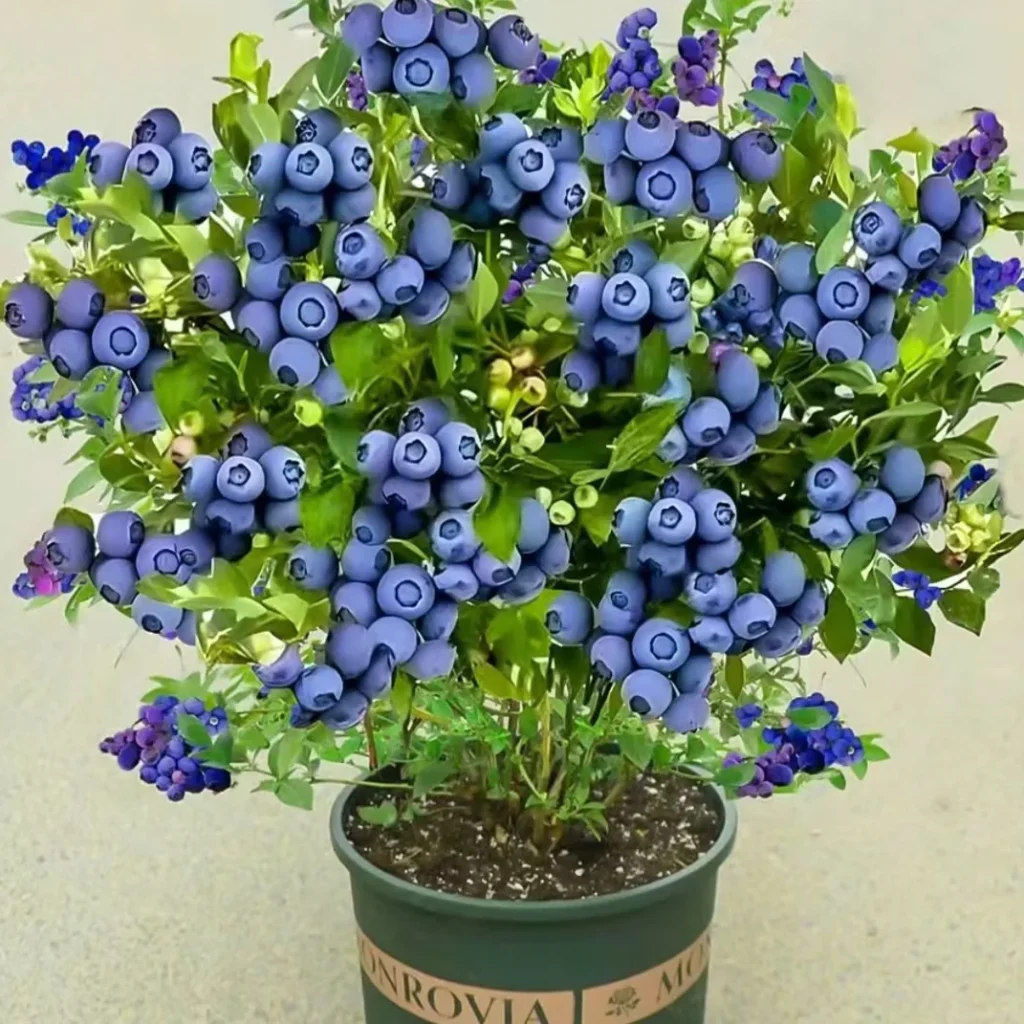
It may take one to two years for bilberry plants to produce fruit, while strawberries can bear fruit in their first year if grown under optimal conditions.
- For Bilberries: Be patient and provide consistent care. Once mature, each shrub can yield berries for up to 15 years.
- For Strawberries: Remove the first few flowers to allow the plant to strengthen its root system, leading to a more productive harvest later.
Pollination is crucial—if you’re growing indoors, gently shake the flowers or use a soft brush to transfer pollen.
Step 8: Harvesting Your Homegrown Berries
- Bilberries: Usually ready for harvest in late summer. The berries will turn deep blue or black and easily detach from the plant when ripe.
- Strawberries: Harvest when the berries are fully red and fragrant. Pick them with a bit of the stem attached to prolong freshness.
Always handle the fruits gently to avoid bruising. Freshly picked berries can be eaten immediately or stored in the refrigerator for a few days.
Tips for Success
- Use rainwater or filtered water if possible—both plants dislike high mineral content.
- Avoid over-fertilizing; this can lead to excessive leafy growth and poor fruiting.
- Protect young plants from slugs and aphids using organic pest control methods.
- Regular pruning of dead leaves and runners (in strawberries) keeps plants healthy.
- Repot every 2–3 years for bilberries to refresh the soil and maintain vigor.
Final Thoughts
Growing bilberries and strawberries from seeds may take patience, but the rewards are worth it. From watching the first tiny seedlings emerge to tasting your first homegrown berries, the process is filled with joy and learning.

Whether you’re an experienced gardener or a beginner trying container gardening, these two plants are a wonderful addition to any space. They not only provide delicious, healthy fruits but also beautify your garden with their lovely flowers and lush green leaves.
Start your journey today—sow your bilberry and strawberry seeds, nurture them with care, and soon you’ll be enjoying the sweet taste of success right from your garden!
Leave A Comment