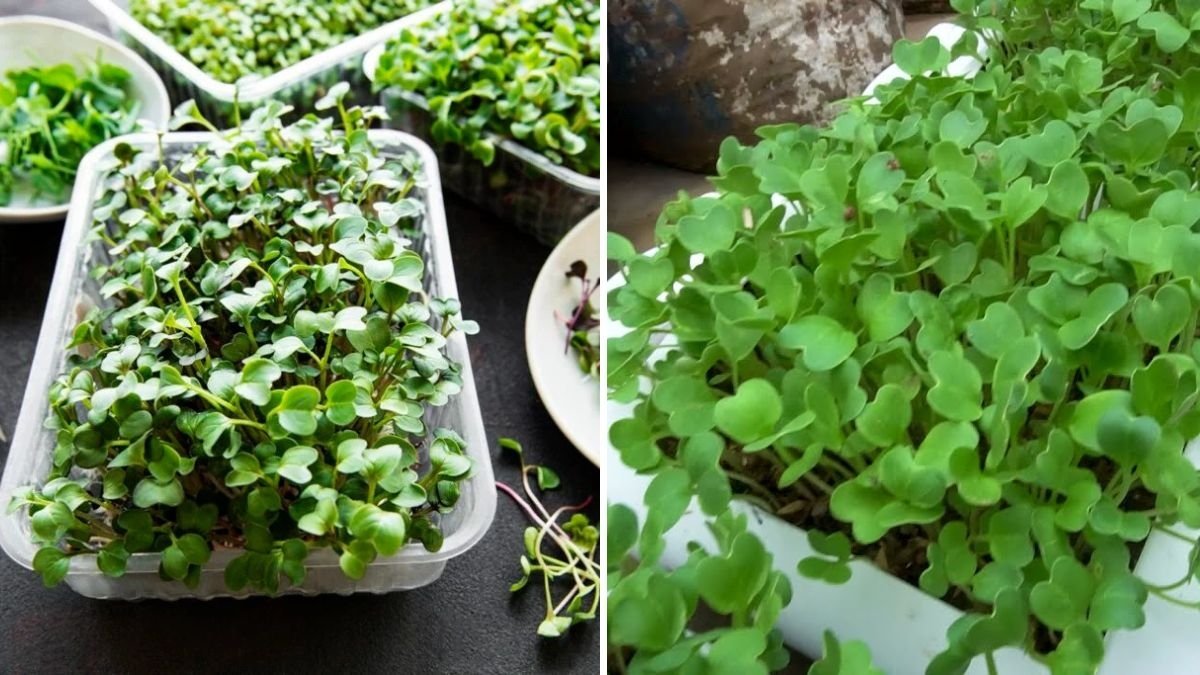
If you’re looking for a fast-growing, nutrient-packed green that requires minimal effort, cress is the perfect choice. With its peppery, fresh flavor and crunchy texture, cress is ideal for garnishing sandwiches, salads, soups, and smoothies. The best part? You can grow it in simple plastic containers and enjoy a harvest in just 7 days. This makes it a fantastic option for beginners, urban gardeners, or anyone looking to grow fresh greens quickly at home.
In this guide, we’ll walk you through the process of growing cress in plastic containers—from preparation and sowing to watering, care, and harvesting. By the end, you’ll be ready to enjoy your very own homegrown cress in just one week.
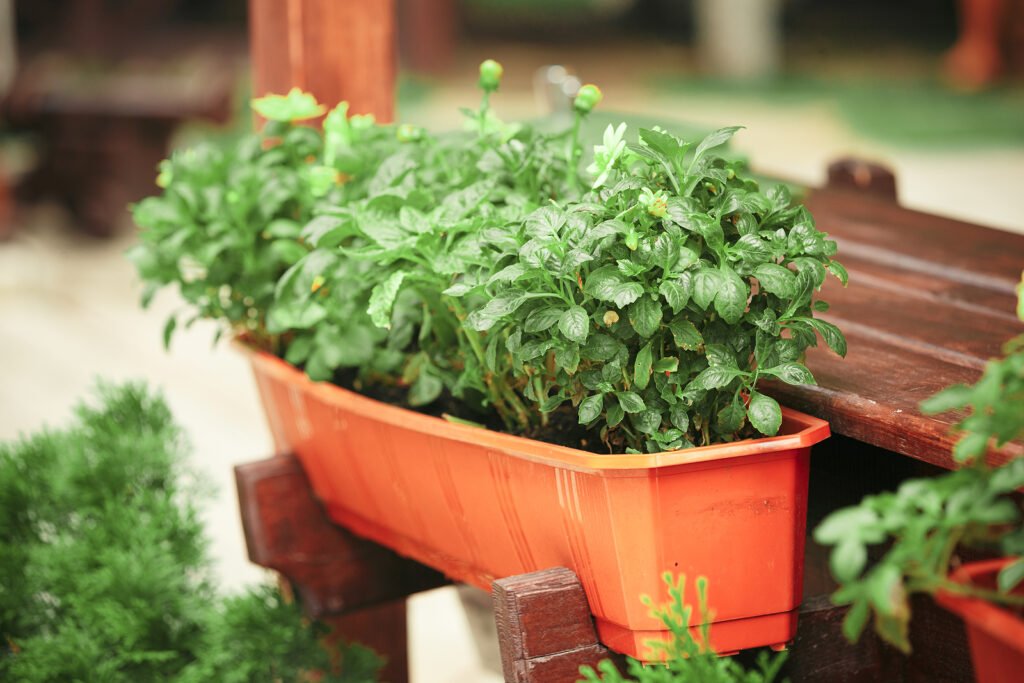
🌱 Why Grow Cress in Plastic Containers?
Growing cress in plastic containers has several advantages:
- Fast Growth: Cress germinates quickly, often ready to harvest in a week.
- Space-Saving: Perfect for small apartments, balconies, or kitchen windowsills.
- Cost-Effective: Plastic containers are reusable and easily available.
- Controlled Environment: You can manage soil moisture, light, and temperature easily.
- Nutrient-Rich Greens: Packed with vitamins A, C, and K, calcium, iron, and antioxidants.
This method also introduces beginners to container gardening without the need for a traditional garden.
🧺 Materials You’ll Need
To start growing cress in plastic containers, gather the following materials:

- Empty plastic containers or trays (yogurt cups, food containers, or recycled tubs work fine)
- Cress seeds
- Cotton wool, kitchen paper towels, or a thin layer of soil
- Water spray bottle or small watering can
- Tray to place containers (optional)
- Scissors for harvesting
💡 Tip: Using clear plastic containers allows you to monitor root growth and water levels easily.
✂️ Step 1: Preparing Your Containers
- Clean and dry the plastic containers to remove any residue.
- If using deep containers, you can add drainage holes to prevent excess water accumulation, but for cress, shallow containers without drainage also work because cress grows in a thin layer of soil or cotton.
- Place cotton wool, kitchen paper towels, or a thin layer of soil inside the container. Ensure it’s evenly spread and slightly moist.
💡 Pro Tip: The cotton or paper towel method allows for hydroponic-like growth, which is perfect for fast germination.
🌱 Step 2: Sowing Cress Seeds
Cress seeds are tiny but germinate quickly under the right conditions. Follow these steps:
- Sprinkle the seeds evenly over the moist cotton wool, paper towel, or soil.
- Press them lightly so they make good contact with the surface.
- Mist gently with water to avoid washing away seeds.
- Cover the container with a transparent lid or another plate to retain moisture and warmth, which accelerates germination.
💡 Tip: Cress seeds don’t need to be buried; they germinate best when exposed to light with just a thin layer of moisture beneath them.
☀️ Step 3: Providing the Right Conditions
Cress grows best under the following conditions:

- Temperature: 18–22°C (65–72°F) is ideal.
- Light: Place containers in a bright, indirect sunlight spot. Avoid harsh midday sun as it can dry out the seeds.
- Moisture: Keep the cotton, paper towel, or soil consistently damp. Mist 1–2 times a day to maintain moisture.
💡 Pro Tip: If growing indoors during low-light months, use a small LED grow light for 6–8 hours daily.
💧 Step 4: Watering and Maintenance
- Cress requires constant moisture to germinate and grow quickly.
- Avoid overwatering; the seeds should be moist, not submerged.
- Mist the seeds twice a day to maintain humidity and speed up growth.
💡 Tip: Using a spray bottle ensures gentle watering and prevents dislodging the tiny seeds.
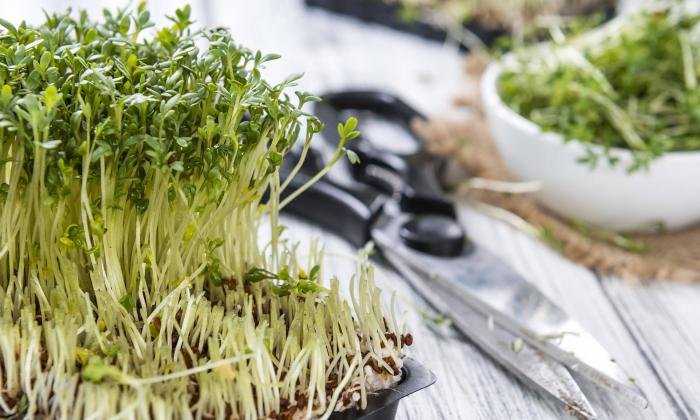
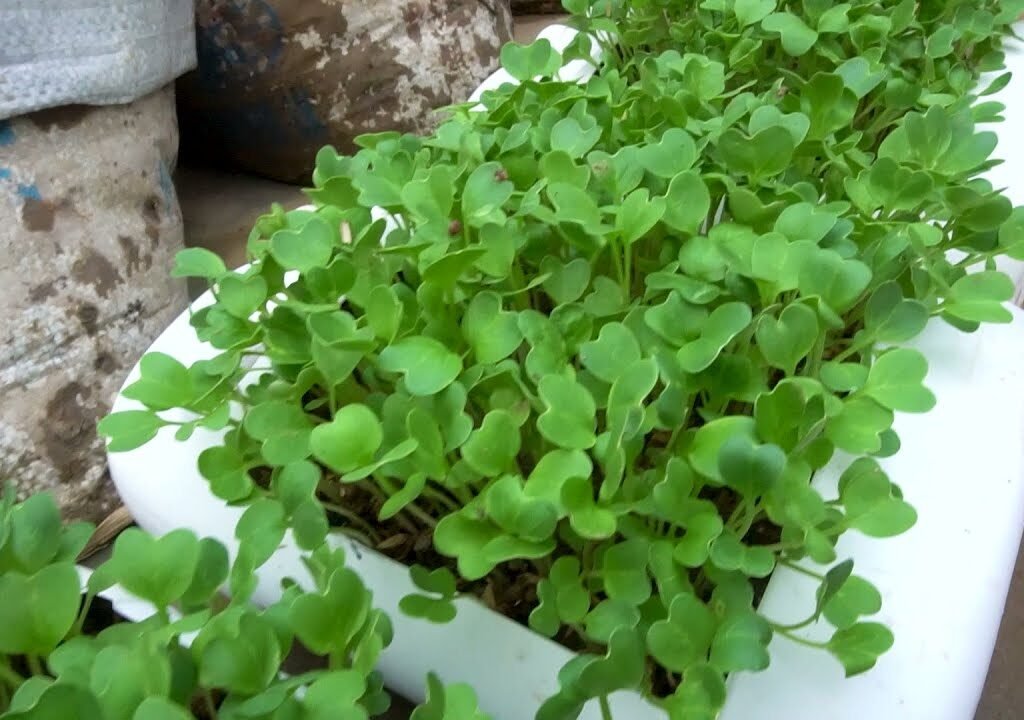
🌱 Step 5: Germination and Growth
Cress seeds usually germinate within 2–3 days under ideal conditions:
- You will see tiny white roots emerging first.
- Small green shoots follow within 3–5 days.
- By day 6–7, your cress will be about 2–3 inches tall and ready for harvest.
💡 Pro Tip: Thin overcrowded seedlings if they are too dense to allow proper airflow and prevent mold growth.
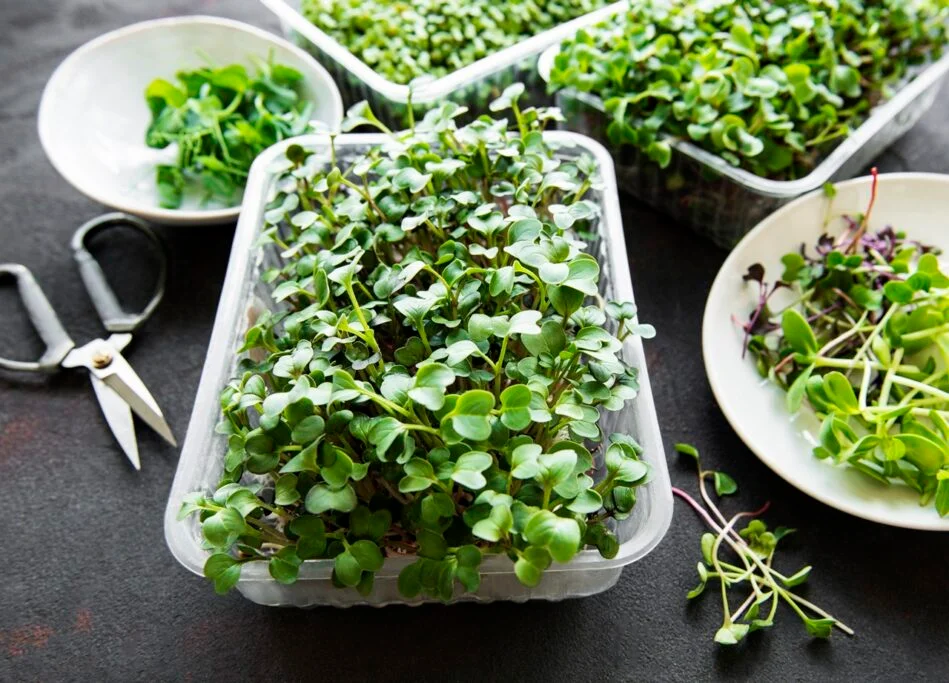
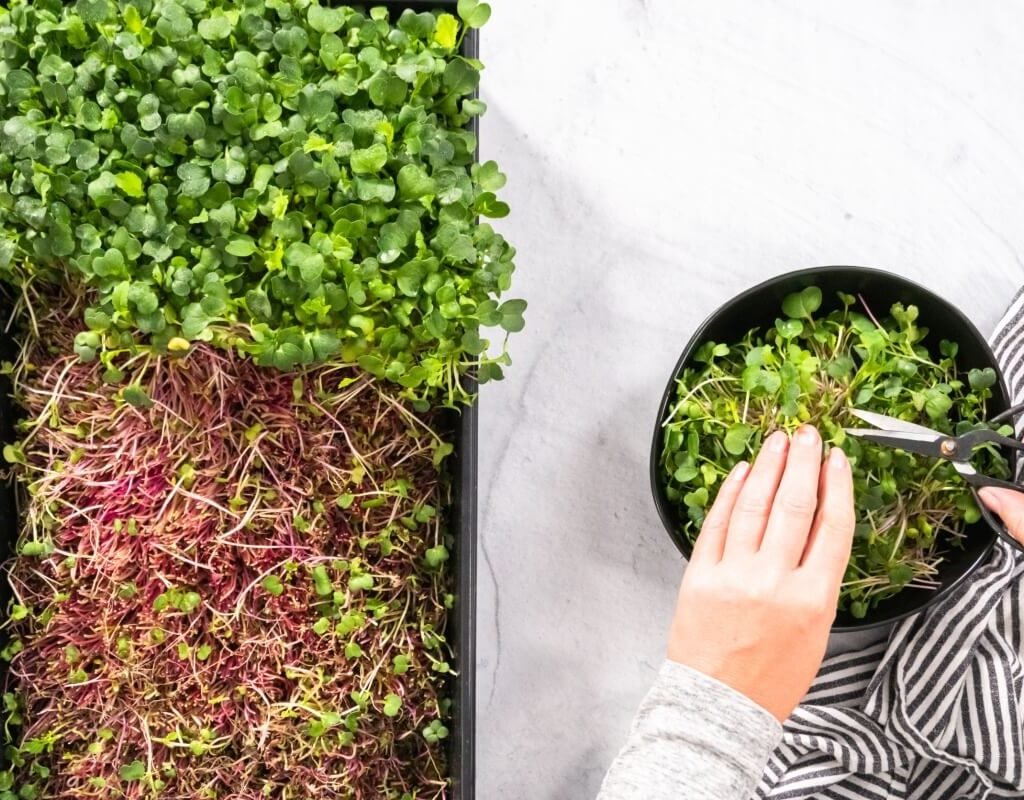
✂️ Step 6: Harvesting Cress
One of the best things about cress is how quickly it can be harvested:

- Use clean scissors to cut the cress just above the cotton or paper towel surface.
- Harvest as much as you need, leaving some shoots for regrowth if possible.
- Rinse gently with water before use.
💡 Tip: For continuous harvesting, sow new seeds every few days to maintain a fresh supply of cress year-round.
🌿 Step 7: Using Your Homegrown Cress
Cress is versatile and nutrient-rich, making it perfect for quick meals:
- Salads: Sprinkle fresh cress on top for a peppery kick.
- Sandwiches: Add a handful for crunch and flavor.
- Soups: Use as a garnish to enhance taste and nutrition.
- Smoothies: Blend with fruits and vegetables for a green boost.
- Egg Dishes: Mix with scrambled eggs or omelets for extra flavor.
💡 Pro Tip: Use cress immediately after harvesting for the best taste and maximum nutrients.
🌱 Step 8: Advantages of Growing Cress in Plastic Containers
- Quick Growth: Enjoy fresh greens in just 7 days.
- Minimal Space Required: Perfect for small urban homes.
- Eco-Friendly: Reuse plastic containers to reduce waste.
- Low Maintenance: Requires little care, just moisture and light.
- Nutrient-Packed: Boosts immunity and supports overall health.
This method is also ideal for teaching children about gardening and introducing them to growing their own food.
🌿 Step 9: Troubleshooting Common Problems
Even though cress is easy to grow, a few issues may arise:

- Mold or fungus: Often due to excess moisture. Ensure good ventilation and avoid soaking the seeds.
- Weak or leggy seedlings: Caused by insufficient light. Move containers to a brighter location.
- Slow germination: Check that seeds are fresh and the cotton or paper towel remains consistently moist.
💡 Tip: Regularly check your container setup and adjust water and light as needed to keep seedlings healthy.
🌱 Step 10: Tips for a Continuous Supply
- Succession Planting: Sow new seeds every 2–3 days for a continuous harvest.
- Container Rotation: Move containers to different spots to catch optimal sunlight.
- Reuse Materials: Wash and reuse plastic containers and cotton or paper towel for new batches.
- Experiment with Flavors: Combine cress with other microgreens or herbs for variety.
🌿 Conclusion: Fast, Fresh, and Fun Gardening
Growing cress in plastic containers is one of the easiest and fastest ways to enjoy homegrown greens. In just 7 days, you can harvest fresh, peppery cress that is packed with nutrients and ready to enhance your meals.
This method is perfect for beginners, urban gardeners, and anyone looking to grow quick, sustainable, and low-maintenance greens at home. With minimal space, time, and effort, you can turn ordinary plastic containers into a mini garden that keeps producing fresh cress year-round.
So, grab some seeds, repurpose a plastic container, and try growing cress at home—you’ll

Leave A Comment