Lamb’s Quarters, also commonly known as Bathua or Bathu, is a nutritious and versatile leafy green often used in Indian and global cuisines. With its mild, spinach-like flavor and crunchy texture, Bathua is perfect for soups, stir-fries, parathas, and salads. Growing this hardy plant is relatively easy, but knowing when and how to harvest is key to maximizing both flavor and yield.
In this blog post, we’ll explore everything you need to know about harvesting Bathua—from identifying the right stage to pick the leaves, best harvesting practices, tips for continuous production, and creative ways to use this nutrient-packed green in your kitchen.
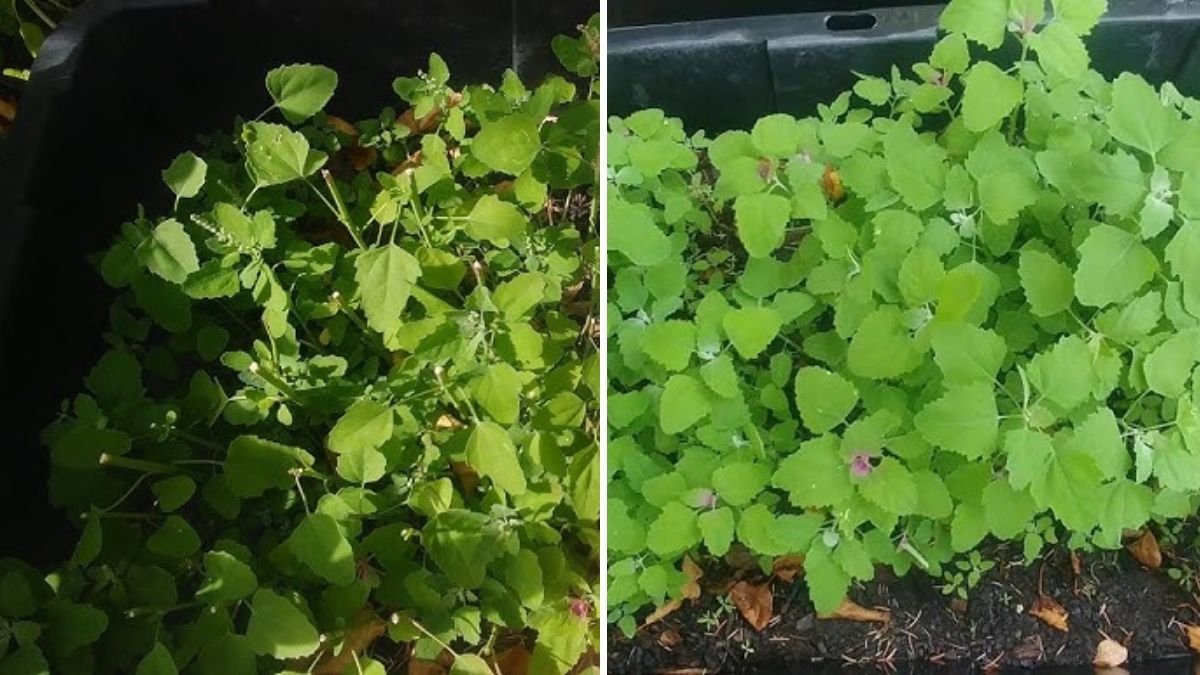
🌱 What Is Lamb’s Quarters (Bathua)?
Lamb’s Quarters (Chenopodium album) is a fast-growing, hardy annual green that thrives in a variety of climates. Often considered a “wild spinach,” Bathua is highly nutritious:
- Rich in vitamins: A, C, and K
- Minerals: Calcium, magnesium, iron, and potassium
- Antioxidants: Helps fight inflammation
- Fiber: Aids digestion
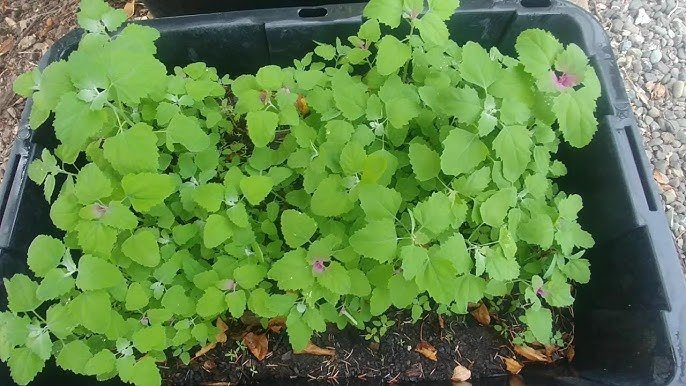
It grows well in gardens, containers, and even neglected patches, making it an excellent choice for both beginner and experienced gardeners.

🌿 When to Harvest Bathua
The timing of harvest greatly affects flavor and texture. Young leaves are tender and mild, while older leaves can become tougher and slightly bitter.
1. Seedling Stage (2–3 weeks after sowing)
- Leaves are very tender and ideal for salads.
- Suitable for microgreens or very young dishes.
2. Young Plant Stage (4–6 weeks)
- Leaves are soft, nutritious, and flavorful.
- Best for cooking or sautéing.
3. Mature Plant Stage (6–8 weeks)
- Leaves become larger and stronger.
- Can still be used for curries, parathas, and soups, but may require slightly longer cooking.
💡 Tip: Continuous harvesting of outer leaves encourages the plant to produce more shoots, extending your harvest period.
✂️ Step 1: Tools for Harvesting
While Bathua is easy to harvest by hand, having the right tools makes the process cleaner and more efficient:
- Clean scissors or pruning shears: For snipping leaves without damaging stems.
- Gloves: Optional, if the plant is growing in the wild or soil is rough.
- Basket or tray: To collect harvested leaves neatly.
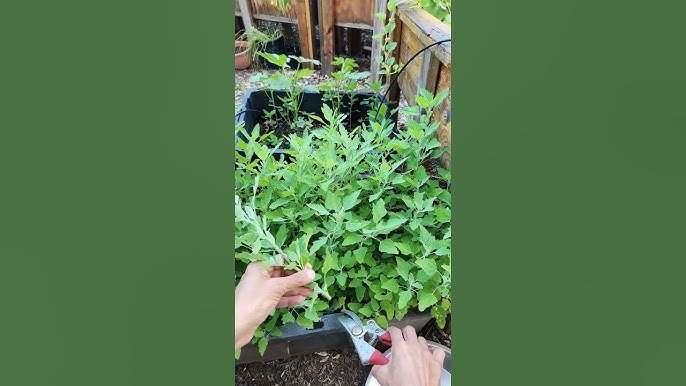
🌿 Step 2: Harvesting Technique
- Pick outer leaves first:
Snip the outermost leaves close to the base while leaving the central growing point intact. This encourages regrowth. - Avoid uprooting the plant:
Bathua regrows rapidly after harvesting, so leaving the roots in the soil ensures multiple harvests. - Harvest in the morning:
Early morning leaves are crisp, hydrated, and packed with nutrients. - Selective cutting:
Remove damaged, yellow, or tough leaves to promote healthier growth.
💡 Pro Tip: For a continuous supply, harvest leaves once or twice a week rather than all at once.

🌱 Step 3: Maximizing Yield
To get the most out of your Bathua plants:
- Regular watering: Keeps leaves tender and flavorful. Avoid waterlogging.
- Fertilization: Light application of organic compost or manure encourages leafy growth.
- Sunlight: Bathua thrives in full sun to partial shade. Adequate sunlight improves flavor and growth.
- Thinning: If plants are too dense, thin them to allow space for healthy shoots to develop.
💡 Tip: Companion planting with carrots, radishes, or spinach can boost soil health and reduce pests naturally.
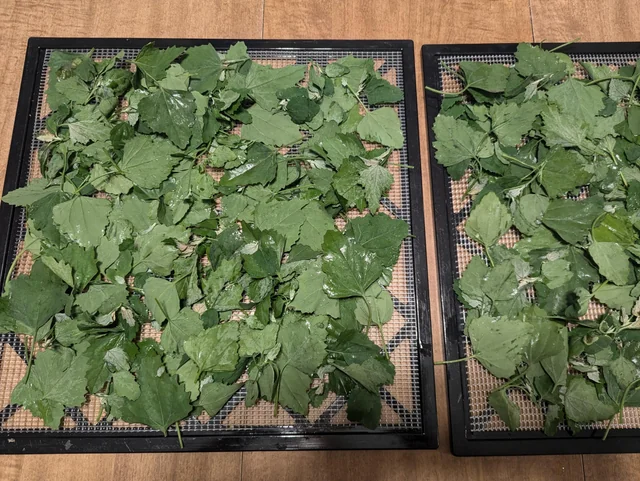
🌿 Step 4: Handling Post-Harvest
Once harvested, proper handling preserves freshness and nutrients:
- Wash thoroughly: Remove soil and debris under running water.
- Drain well: Use a colander to prevent excess moisture.
- Storage: Wrap in a damp cloth or paper towel and store in the refrigerator for up to 3–4 days.
- Freezing: Blanch young leaves in boiling water for 1–2 minutes, then freeze for long-term storage.
💡 Tip: Avoid washing Bathua until ready to use if storing fresh for a short period, as excess moisture can cause leaves to wilt.

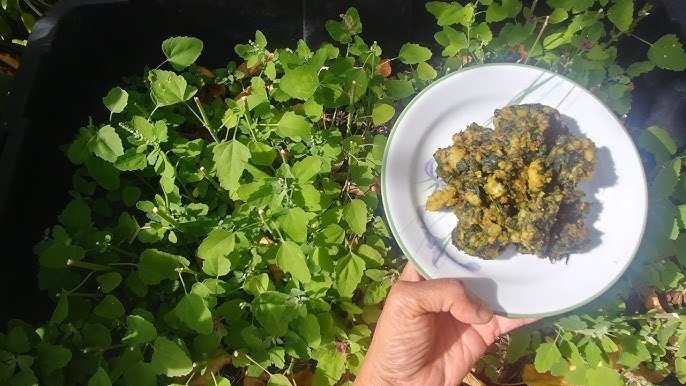
🌱 Step 5: Cooking and Culinary Uses
Bathua is extremely versatile in the kitchen:
- Parathas: Chop fresh leaves and mix with wheat flour to make flavorful Bathua parathas.
- Curries: Cook with spices, onions, and tomatoes for a nutritious side dish.
- Soups and stews: Add chopped Bathua for color, flavor, and nutrients.
- Salads: Use tender young leaves raw for a fresh, peppery bite.
- Smoothies: Blend with fruits and herbs for a nutrient-rich green drink.
💡 Pro Tip: Cooking Bathua lightly preserves most nutrients while maintaining flavor and texture.
🌿 Common Issues When Growing Bathua
While Bathua is hardy, some challenges may arise:
- Pests: Aphids, leaf miners, and caterpillars occasionally attack. Use neem oil or organic insecticidal soap.
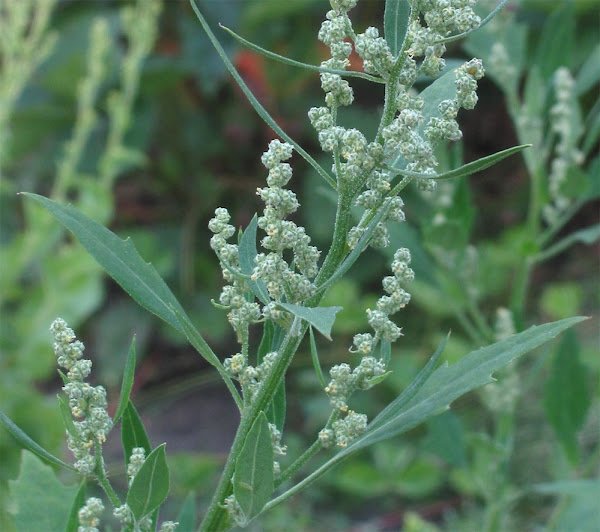
- Bolting: High temperatures or long days may cause flowering. Harvest leaves before bolting for the best flavor.
- Yellowing leaves: May indicate nutrient deficiency or overwatering. Apply compost and reduce water if needed.
🌱 Step 6: Regrowth and Multiple Harvests
Bathua is known for rapid regrowth, allowing for multiple harvests from a single sowing:

- After harvesting outer leaves, the central shoots continue growing.
- Water and fertilize regularly to encourage vigorous regrowth.
- You can often harvest every 7–10 days until the plant reaches the end of its lifecycle.
💡 Tip: For continuous production, stagger sowing new seeds every 2–3 weeks. This ensures a steady supply of tender leaves throughout the season.
🌿 Step 7: Nutritional Benefits
Bathua is not just tasty—it’s a superfood leafy green packed with nutrients:
- Vitamin A & C: Boosts immunity and promotes healthy skin.
- Calcium: Strengthens bones and teeth.
- Iron: Supports red blood cell production.
- Omega-3 fatty acids: Beneficial for heart health.
- Antioxidants: Reduces inflammation and fights free radicals.
Regular consumption of Bathua can improve overall health while adding flavor to your meals.
🌱 Step 8: Tips for Growing Healthy Bathua
- Soil Preparation: Loamy, well-draining soil with organic matter produces tender leaves.
- Spacing: Keep 6–12 inches between plants to allow airflow.
- Sunlight: Full sun enhances leaf growth and flavor.
- Watering: Maintain consistent moisture but avoid waterlogged soil.
- Organic Fertilizer: Encourages greener, healthier leaves.
💡 Pro Tip: Bathua grows in almost any soil type, making it ideal for beginners and urban gardeners.

🌿 Conclusion: Enjoy Fresh, Nutritious Bathua at Home
Harvesting Lamb’s Quarters or Bathua correctly ensures maximum flavor, tenderness, and continuous yield. By following these steps—picking outer leaves, proper watering, fertilizing, and staggered sowing—you can enjoy fresh, homegrown greens almost year-round.
Whether you’re using it in parathas, soups, or salads, Bathua is not only delicious but also highly nutritious. Growing this resilient plant is simple, rewarding, and perfect for small-space gardening, container planting, or even urban balconies.
So, plant Bathua today, follow these harvesting tips, and enjoy the incredible taste and health benefits of your very own leafy greens! 🌿✨
Leave A Comment