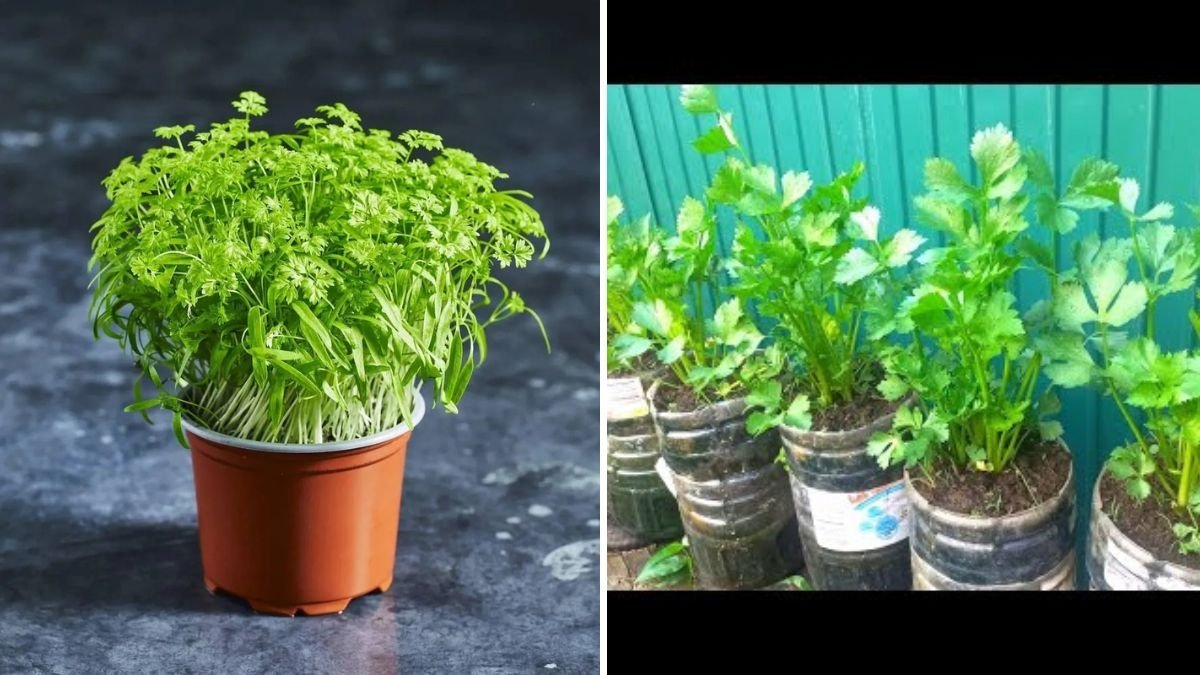
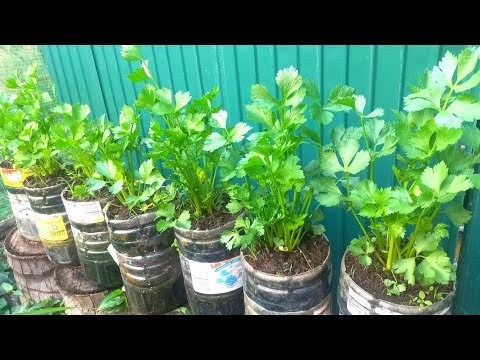
If you’re looking to add a touch of gourmet flair to your home garden, Chervil—a delicate herb often called French parsley—is a perfect choice. Known for its subtle anise-like flavor, chervil is a staple in French cuisine and a fantastic addition to salads, soups, eggs, and sauces. The best part? You don’t need a big garden to grow it! With just a few plastic bottles, some good-quality soil, and a handful of seeds, you can enjoy fresh, aromatic chervil right at home.
In this post, we’ll explore new and practical methods for growing chervil from seeds using recycled plastic bottles, from seed sowing to transplanting and care tips for a lush, healthy harvest.
🌱 Why Grow Chervil in Plastic Bottles?
Before diving into the steps, let’s understand why using plastic bottles is such a great idea:
- Eco-friendly gardening: Reusing bottles reduces plastic waste and supports sustainable gardening.
- Space-saving: Perfect for small balconies, windowsills, or patios.
- Easy moisture control: Plastic bottles retain moisture efficiently, keeping chervil’s delicate roots happy.
- Portable: Move your chervil plants to sunny or shaded spots with ease.
- Cost-effective: No need for fancy pots or garden beds—just a few discarded bottles!
This method works especially well for beginner gardeners or anyone living in apartments.
🪴 Materials You’ll Need
Gather these simple supplies to get started:

- Empty 1 or 2-liter plastic bottles (clear ones work best)
- Sharp knife or scissors
- Potting mix (loamy, well-draining soil with compost)
- Chervil seeds
- Watering can or spray bottle
- Small tray or plate (to catch extra water)
- Organic fertilizer (liquid compost or seaweed extract)
Optional: Coconut coir or perlite to improve soil drainage.
✂️ Step 1: Preparing the Plastic Bottles
- Take a clean plastic bottle and cut it horizontally about 4–5 inches from the bottom.
- Poke small drainage holes at the base using a heated nail or knife.
- Place the bottom part on a tray to catch excess water.
- If you want a self-watering system, use the top part upside-down like a funnel, with a small cotton wick through the cap.
This setup ensures your chervil roots get the perfect balance of moisture and air.
🌾 Step 2: Preparing the Potting Mix
Chervil prefers light, rich, and moist soil—similar to what parsley or cilantro needs. Prepare your mix as follows:
- 40% garden soil
- 40% compost or organic matter
- 20% perlite or cocopeat
Mix well and fill your plastic bottle planters, leaving about an inch of space from the rim.
🌿 Step 3: Sowing Chervil Seeds
Now it’s time to plant!

- Sprinkle chervil seeds evenly on the soil surface.
- Lightly cover with a thin layer of soil or cocopeat (no more than ¼ inch deep).
- Mist gently with water to moisten the surface.
- Cover the bottle top with a clear plastic wrap or lid to retain humidity until germination.
Keep the bottle in a partially shaded spot—chervil prefers cooler conditions and can struggle under direct sun.
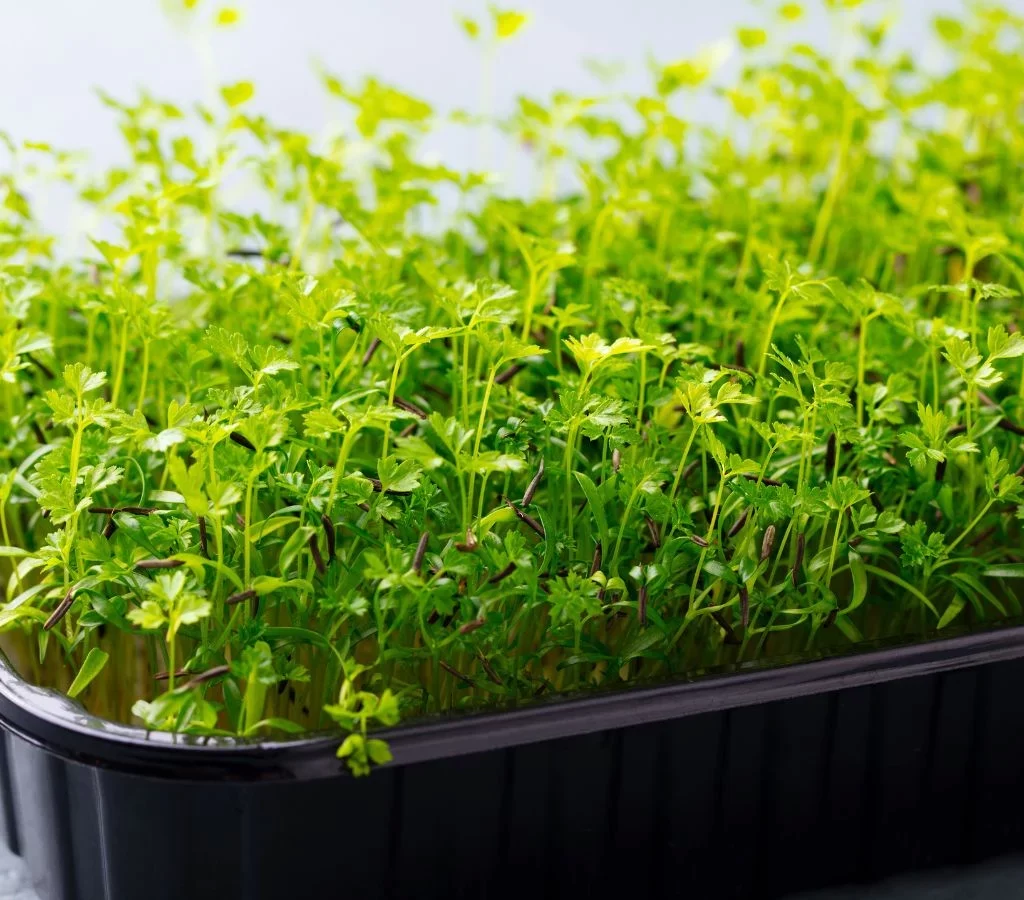
☀️ Step 4: Germination and Early Care
Chervil seeds usually germinate in 10–14 days, depending on temperature and moisture. During this period:
- Keep the soil consistently moist but not waterlogged.
- Ensure good air circulation by uncovering the plastic occasionally.
- Once seedlings are about 2 inches tall, remove the cover completely.
If the seedlings are crowded, thin them out gently, leaving about 3–4 inches between each plant.
🌼 Step 5: Transplanting (Optional)
When your seedlings are about 3–4 weeks old, they can be transplanted into larger plastic bottles or containers if needed.
- Choose a bottle cut deeper (6–8 inches tall).
- Fill with fresh potting mix and make small holes for each plant.
- Carefully lift the seedlings using a spoon and place them in the new container.
- Water thoroughly after transplanting.
This step helps the plants develop a stronger root system and grow bushier.

💧 Step 6: Watering and Feeding
Chervil loves moisture but dislikes soggy roots. Here’s how to manage it:
- Water regularly, especially during dry days, keeping the soil evenly moist.
- Use a spray bottle for gentle watering to avoid disturbing the roots.
- Every 2–3 weeks, feed your plants with liquid organic fertilizer (like compost tea or diluted seaweed solution).
Avoid over-fertilizing, as chervil grows best in mild, natural soil conditions.
🌤️ Step 7: Light and Temperature
Chervil is a cool-weather herb that thrives in mild temperatures (15–22°C).
- Place your plastic bottle planters in partial shade or an area with morning sunlight.
- Avoid strong midday or afternoon sun—it can cause the leaves to wilt or the plant to bolt (flower too early).
- If growing indoors, a bright east-facing window is ideal.
During hot months, move the containers indoors or under shade cloth to protect them.
✂️ Step 8: Pruning for Bushy Growth
To encourage lush, bushy growth:

- Pinch off the tips of young plants once they have 4–5 leaves.
- Regularly harvest the outer leaves, allowing the center to produce new shoots.
- Remove any flower stalks as soon as they appear—flowering can make the leaves lose flavor and become bitter.
Pruning not only enhances growth but also extends your harvest season.
🌱 Step 9: Common Problems and Solutions
Even with great care, a few issues can arise. Here’s how to fix them:
- Yellow leaves: Usually caused by waterlogging. Ensure good drainage.
- Leggy growth: Indicates insufficient light—move the bottle to a brighter location.
- Pests (aphids or whiteflies): Spray with neem oil or soap water once a week.
- Bolting: Happens in hot weather—keep plants cool and moist.
🍽️ Step 10: Harvesting and Using Chervil
You can start harvesting your chervil when the plants are about 6–8 inches tall, usually 6–8 weeks after sowing.
- Use clean scissors to cut outer leaves first.
- Harvest in the morning for maximum aroma and freshness.
- Avoid taking more than one-third of the plant at a time to allow regrowth.
Fresh chervil pairs beautifully with eggs, seafood, and salads, or can be used as a garnish to elevate simple dishes.
🌿 Bonus Tip: Regrow and Extend Your Harvest
You can easily regrow chervil for continuous harvest:

- Allow a few plants to flower and produce seeds.
- Collect and dry the seeds, then replant them in new plastic bottles.
- Rotate your containers every few months to keep the soil fresh and nutrient-rich.
This way, you can maintain a year-round supply of chervil even in limited space!
🌎 Final Thoughts
Growing chervil from seeds in plastic bottles is a brilliant, eco-friendly gardening method that combines sustainability with convenience. Whether you live in a small apartment or have limited garden space, this approach allows you to enjoy fresh, aromatic herbs right at your fingertips.
By following these new methods—from proper soil preparation to careful watering and pruning—you’ll have a thriving mini herb garden that not only beautifies your space but also enhances your cooking.
So, grab those unused plastic bottles, a packet of chervil seeds, and start your green journey today. Before you know it, you’ll be harvesting fresh, fragrant chervil to flavor your favorite dishes—all grown in recycled bottles!
Leave A Comment