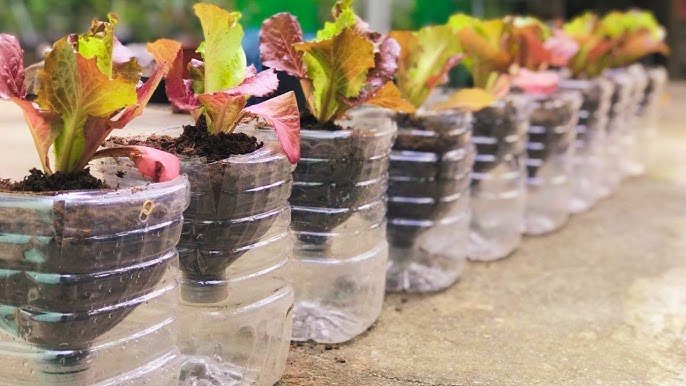
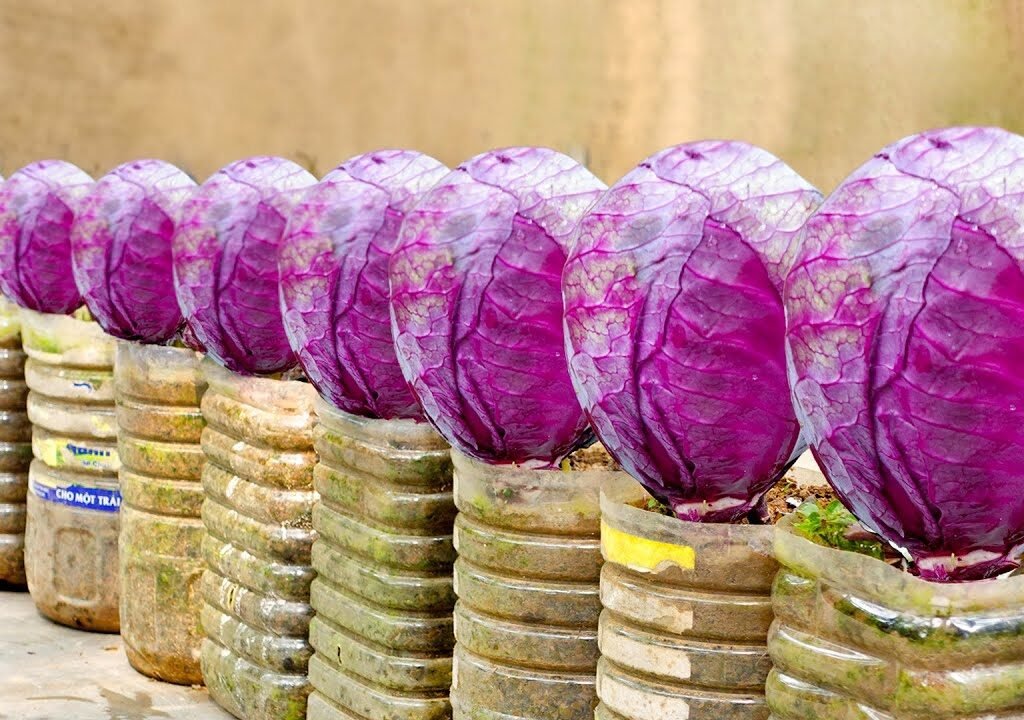
Have you ever looked at an empty plastic bottle and wondered if it could serve a better purpose than ending up in the trash? The answer is a big yes! With just a few creative steps, you can transform old plastic bottles into thriving mini gardens that produce beautiful, nutritious vegetables — like purple cabbage.
This DIY method is perfect for anyone who loves gardening but has limited space. You don’t need a backyard, fancy pots, or expensive tools. Just some old bottles, good soil, and patience — and you’ll be amazed at how these upcycled containers can grow lush, vibrant purple cabbages.
In this detailed guide, you’ll learn how to turn old plastic bottles into mini planters, the secrets to growing healthy purple cabbages, and why this project is perfect for beginners and eco-friendly gardeners alike.
Why Purple Cabbage?
Purple cabbage, also known as red cabbage, is more than just a colorful addition to your plate. It’s a nutrient powerhouse, rich in vitamins C, K, and A, and loaded with antioxidants called anthocyanins that give it its striking hue.
Here’s why you’ll love growing purple cabbage at home:
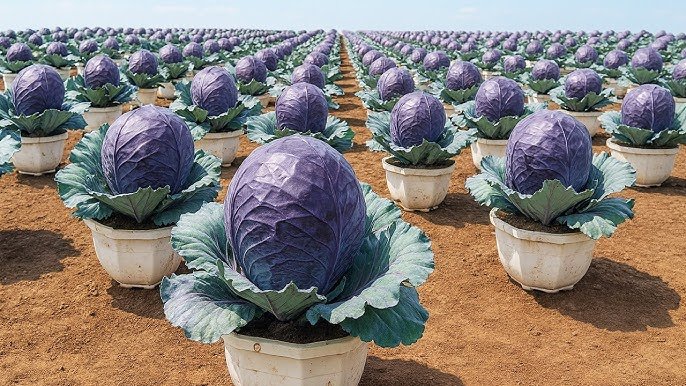
- Visually Stunning: The deep purple leaves look stunning in any garden setup — from balconies to windowsills.
- Nutritious & Versatile: Use it in salads, stir-fries, or even fermented dishes like kimchi and sauerkraut.
- Eco-Friendly: Growing your own vegetables helps reduce plastic waste and your carbon footprint.
- Budget-Friendly: All you need are old bottles, soil, and a few seeds — no expensive equipment required.
This easy gardening idea proves that small efforts can lead to big, colorful rewards.

Materials You’ll Need
To start your specialty purple cabbage bottle garden, gather the following:
- Old plastic bottles (2 to 5 liters each)
- Purple cabbage seeds or seedlings
- Rich potting soil (well-draining and organic)
- Compost or organic fertilizer
- Small pebbles or gravel for drainage
- A sharp knife or scissors
- A spray bottle or small watering can
- Wooden sticks or small stakes (optional for support)
Tip: Choose clear or semi-transparent bottles so you can easily monitor moisture levels and root growth.
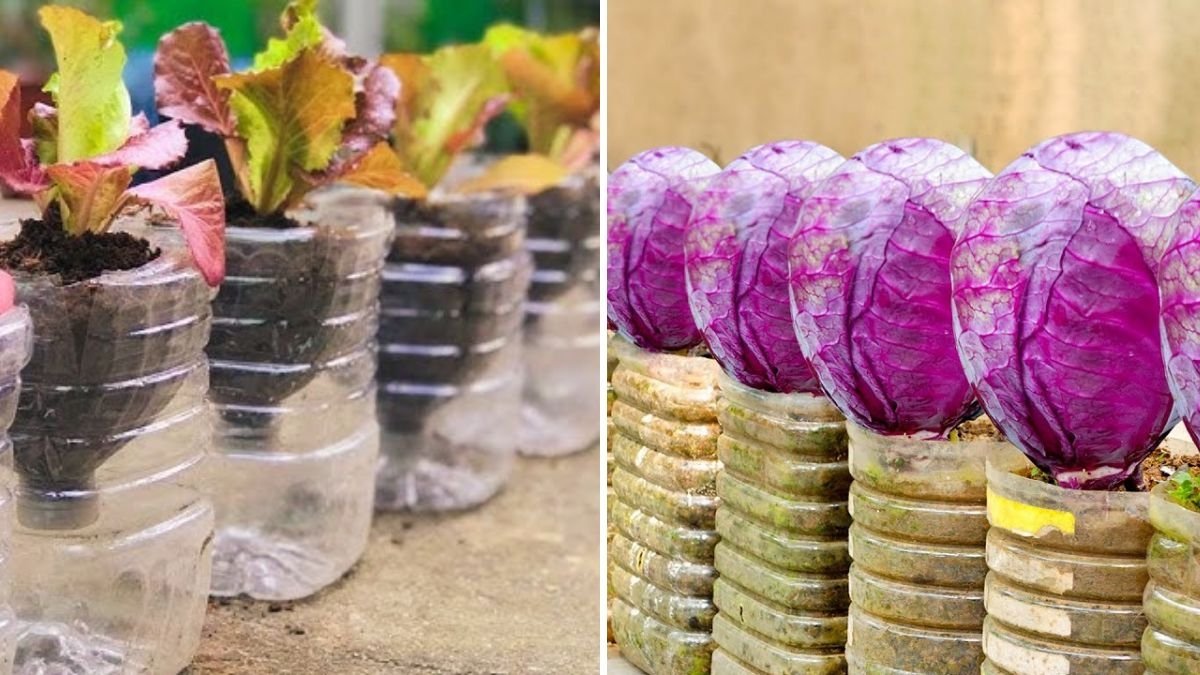
Step 1: Preparing the Bottles
The first step is to turn your old plastic bottles into efficient mini-planters.
- Cut the bottle: Use a knife or scissors to cut off the upper third of the bottle. You can also cut horizontally in the middle if you prefer a shallower container.
- Add drainage holes: Using a heated nail or screwdriver, poke several small holes at the bottom to allow water to escape. Proper drainage prevents root rot.
- Add a drainage layer: Place a few pebbles or small stones at the bottom of each bottle.
- Fill with soil: Combine garden soil, compost, and organic fertilizer in equal parts. Fill each bottle about three-fourths full.
This simple preparation ensures your cabbage plants have a healthy environment to thrive in.
Step 2: Planting Purple Cabbage Seeds or Seedlings
You can start from seeds or transplant young seedlings:
- If starting from seeds:
- Sow 3–4 seeds in the center of each bottle about ½ inch deep.
- Cover lightly with soil and mist with water.
- Once the seedlings grow 3–4 true leaves, thin them out — keeping the healthiest one.
- If transplanting seedlings:
- Make a small hole in the center of the bottle.
- Gently place the seedling inside, covering the roots completely with soil.
- Press the soil lightly around the base to provide support.
Remember, one bottle should contain only one cabbage plant — these vegetables need enough space for their roots to develop and their heads to form fully.

Step 3: Finding the Perfect Spot
Purple cabbage thrives in cool temperatures and plenty of sunlight.
- Place your bottles where they can get 6–8 hours of sunlight per day.
- Avoid extremely hot afternoon sun — it can stress the plant.
- If you live in a warm area, provide partial shade using a light cloth or net.
This balance between light and temperature will help your cabbage grow large, firm, and richly colored.
Step 4: Watering and Nutrient Care
Cabbage loves moisture but hates soggy soil. Here’s how to maintain the perfect balance:
- Water regularly — keep the soil moist but not soaked.
- During hot weather, water twice a day — morning and late afternoon.
- Use a spray bottle to mist young plants to avoid damaging tender leaves.
- Add liquid fertilizer (like compost tea or diluted fish emulsion) every 10–14 days to boost growth.
Purple cabbage grows best in slightly acidic soil (pH 6.0–6.8). If the leaves start turning pale, that’s a sign your plant needs more nutrients — add organic compost or manure to replenish the soil.
Step 5: Pest and Disease Control
Cabbage plants can attract common pests such as aphids, caterpillars, and flea beetles. To protect your plants naturally:
- Neem oil spray: Mix neem oil, water, and a few drops of dish soap. Spray it weekly on the leaves.
- Garlic-chili spray: Blend garlic and chili with water, strain, and spray. It’s a natural pest repellent.
- Inspect regularly: Look under the leaves for eggs or small caterpillars and remove them manually.
Because plastic bottles are small and portable, you can easily move them indoors or to a shaded area if pest problems arise.

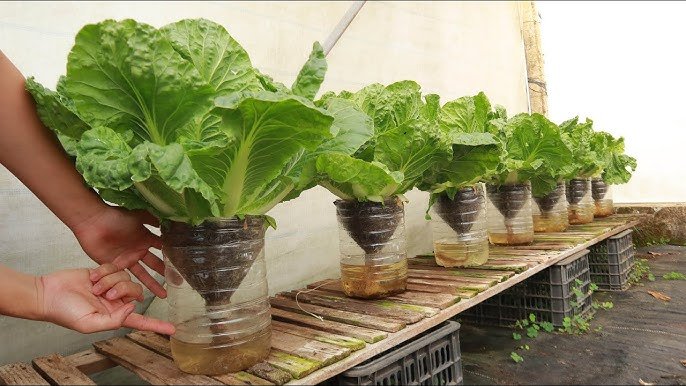
Step 6: Encouraging Lush, Vibrant Growth
To ensure your purple cabbage grows big and healthy, follow these key tips:
- Loosen the soil every couple of weeks to improve oxygen flow to the roots.
- Trim yellowing leaves to prevent nutrient waste.
- Feed with compost every two weeks for consistent nutrient supply.
- Provide support: Use small sticks or bamboo stakes to keep the plant upright as it grows larger.
You’ll soon notice how the small bottle garden starts filling up with vivid purple leaves — a beautiful contrast to the green surroundings.
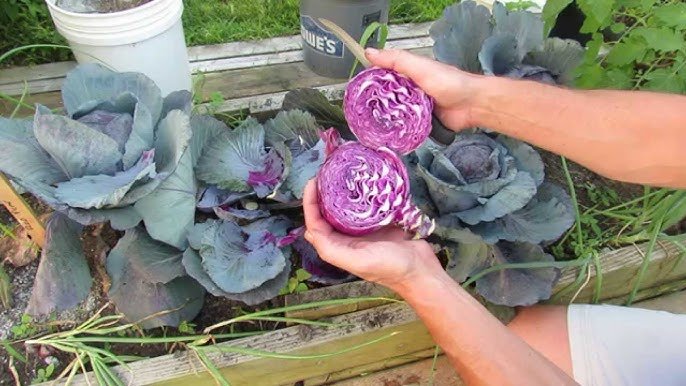
Step 7: Harvesting Time
Purple cabbage typically takes 80–100 days to mature. You’ll know it’s ready to harvest when:
- The head feels solid and firm when gently squeezed.
- The outer leaves are large and deeply colored.
- The head reaches around 10–12 inches in diameter.
To harvest:
- Use a sharp knife to cut the cabbage at the base.
- Leave the lower leaves and roots in the bottle — new smaller heads might regrow in a few weeks!
Rinse your freshly harvested cabbage with water, and it’s ready to be used in delicious salads, pickles, or stir-fries.
Step 8: Regrowing from the Cabbage Base
Don’t discard the cabbage base after harvesting — you can easily regrow it!

- Cut off the base, leaving about 2 inches of stem.
- Place it in a shallow dish filled with water.
- Keep it in a sunny spot and change the water every 2–3 days.
- Once roots appear, transplant it back into a bottle filled with soil.
This simple trick helps you grow more cabbages without buying new seeds — a perfect zero-waste method!
Common Issues and Quick Fixes
| Problem | Possible Cause | Solution |
|---|---|---|
| Yellow leaves | Overwatering or poor drainage | Improve drainage and reduce watering |
| Wilting leaves | Too much heat | Move to a shaded area |
| Small heads | Lack of nutrients | Add compost or organic fertilizer regularly |
| Bolting (flowering early) | High temperature | Maintain cooler conditions and consistent watering |
Step 9: Decorating Your Bottle Garden
One of the most enjoyable parts of this project is customizing your plastic bottles!
- Paint them in bright colors or wrap them with jute rope for a rustic look.
- Arrange bottles vertically on a wall or horizontally on a shelf for a mini vertical garden.
- Add labels or plant markers with cute names for each cabbage.
Not only will your garden look artistic, but it will also serve as an inspiring reminder of how upcycling can lead to beautiful, productive results.
The Eco-Friendly Impact
This simple gardening technique offers a triple benefit:
- Recycling Waste: Every plastic bottle you reuse helps reduce landfill waste.
- Saving Water: Small containers require less water compared to traditional garden beds.
- Producing Food: You’re growing your own organic vegetables — chemical-free and fresh.
It’s an amazing way to turn an environmental problem (plastic waste) into a sustainable solution.
Final Thoughts
Who would have thought that an old plastic bottle could grow something as impressive and nutritious as a head of purple cabbage? This easy, affordable, and eco-friendly gardening idea proves that creativity can transform waste into beauty and abundance.

Whether you live in a small apartment or have a large garden, this project fits perfectly into any space. You’ll not only enjoy the satisfaction of growing your own food but also contribute to a cleaner planet.
So, next time you’re about to throw away a plastic bottle, stop and think — could this be the start of your own specialty purple cabbage garden? With a bit of patience and care, you’ll soon be harvesting vibrant, delicious cabbages right from your upcycled mini planters.
Leave A Comment